


 Adams Johnson
 Last updated: Nov 11, 2026 12:00 am
 Android Unlock
Your Motorola has been reset, but Google verification is still blocking the home screen. The old account might be one you rarely used or one that belongs to the previous owner. Searching for Motorola FRP bypass brings up desktop programs, old video tutorials, and downloads with familiar names. Finding a route that fits your particular phone is the next challenge.
What You Need for Motorola FRP Bypass
Factory Reset Protection checks ownership after certain resets. A Motorola running Google services may request an account previously added and synced to the phone. That is the account to identify when the setup screen says the device was reset.
Have these details ready before choosing a Moto FRP bypass method:
- Exact model: look for the full model identifier, including the XT number where available, on the packaging or purchase information.
- Software: note the Android version and security patch if you already have that information.
- Computer connection: prepare a Windows PC, a working USB data cable, and internet access for any required downloads.
A Moto G series name covers several generations and regional variants. Use the complete identifier when checking a tool’s device list. If you cannot identify the software from the locked phone, give the model and the screen you can reach to the tool’s support team.
Google’s device-protection guidance explains the role of previously synced accounts. Keep that information in mind when a tutorial suggests creating a new Google account during the existing verification check.
Choose a Moto FRP Tool for Your Motorola
A useful Moto FRP tool needs a procedure for your model and its current software. A download title alone gives little information about what you will have to do on the phone or computer. Start with the developer’s device requirements and the operation you need.
Match the Tool to Your Model and Android Version
Older Universal Moto FRP tutorials often discuss Android 5, 6, or 7. A newer Motorola can present different setup screens and connection requirements. Check the supported release and the preparation instructions before following an older walkthrough.
Keep a short record of the method you choose: tool name, version, download source, model, and required connection mode. This makes it easier to follow one complete procedure and to explain an error if you need help.
| Option | Where to begin | What to establish |
|---|---|---|
| LockWiper Android | iMyFone download and support | Confirmation that the current FRP function covers your Motorola model and software |
| Motorola-focused service tool | The developer’s current model list and instructions | Exact device coverage, connection requirements, and the available FRP operation |
| Legacy Universal Moto or Qualcomm utility | The original release documentation | Whether the documented Android generation and hardware match your phone |
| Google account recovery | Google’s recovery service | Access to the account previously synced with the Motorola |
For example, keep the full XT identifier beside the Android version when contacting support. Two phones sold under a similar Moto name may need different preparation. Ask which FRP operation applies to those details and what screen the phone should show before connecting.
Get the Download and Check the Starting Requirements
For a Windows program, download through its developer’s website. Check whether the instructions require an installed driver, a particular connection mode, or an action on the handset. Read the sequence once before beginning so the required equipment is within reach.
If an online guide uses a browser or menu that you cannot open, compare its device and software details with yours. Ask for the matching procedure before continuing. For more detail on selecting a compatible route, see our FRP bypass tool guide.
Explore a Password-Free FRP Workflow With LockWiper
iMyFone LockWiper Android provides a dedicated Remove Google Lock (FRP) function. For devices covered by that function, it brings preparation and Google-lock removal into a Windows program and allows removal without the previous Google Account password.
Confirm Motorola FRP compatibility first. iMyFone’s Moto article recommends LockWiper, while its current FAQ lists Motorola under screen-lock removal and names other brands for FRP. Ask iMyFone to confirm your Motorola model and Android version for Google FRP before starting an operation.
Once the appropriate FRP procedure is confirmed, the benefit is having the next actions presented together on your computer:
- A dedicated Google-lock function: begin with the operation that addresses account verification.
- Preparation alongside removal: follow the device information and connection prompts within the program.
- A clear result to check: continue through Android setup and use the Google account you intend to keep.
Connect Your Motorola and Select FRP Removal
- Download LockWiper Android from iMyFone and open it on your Windows computer.
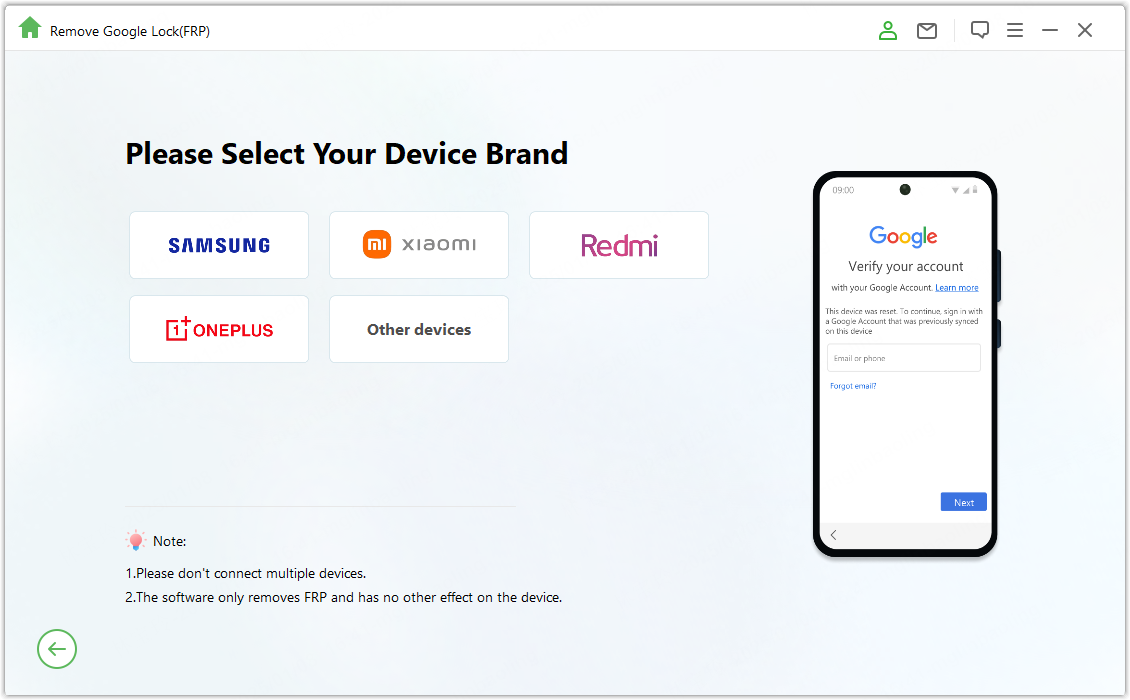
- Select Remove Google Lock (FRP).
- Connect the Motorola with your USB data cable and follow the device selection confirmed for your model.
- Review the requested device information before proceeding to preparation.
The interface below illustrates device selection. It does not establish Motorola support by itself; follow the procedure confirmed for your device.
Complete the Device Preparation and Removal
Work through the preparation shown for the confirmed procedure, including any actions requested on the phone. Keep the USB connection stable and allow each stage to complete before moving forward. Use the handset instructions that belong to your Motorola route.
Before starting removal: LockWiper’s FRP mode erases device data. Save accessible files and have an existing backup available if you need to restore content afterward.
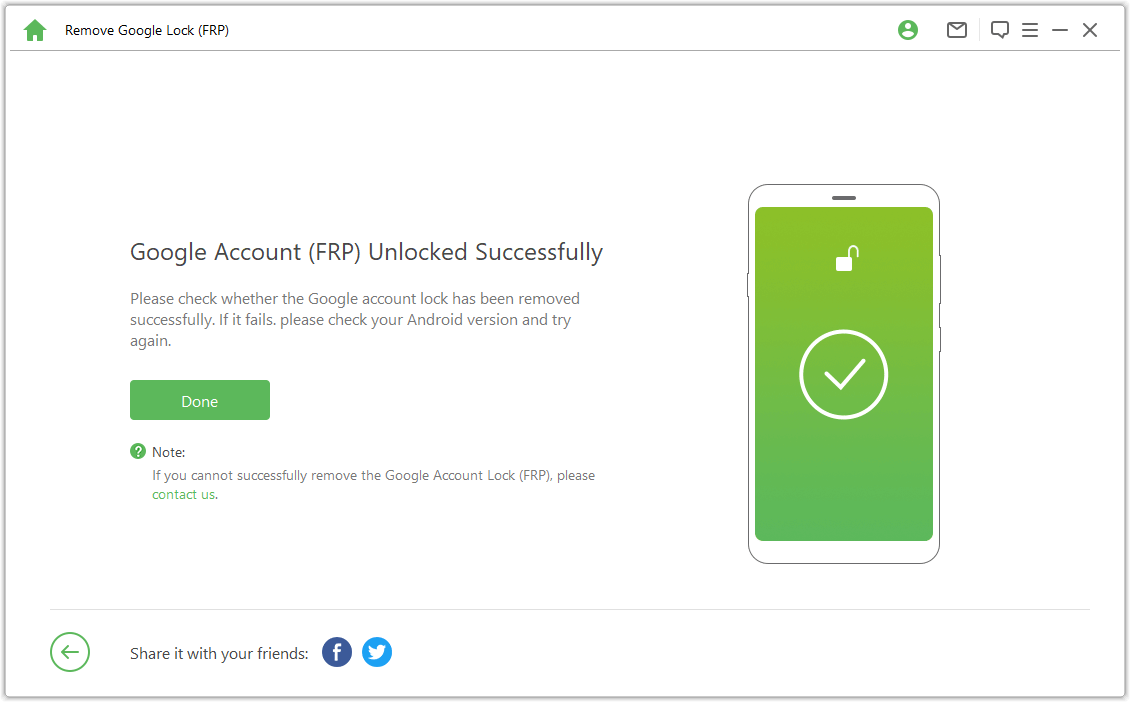
After the operation finishes, let the phone restart and continue setup. Check the Motorola itself to confirm that it can proceed with your own account. Keep any error message and device details if you need follow-up support.
Download LockWiper Android for Windows
Use Your Google Account to Finish Motorola Setup
Recovering a previously synced Google account gives you a direct way to complete Motorola verification. You can work on recovery from another phone or computer while leaving the Motorola at its setup screen.
Recover Your Previous Google Account
- Open Google’s account-recovery instructions and choose the path for a forgotten email address or password.
- For a forgotten email, use the recovery phone number or email address and the full name associated with the account.
- For a forgotten password, answer the ownership questions and set a new password when prompted.
- Follow any waiting period shown by Google, then return to Motorola setup and enter the recovered credentials.
If the setup screen offers a previous PIN or pattern as a verification option, you can use it when you remember that credential. Check the email carefully when you have several accounts.
Ask the Seller to Help With a Used Motorola
Ask the previous owner to assist with verification in person where possible. They can enter their credentials privately, remove their account from Settings once access is restored, and complete the handover. Keep the purchase record available if you need help from the seller or Motorola support.
Finish Setup and Put Your Motorola Back to Work
Once verification is resolved, connect to Wi-Fi and work through the remaining welcome screens. Sign in with your own Google account, reach the home screen, and open Google Play to check normal use.
Restore the backup you intend to use and confirm that your recovery phone number and email are current. Keep the account details somewhere you can access from another device. If the phone is being handed over, remove the outgoing owner’s Google account through Settings before the next reset.
If setup still returns to verification, record the exact message and the procedure you completed. Those details give support a useful starting point for the next step.
Conclusion
Motorola FRP bypass starts with a route that fits the exact phone and software. Recovering a previously synced Google account can complete verification directly. If you choose a desktop Moto FRP bypass approach, confirm the device requirements before removal. LockWiper Android offers a dedicated Google-lock workflow for compatible devices; confirm your Motorola’s FRP coverage with iMyFone, then use the matching instructions and check that setup accepts your own account.
FAQs About Moto FRP Bypass
Is There a Free FRP Bypass Tool for Motorola?
Google account recovery is a free route when you can recover a previously synced account. Desktop tools have different device requirements and service terms. Start with the procedure available for your specific Motorola.
Should I Download a Cracked Moto FRP Bypass Tool?
Use the developer’s official release and support channel. A cracked Moto FRP bypass tool can be difficult to trace to a genuine version or matching instructions. Choose a documented procedure for your phone.
Does a Factory Reset Remove Motorola FRP?
A reset can leave Google verification active. Completing setup may require an account previously synced with the phone or another verification option offered on its screen.
Can LockWiper Bypass FRP on My Motorola?
Confirm the exact model and software with iMyFone. Its Moto article and current compatibility FAQ differ on Motorola FRP coverage, so obtain device-specific confirmation before using the FRP function.