Passper WinSenior is a professional Windows password recovery tool designed to easily reset or remove Windows user and admin passwords as well as delete and create user accounts on Windows 10/8.1/8/7/XP/Vista with ease. Follow the guide below to get started using this tool.
Part 1: Create a Window Password Reset Disk
Part 2: Enter Boot Menu on the Locked Computer
Part 1: Create a Window Password Reset Disk
Download, install, and launch Passper WinSenior on an accessible computer.
Free DownloadFor Win 10/8/7/XP/Vista
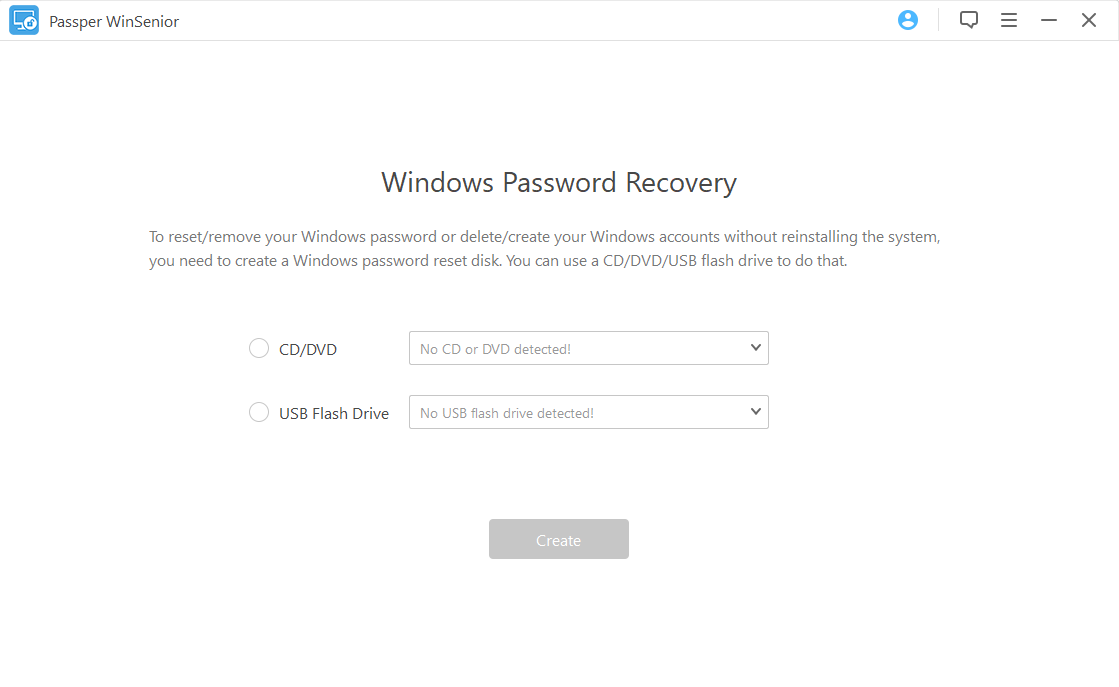
Step 1 Depending on the bootable disc you have acquired, either select "CD/DVD" or "USB Flash Drive" from the options on the main interface. Insert the bootable drive into the accessible computer. Hit the "Create" button to proceed.
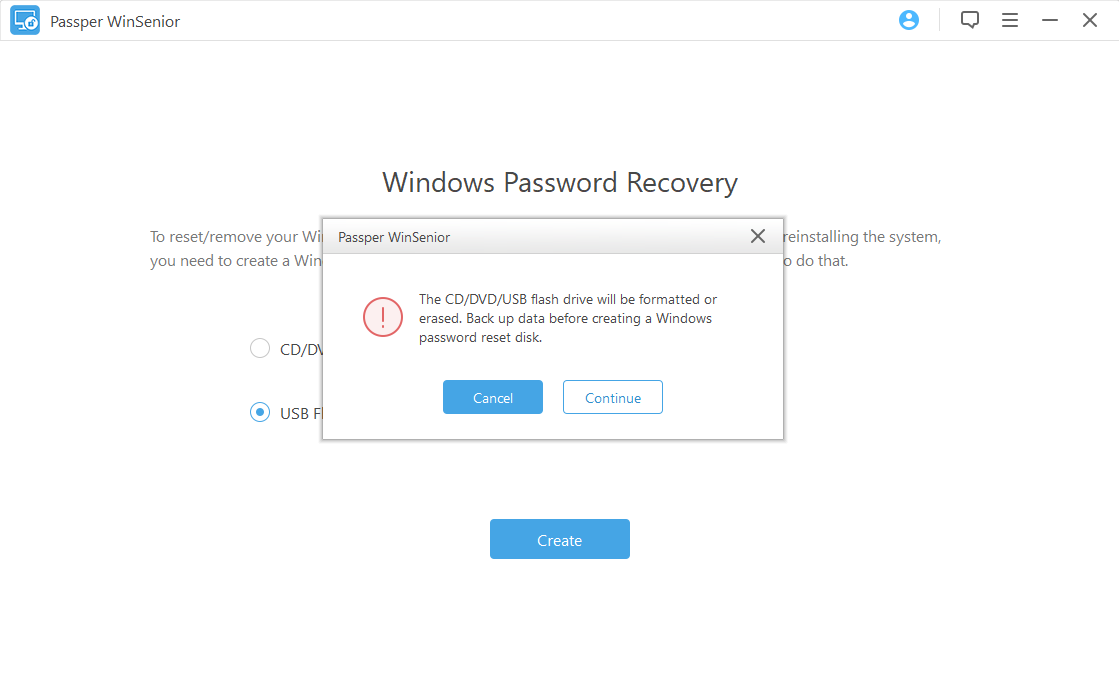
Step 2 A popup will appear. Click "Continue" to confirm burning. It will take a few minutes to burn the program. Once the burning is complete, eject your CD/DVD/USB.
Part 2: Enter Boot Menu on the Locked Computer
After successfully creating a Windows password reset disk (burning the ISO image into the CD/DVD/USB flash drive) insert the bootable CD/DVD/USB into the target computer.
Step 1Choose your computer type or brand to know which key you should press to enter the Boot Menu.
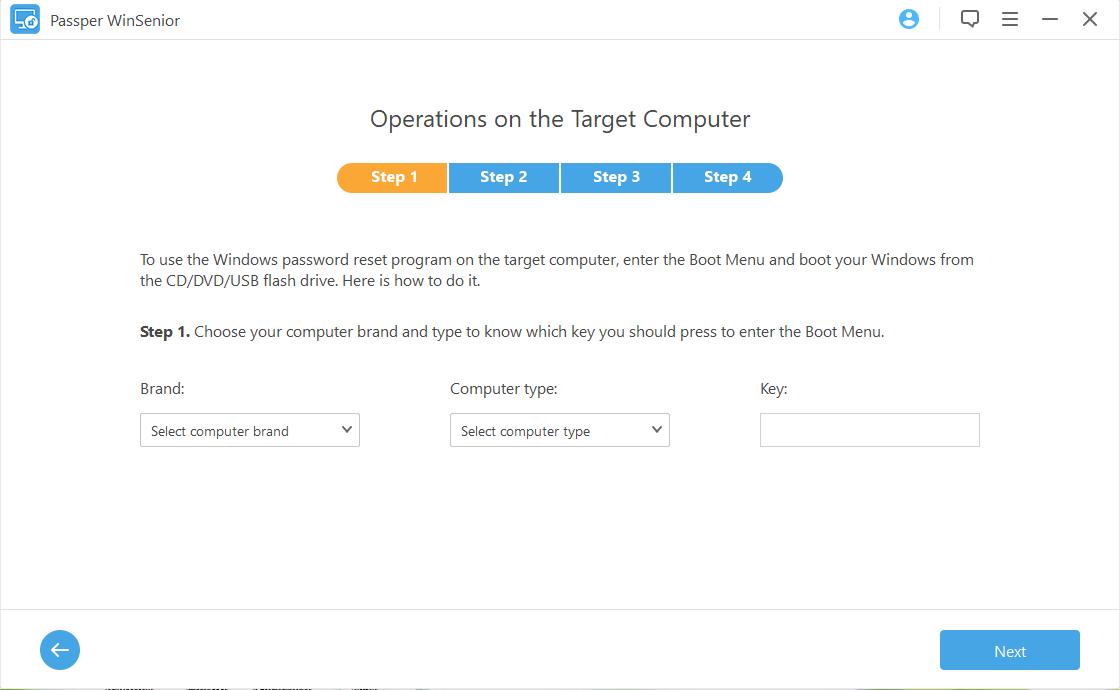
Even though it is straightforward to enter the boot menu, it varies across computer brands.
Step 2Boot the computer and quickly press the key as soon as it starts. Keep pressing and releasing the key until it enters the Boot Menu. If you miss the time to enter the Boot Menu or the Boot Menu doesn't appear, check How to Enter BIOS & Enter Setup Utility.
Step 3Select the brand of your CD/DVD/USB with the arrow keys from the list on the Boot Menu and click Enter.
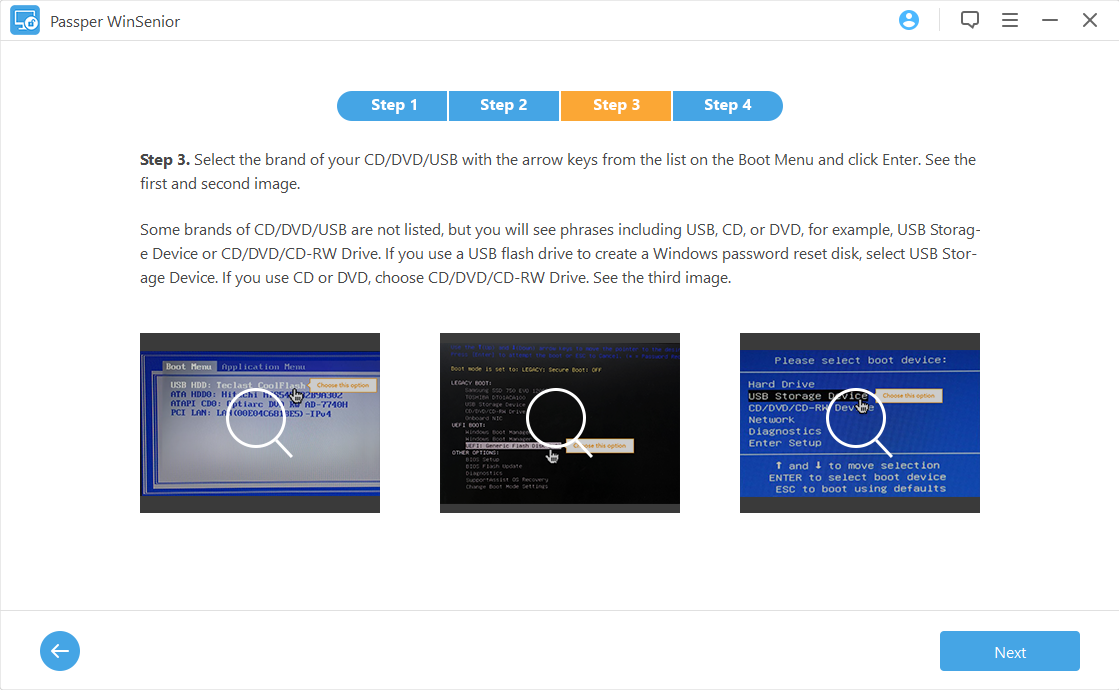
Some brands of CD/DVD/USB are not listed, but you will see phrases including USB, CD, or DVD, for example USB Storage Device or CD/DVD/CD-RW Drive. If you use a USB flash drive to create a Windows password reset disk, select USB Storage Device. If you use CD or DVD, choose CD/DVD/CD-RW Drive.
Step 4The interface of the Windows password reset program will appear. Select the operating system of your locked computer to start removing/resetting your Windows passwords or deleting/creating your Windows accounts.
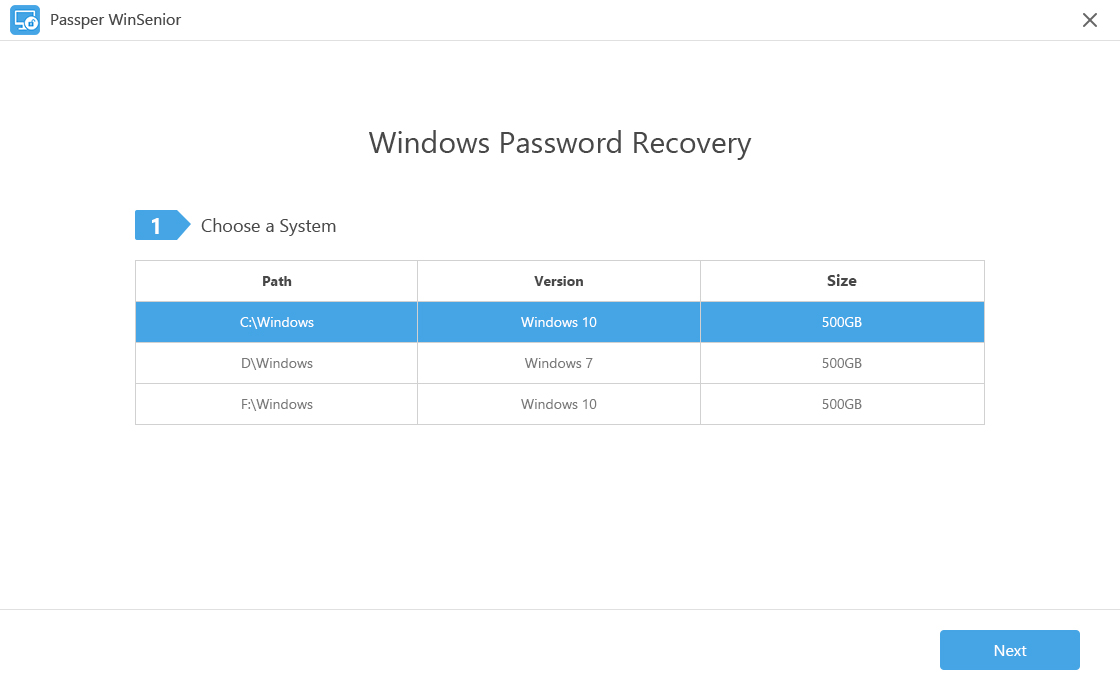
Part 3: Access the Locked Computer
You will get a guide for using a created CD/DVD/USB flash drive to reset a Windows password as follows:
1. Reset Windows Password
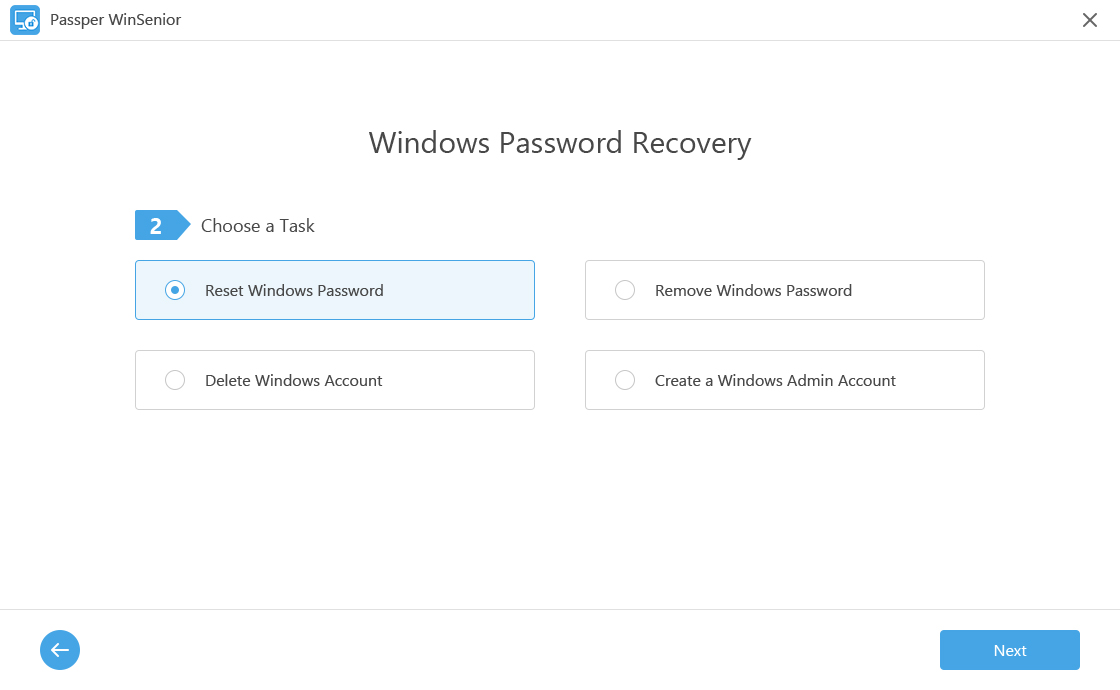
Step 1Select "Reset Windows Password" from the list on the interface. Click Next to proceed.
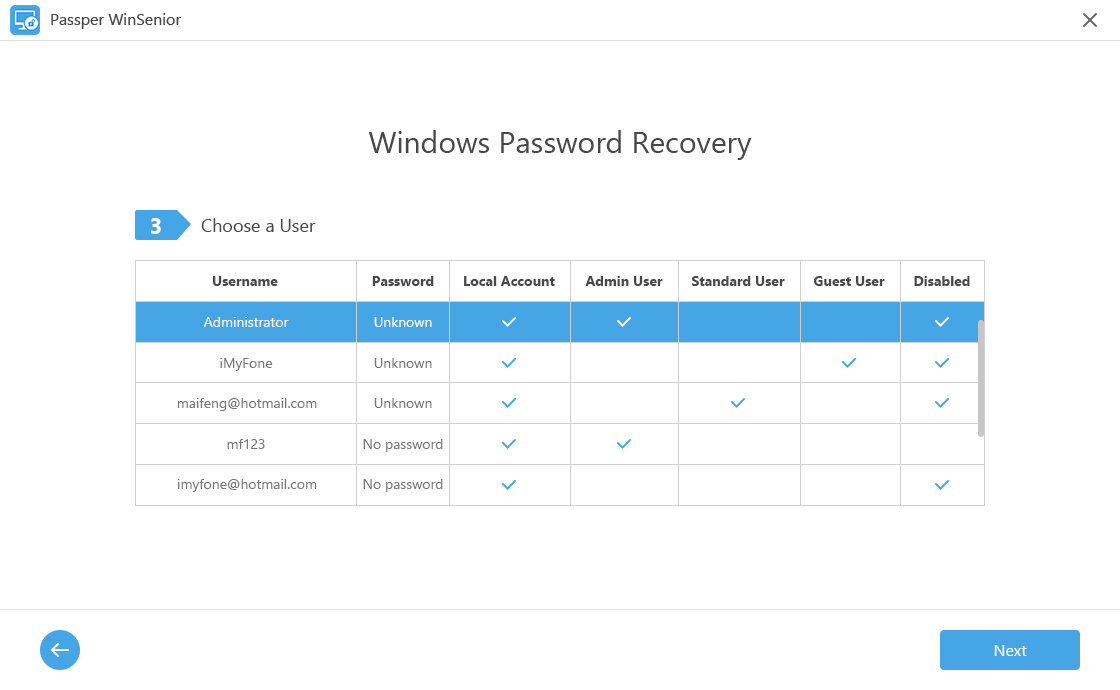
Step 2Select the user account for which you want to reset a password and click Next. Enter the new password for the target account and click Reset.
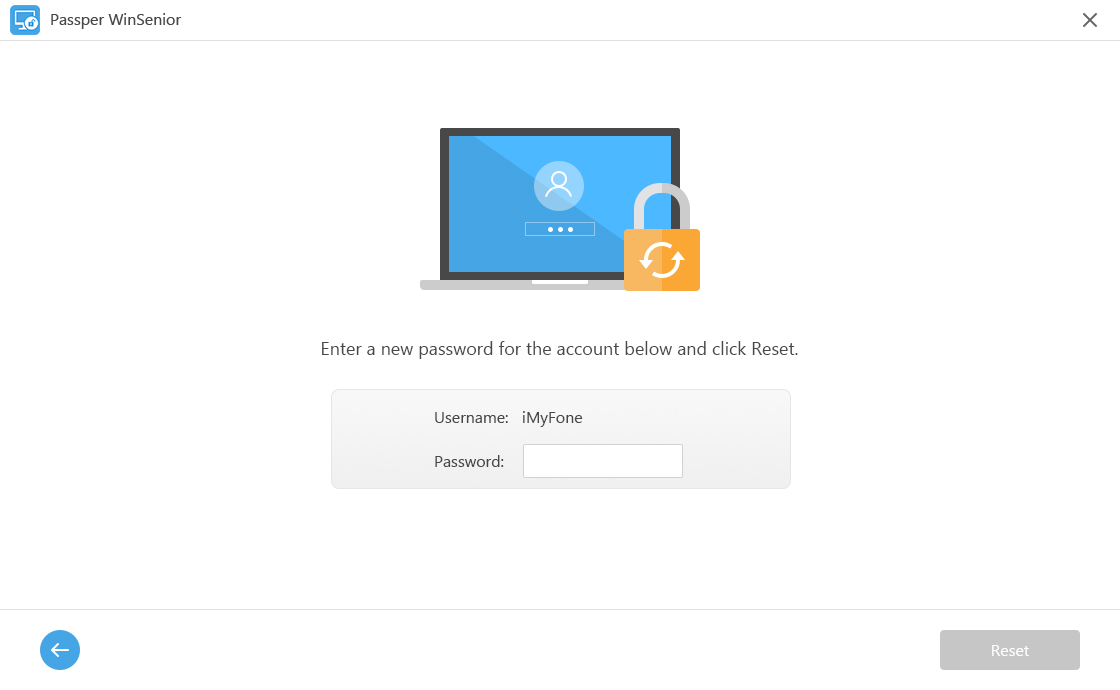
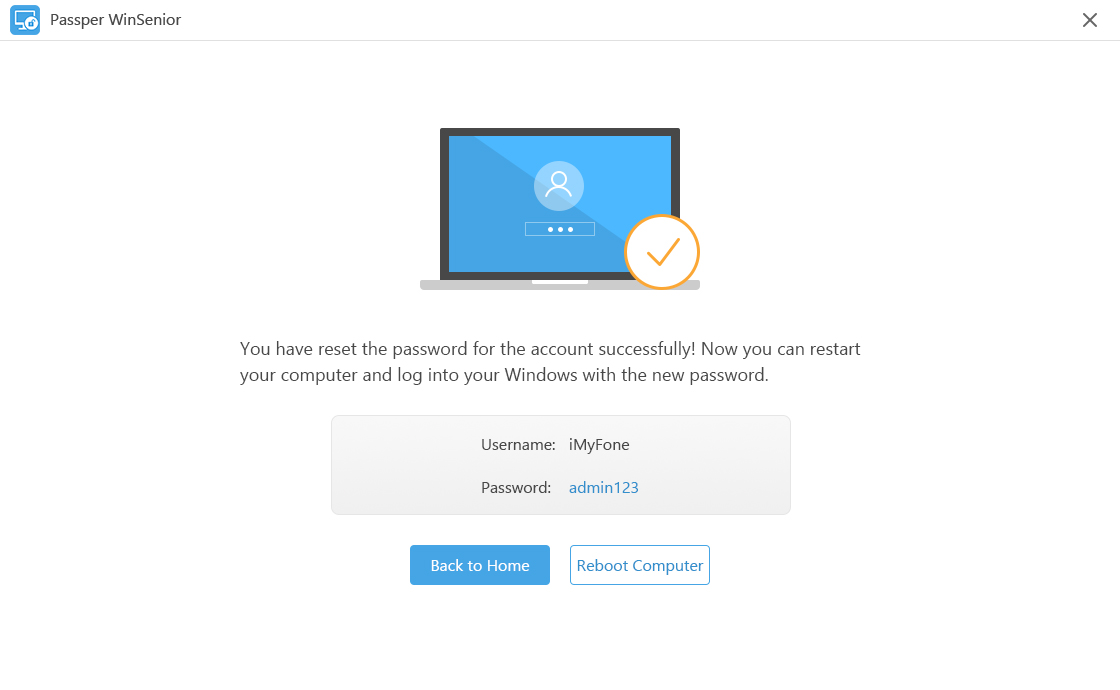
Step 3 A notification will inform that you've reset the password for the account successfully. Click Reboot Computer. Eject the CD/DVD/USB flash drive and click Reboot Now to confirm that you want to reboot the computer. When the computer powers on, use the new password.
2. Remove Windows Password
Step 1Select the "Remove Windows Password" button from the interface and click Next.

Step 2 Select the user account from which you want to remove Windows password and click Remove.

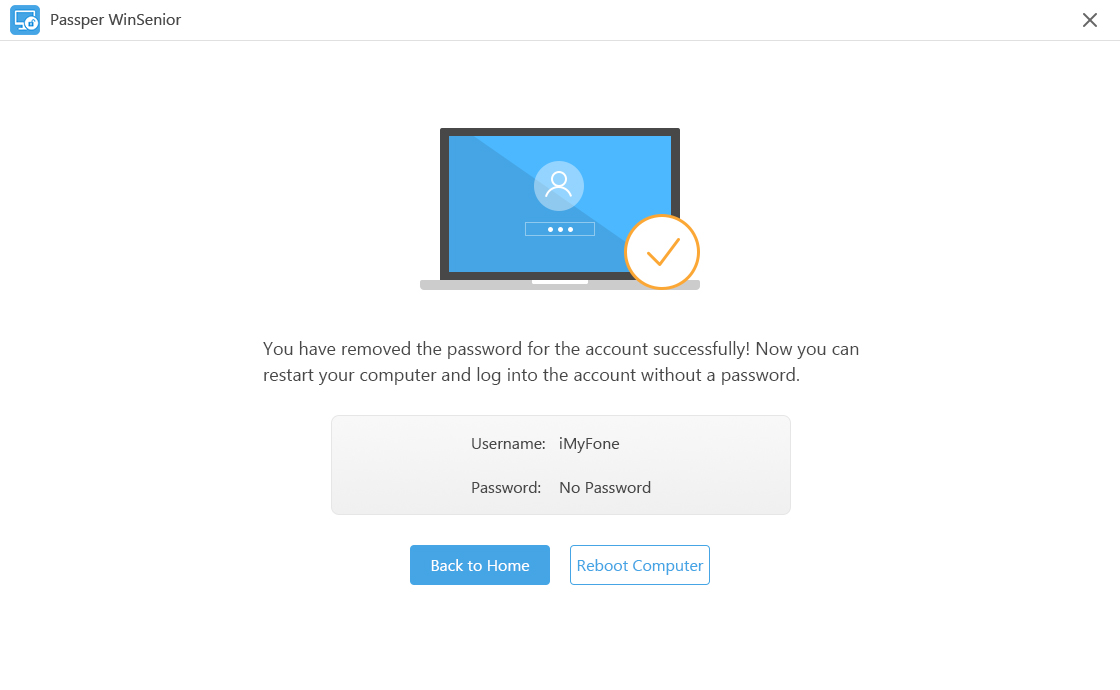
Step 3After a short while, your password will be removed successfully, you can restart your computer and login into the account without a password.
3. Delete Windows Account
Step 1Select Delete Windows Account on the Choose a Task screen.

Step 2Select the user account to be deleted.

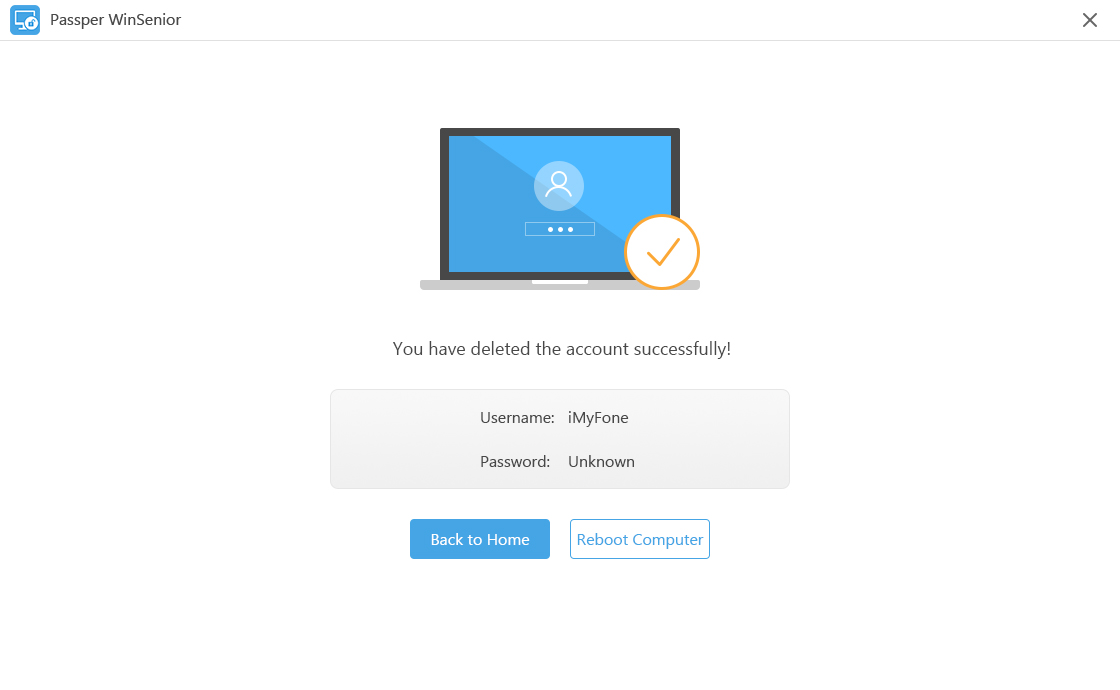
Step 3Click Delete. You'll be notified that the account has been deleted immediately.
4. Create a Windows Admin Account
Step 1Select Create a Windows Admin Account option in the Choose a Task window.

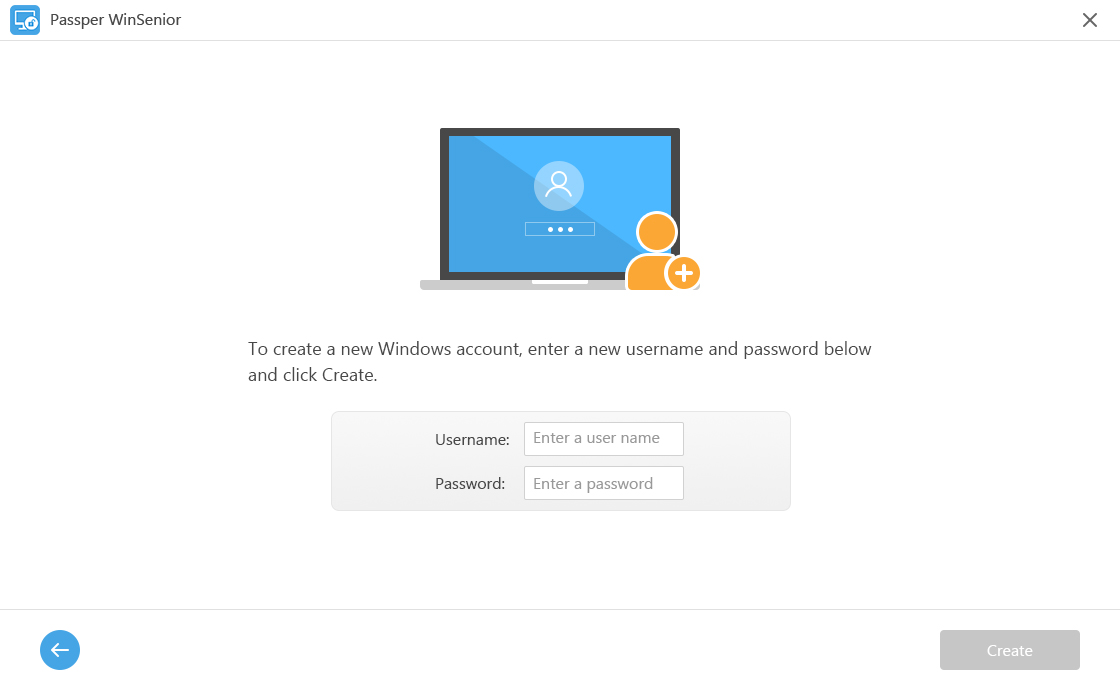
Step 2 Enter the username and password you wish to assign to the account.
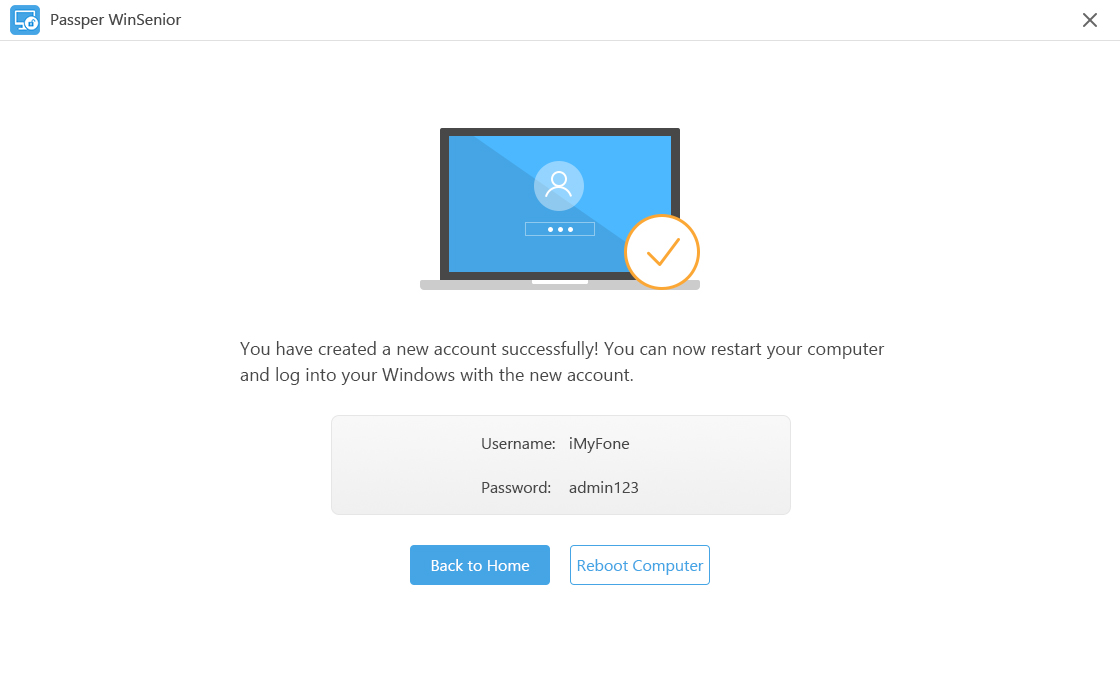
Step 3 Step 3. When you are done, you will see your new account on the screen. Click Reboot Computer. You'll be able to use the new account to log into Windows once the PC restarts.


 Guide
Guide