Guide
Guide
Passper Pro is a powerful and professional file unlocker. It not only recovers file passwords to help you open locked files, but also removes editing restrictions on protected files so you can edit and copy.
Before unlocking password-protected files, install Passper Pro on your computer.
Part 1: How to Recover Opening Password for Password-protected File
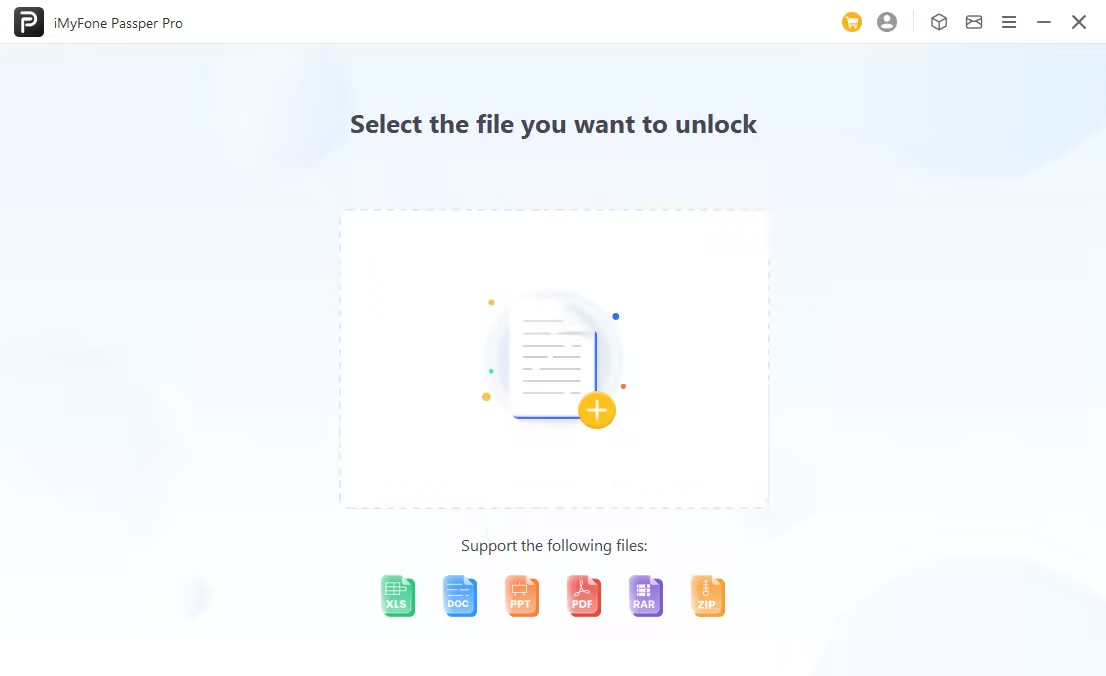
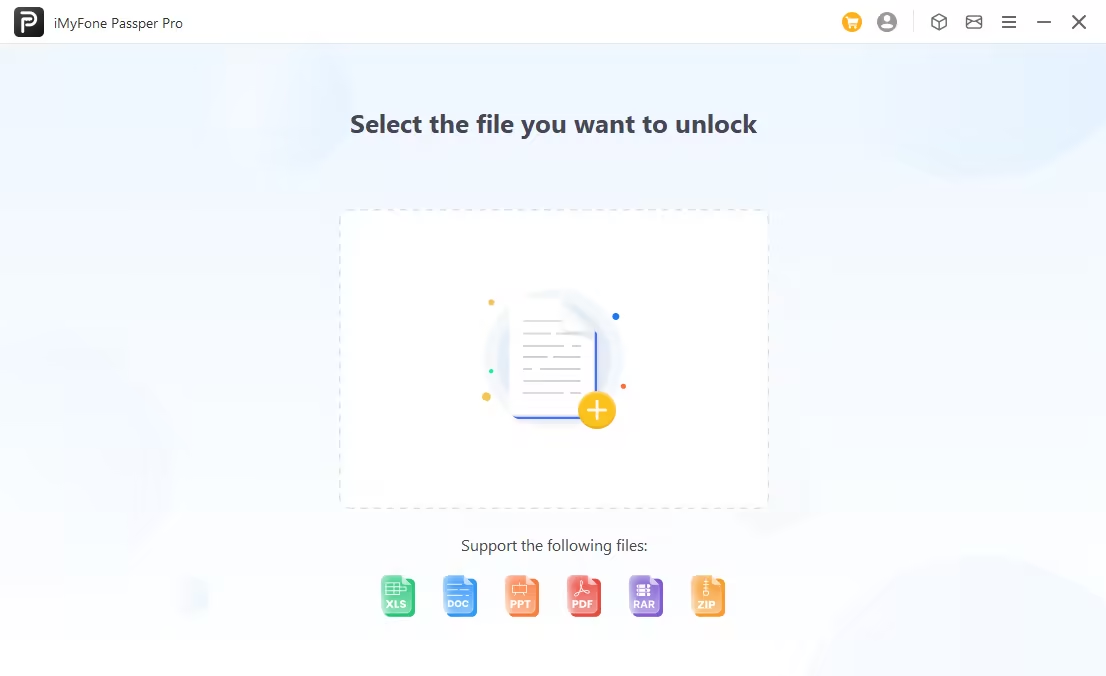
The steps are the same for different file types (Excel/Word/PowerPoint/PDF/ZIP/RAR). Here is an example of an Excel file.
Please select your level of familiarity with the password for this file, and the system will recommend suitable attack methods for you.
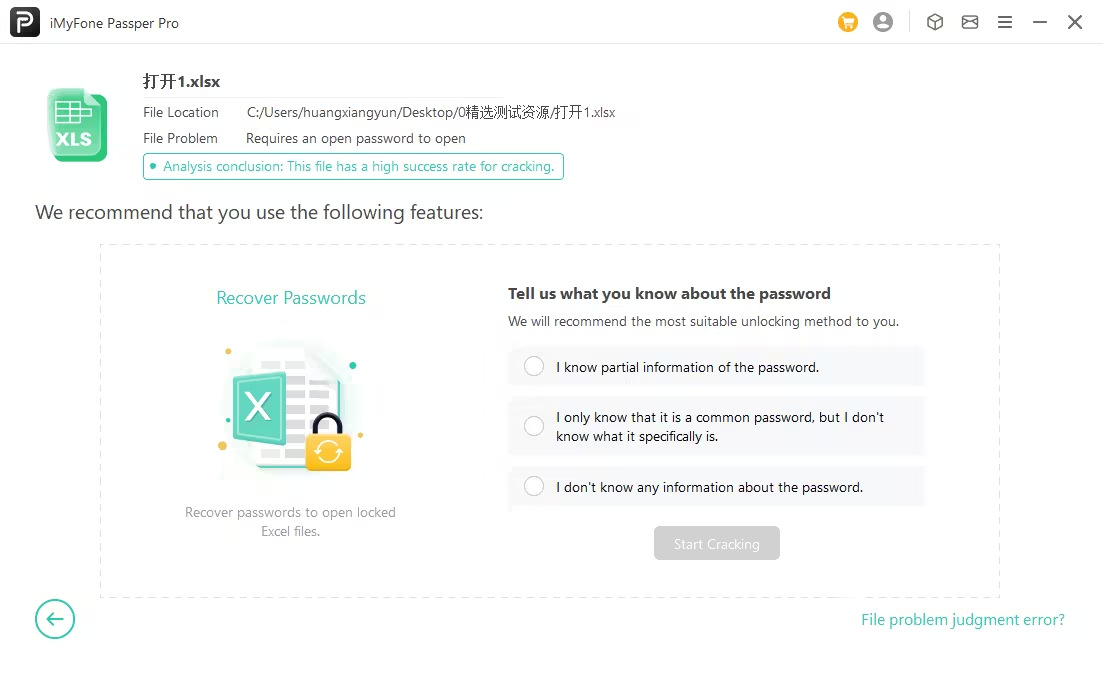
Please choose the appropriate attack method based on your own situation.

Based on the varying levels of your familiarity with the password, we recommend different attack methods for your consideration. The details are as follows:
① I have partial information about the password.
- We recommend using a combination attack or mask attack.
② I know it's a common password, but I don't know the specific details.
- We recommend using a dictionary attack.
③ I have no information about this password.
- We recommend using a brute-force attack.
In addition, here is a detailed description of the 4 modes of attack. If you are still not sure which mode to choose after reading it, you can send us an e-mail to passper.support@imyfone.com.
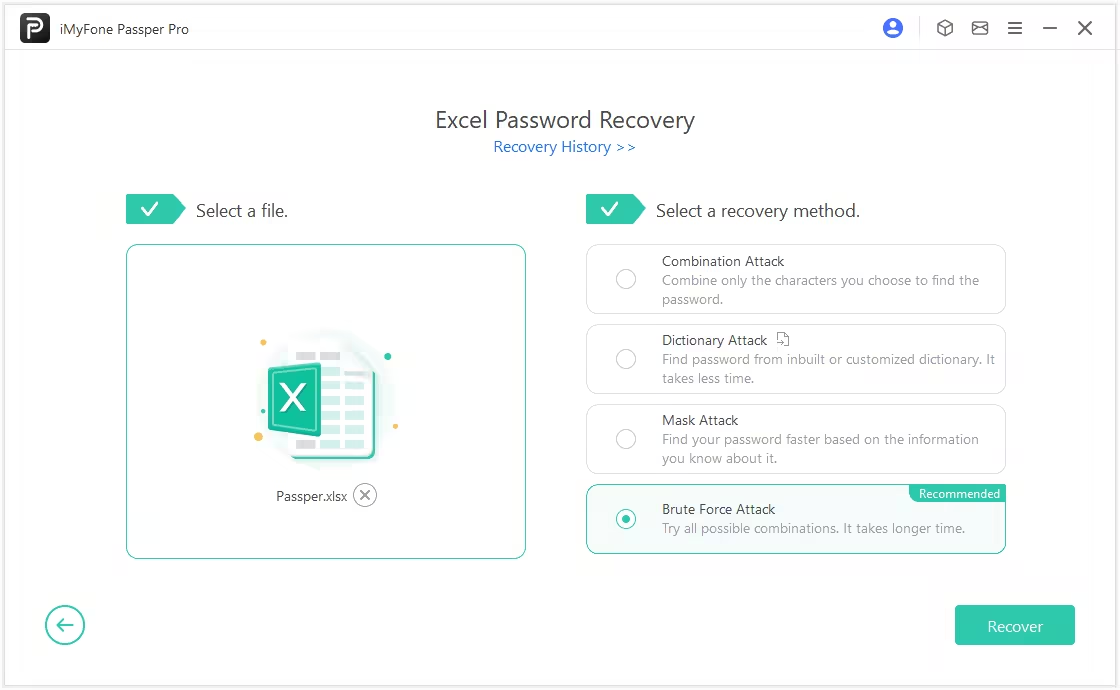
It is a widely used method to unlock passwords for many types of files. It uses a dictionary that contains millions of the most commonly used passwords. Thus the chance of recovery is high. By using this mode you can take advantage of the built-in dictionary or import your own from the settings menu.
Find your password by customizing the character settings and randomly combining the characters you choose.
For example, you usually use your name (Tom) and some numbers to create a password of 6-8 characters. You can customize the settings as follows:
Password Length: 6-8 characters
Uppercase Letters: T
Lowercase Letters: o,m
Numbers:
Select All
The program will combine only the characters you choose and try all the combinations of these characters. The fewer characters you choose, the faster it will find your password.
If you have a little clue about the password, you are highly recommended to use this attack. It will consider the characters, prefixes, suffixes, and length of the password and try to recover the password. This method will be better if you know certain character types not included in the password.
For example, you are sure that your password won't have symbols. You think that your password may contain your name (Mary) and you usually set a password of 6-8 characters. You can customize the settings as follows:
Password Length: 6-8 characters
Characters not included: symbols
Characters or combinations
of characters may be included: Mary
The program will combine all the other characters (uppercase letters, lowercase letters, numbers except symbols) with "Mary" to find your password. If your name "Mary" doesn't appear in the password in its entirety, write the letters separately.
If you have no clue about what the password of your Excel file could be, this is the method you should choose. Bear in mind that this method will take a little longer to find out the password for your file.
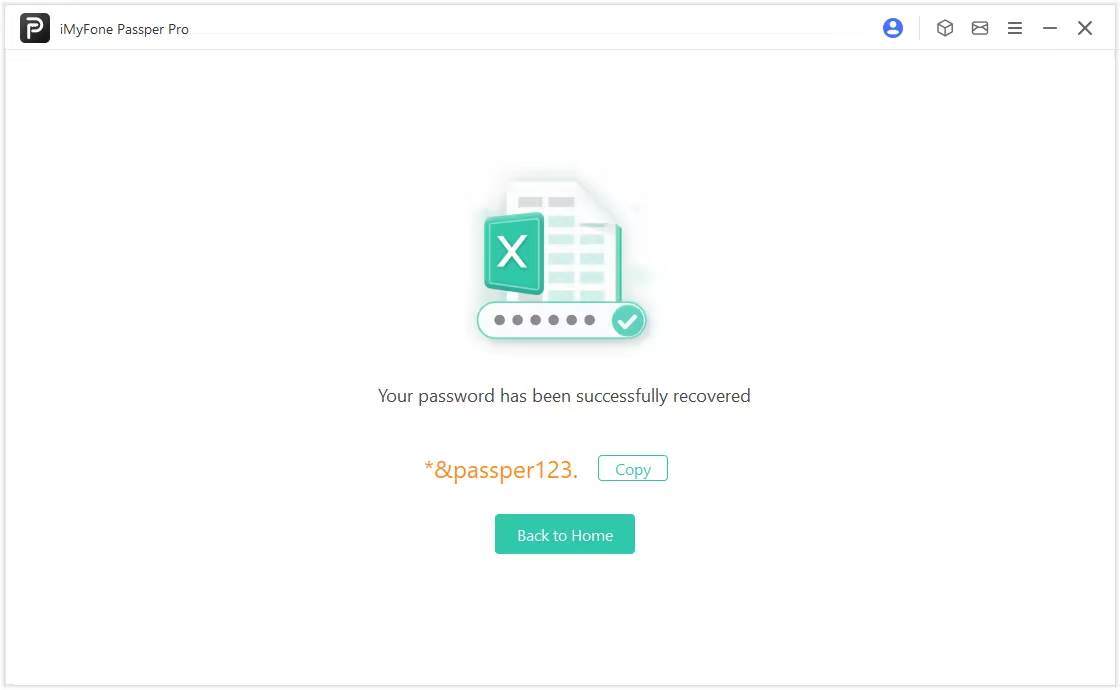
Once you have selected a mode of attack and customized the settings, click "Recover". The program will start recovering the password. Wait while it works on it. The password will be displayed on your screen when it is found. Then you can copy or type the recovered password to open the file.
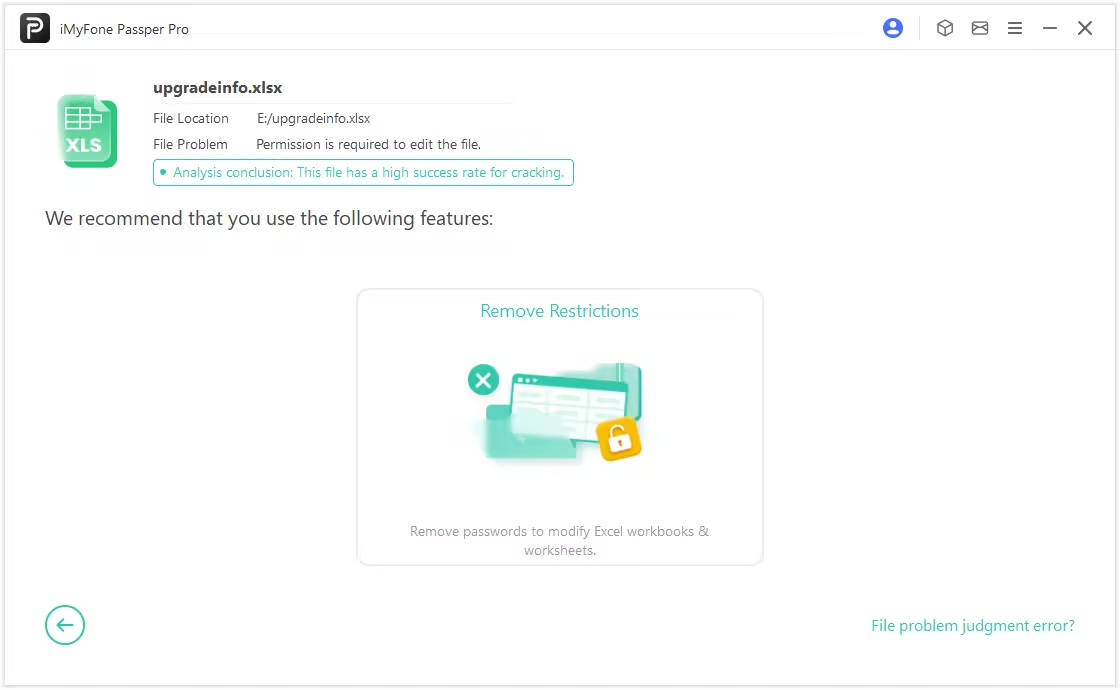
Part 2: How to Remove Restrictions on Read-only File.
You can also use Passper Pro to remove editing and formatting restrictions from an read-only file.
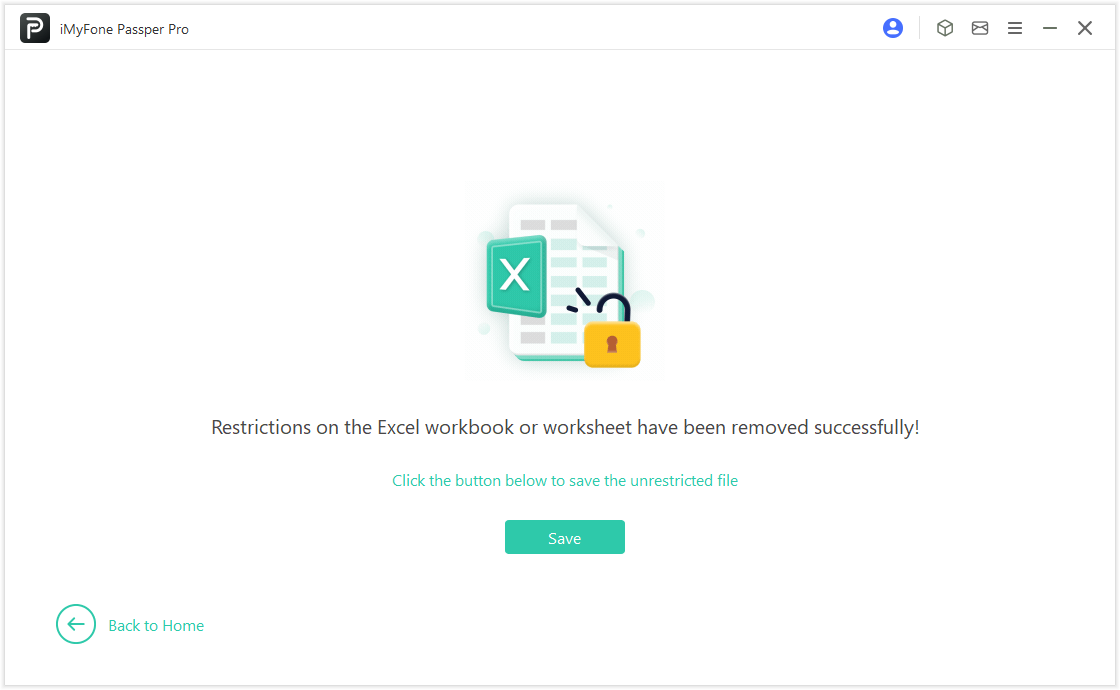
Click 'Remove Restrictions' to initiate the process; all editing and formatting restrictions on the read-only file will be removed within seconds.
Click 'Save' and you will find the unrestricted file in the Passper Pro folder on your desktop.