Microsoft Excel and PowerPoint are two of the most popular tools in today's business world. People often use them separately, but they can also be integrated to make your work more efficient and effective.
For instance, you might want to use an Excel spreadsheet in a PowerPoint presentation to show your audience some data along with your slides in a clear and concise way.
Or maybe you want to insert an Excel file into PowerPoint so that you can increase the effectiveness of your presentations.
Either way, learning how to insert Excel into PowerPoint can be a handy skill. In this article, we'll show you four different ways to insert an Excel spreadsheet into PowerPoint with step-by-step instructions.
Part1. Perfect Guide On How To Convert Excel Sheet To Powerpoint Slide
Part2. Extra Tips: How To Do If You Lost Your Excel Password
Part 1. Perfect Guide On How To Convert Excel Sheet To Powerpoint Slide
One of the best things about Microsoft Office is that it lets you combine content from different Office apps and create a single, cohesive document.
That means you won't have to go through each document individually to find the information you need; it can all be found in one place.
Similarly, If you want to take the data from your Excel spreadsheet and turn it into an eye-catching PowerPoint presentation, there are a few different ways to do so.
Solution 1: Inserting Excel into PowerPoint as an Object
Like all other Office apps, PowerPoint has a feature called "Insert Object". This feature lets you insert other types of files into your presentation, including spreadsheets, PDFs, word documents, or images.
You may also use this option to show the file as an icon or just the content of the file on your slide. That way, when you give your presentation, you can simply click the icon or content to open it in Excel.
Here's how to insert an Excel spreadsheet into PowerPoint as an object:
Step 1: Open your PowerPoint presentation and go to the slide where you want to insert the Excel spreadsheet.
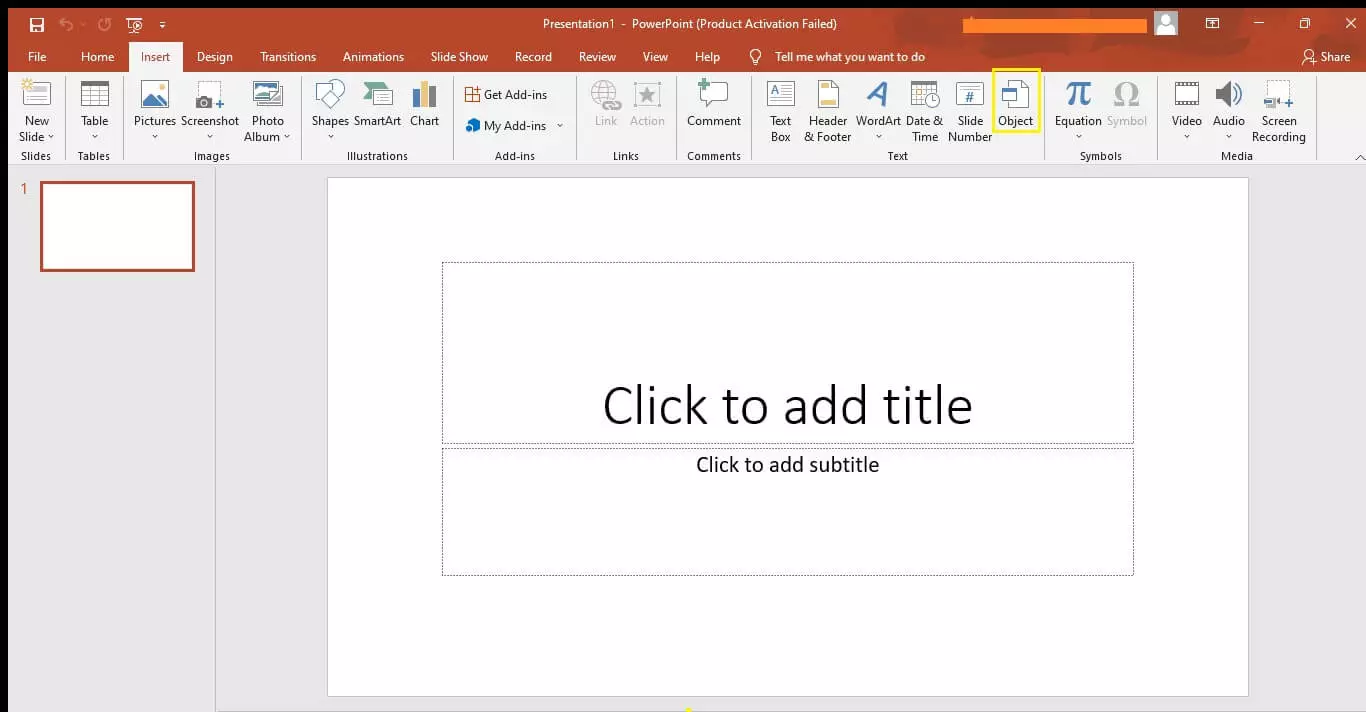
Step 2: From the Insert tab in the menu above, click Object.
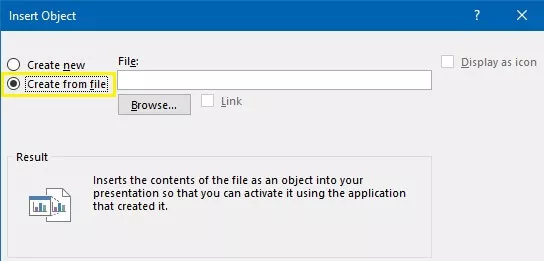
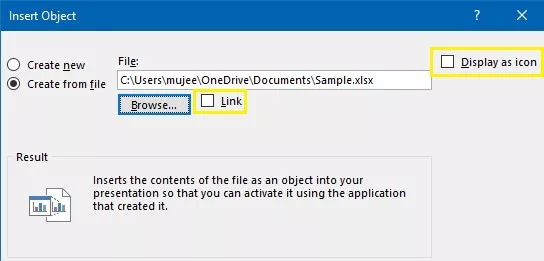
Step 3: In the "Object" dialogue box that appears, click the "Create from File" tab.
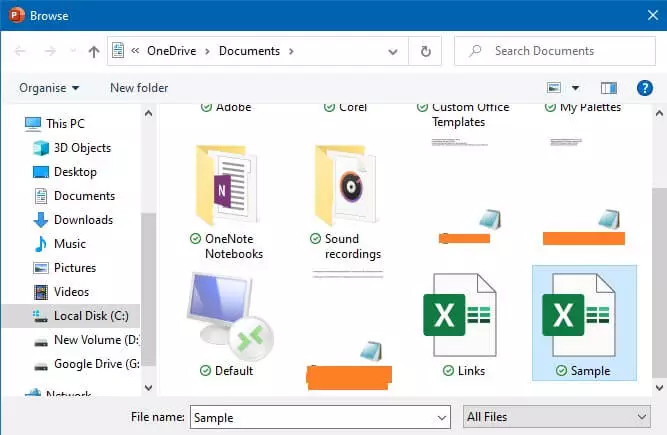
Step 4: Now, click the "Browse…" button and select the Excel spreadsheet you want to insert into your presentation.
Step 5: Once you've selected the file, make sure the "Link to file" and "Display as icon" options are both checked. If you wish to add the content of a file that will automatically update when you update the Excel file, you can use the "Link" option instead of "Display as icon".
Step 6: Click the Insert button.
Depending on the option you choose, your Excel spreadsheet will now be integrated into your PowerPoint presentation as an icon or as content. Simply click on it during your presentation to open it.
Solution 2: Insert Excel into PowerPoint Using 'Special Paste'
You can also insert an Excel spreadsheet into PowerPoint by using the "Special Paste" feature.
This built-in PowerPoint option allows you to link a specific section of Excel data to your presentation instead of linking the whole Excel spreadsheet, which can be very useful if you only want to show some graphs or charts with their relevant data.
Here's how to insert an Excel spreadsheet into PowerPoint using the "Special Paste" feature:
Step 1: Start by opening both your Excel spreadsheet and PowerPoint presentation.
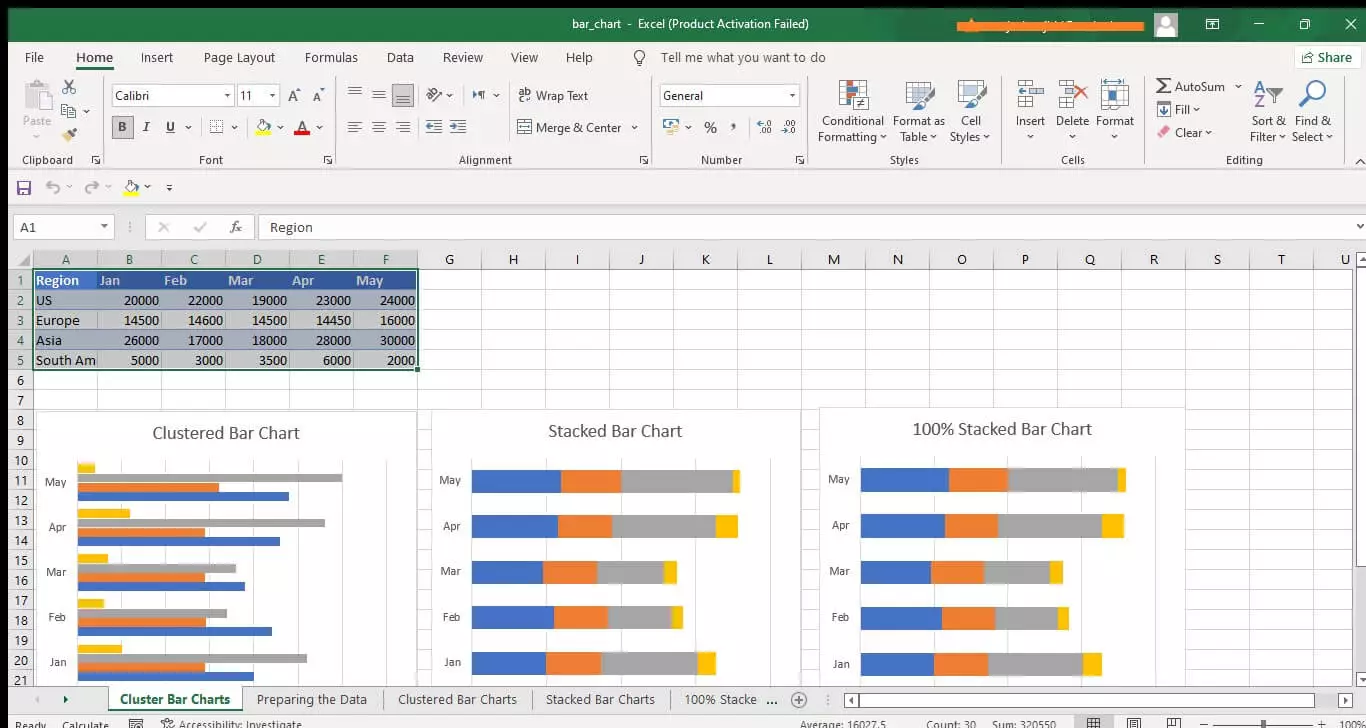
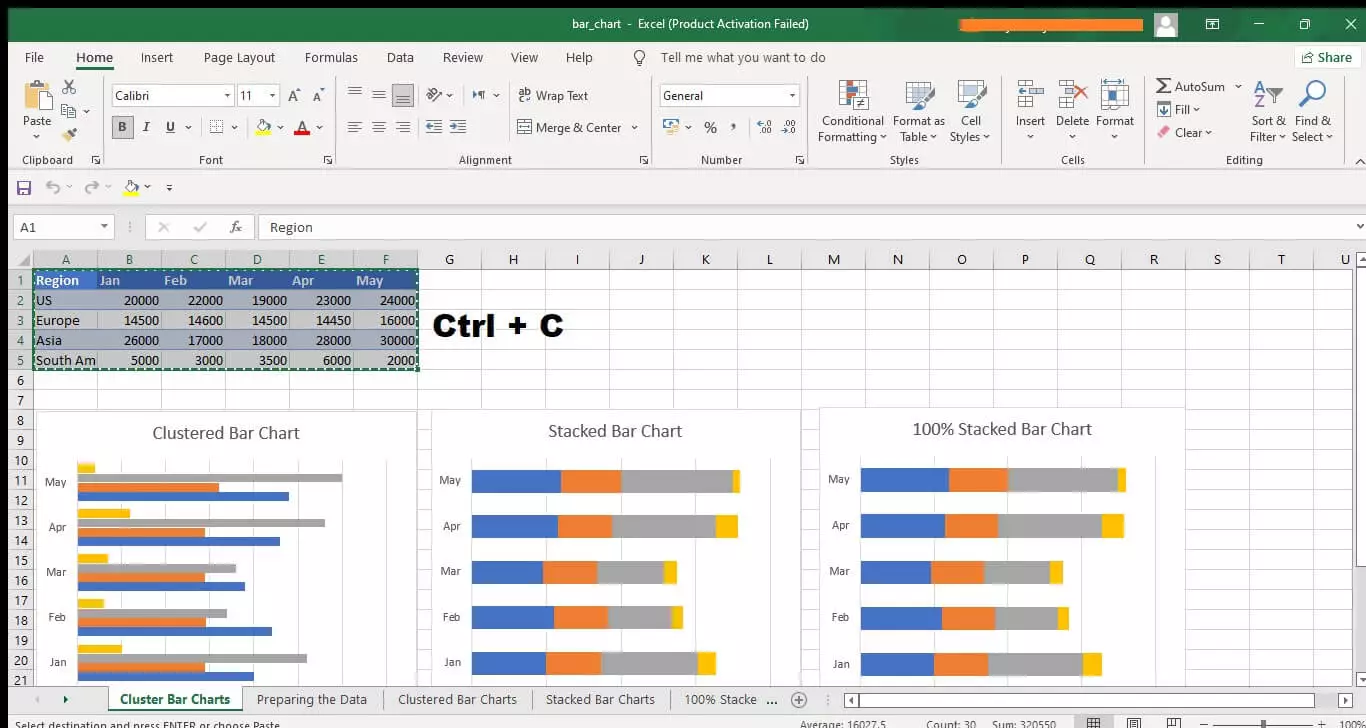
Step 2: In Excel, select the data you want to insert into your presentation. The selected data can be a single cell, a range of cells, or even charts and related graphs.
Step 3: Once you've selected the data, press "Ctrl + C" on your keyboard to copy it.
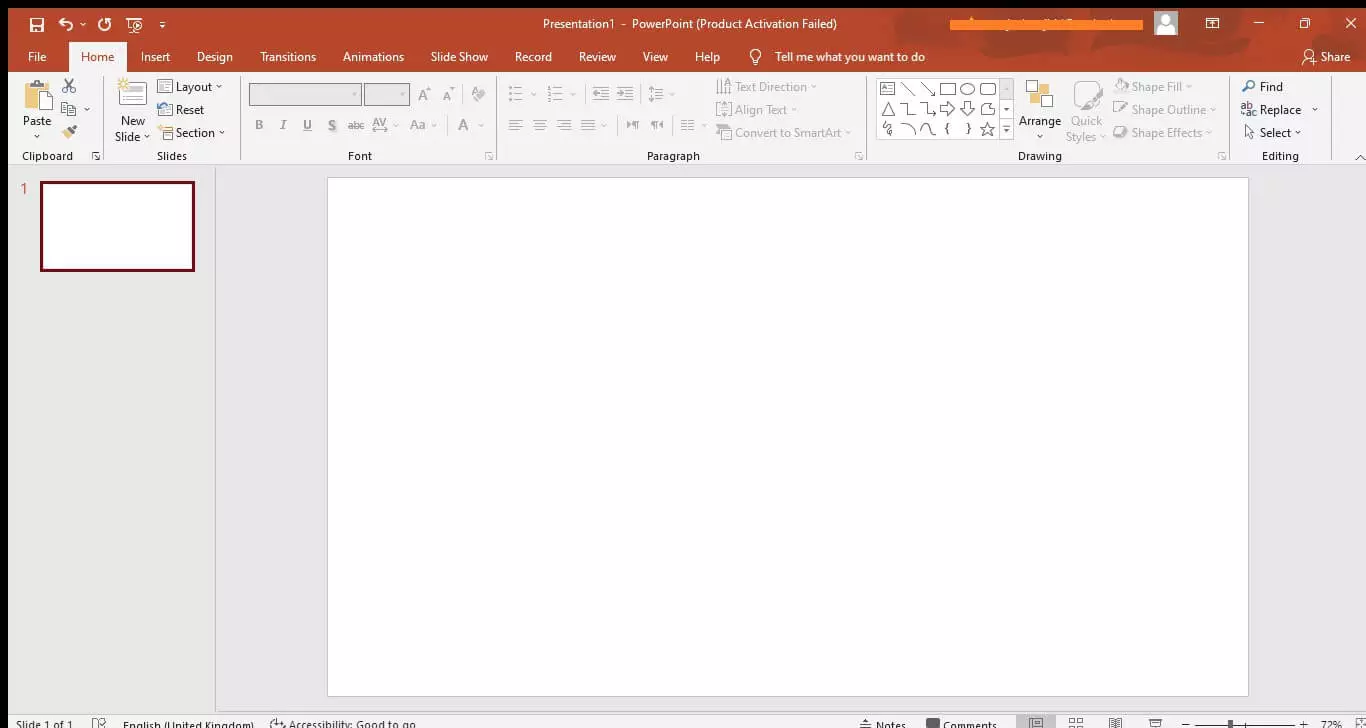
Step 4: Now go to your PowerPoint presentation and select the slide where you want to insert the Excel data.
Step 5: On the "Home Tab" in the menu above, click on the "Paste" drop-down arrow. From the list of options that appears, click on the "Paste Special" option.

Step 6: Select the "Paste Link" option in the dialogue box that appears, then choose the "Microsoft Excel Worksheet Object" option and click OK.

Solution 3: Inserting Excel into PowerPoint as an ScreenShot
If you don't want to link excel in powerpoint or if the file is too large to insert using either of the methods above, then another option is to take a screenshot of your data and paste it into your presentation as an image.
Screenshots are ideal for inserting an image of your entire spreadsheet or just a specific section into PowerPoint. Simply choose the area you want to capture and copy it as an image to slide.
Here's how to insert an excel into powerpoint as a screenshot:
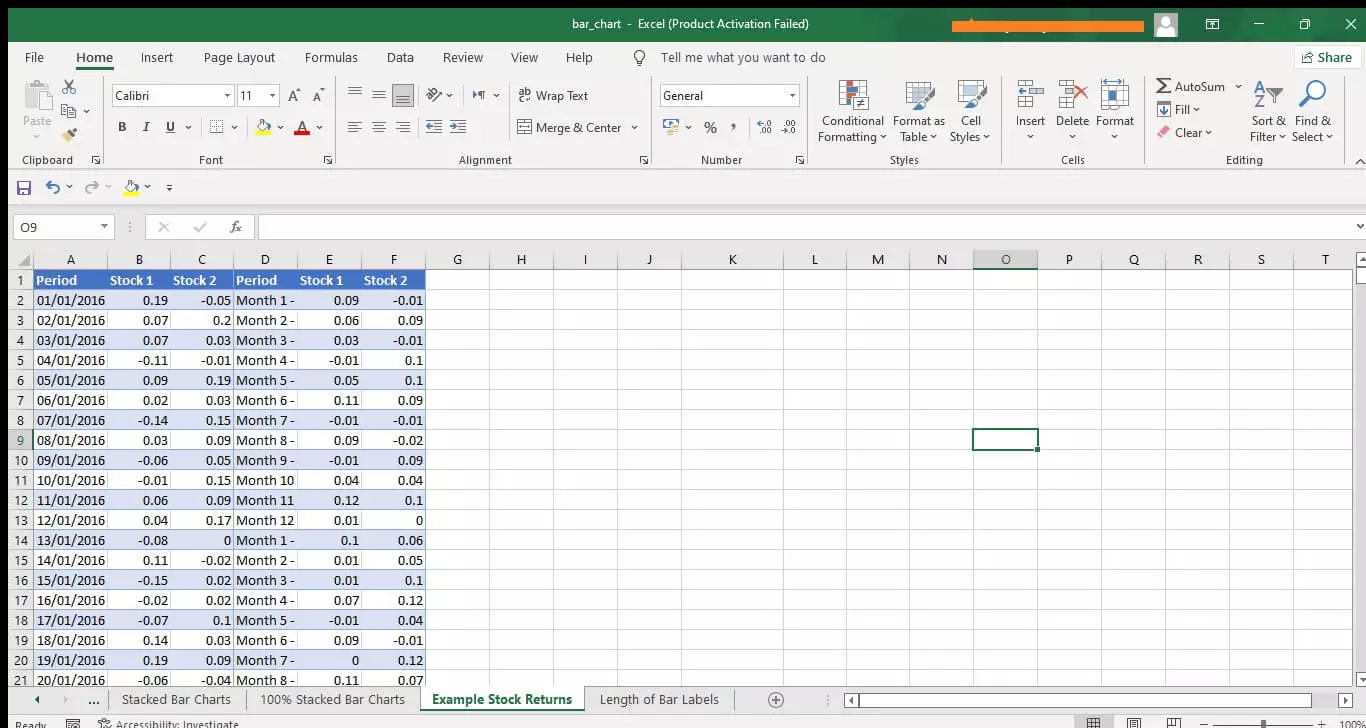
Step 1: Open your Excel document and go to the sheet of which you want to take a screenshot.
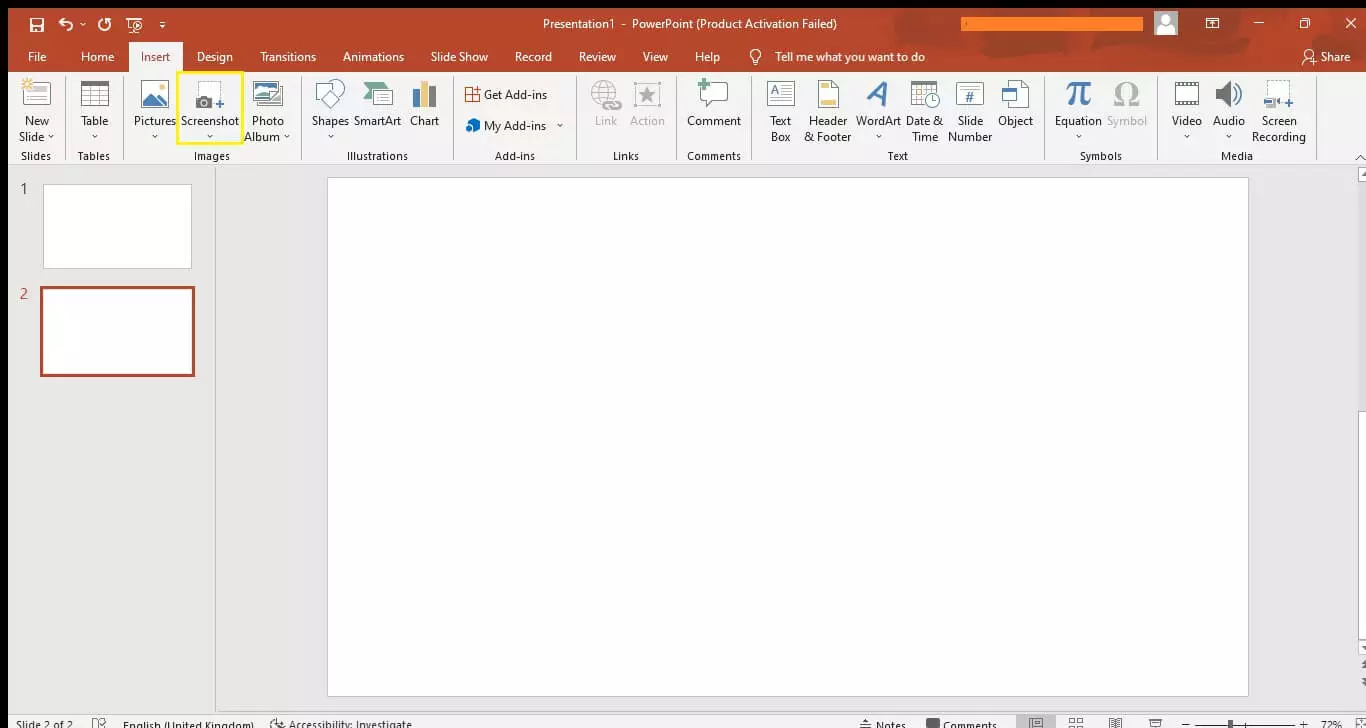
Step 2: In your Powepoint presentation, go to the slide where you want to insert the screenshot and click on the "Insert tab". Then select "Screenshot" option from the menu.
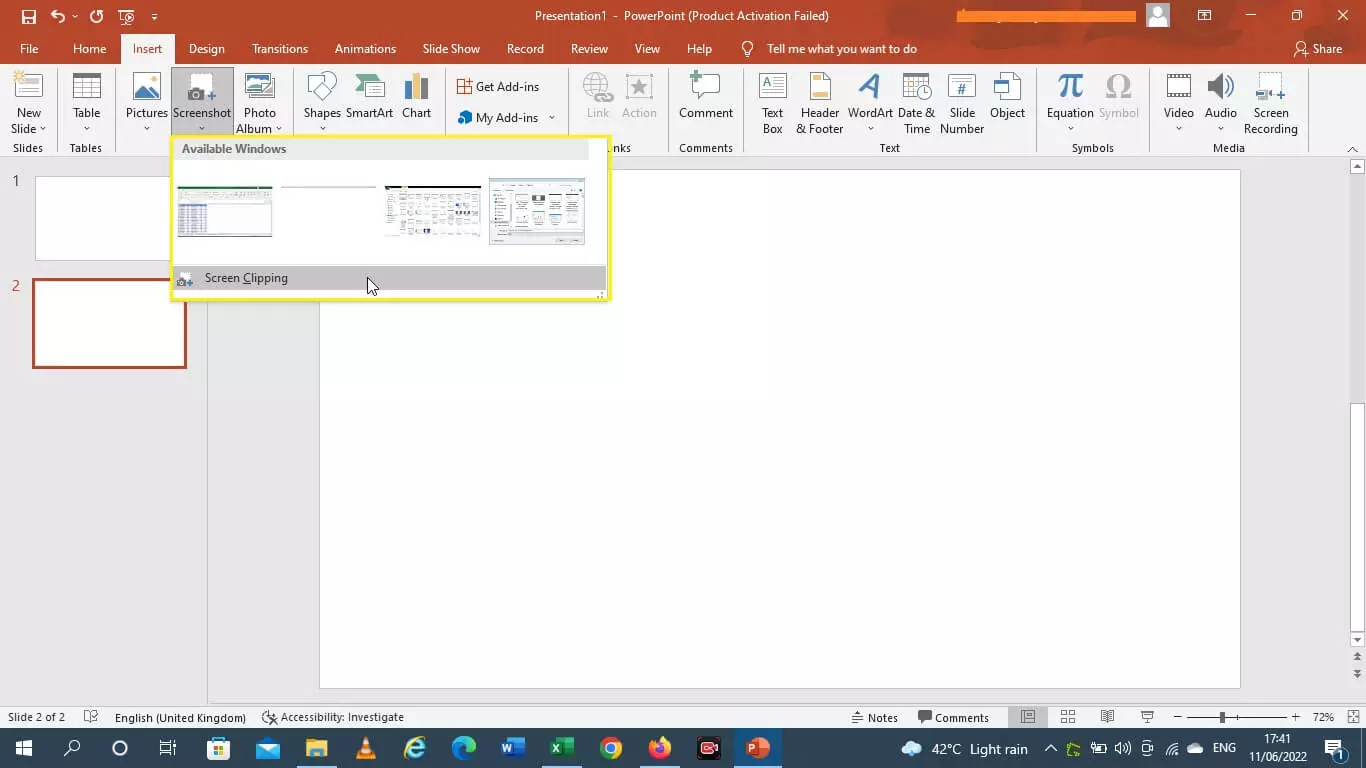
Step 3: To capture the whole screen of your opened Excel file, select it from the "Available Windows" list. To take a screenshot of only a specific region, click on "Screen Clipping".
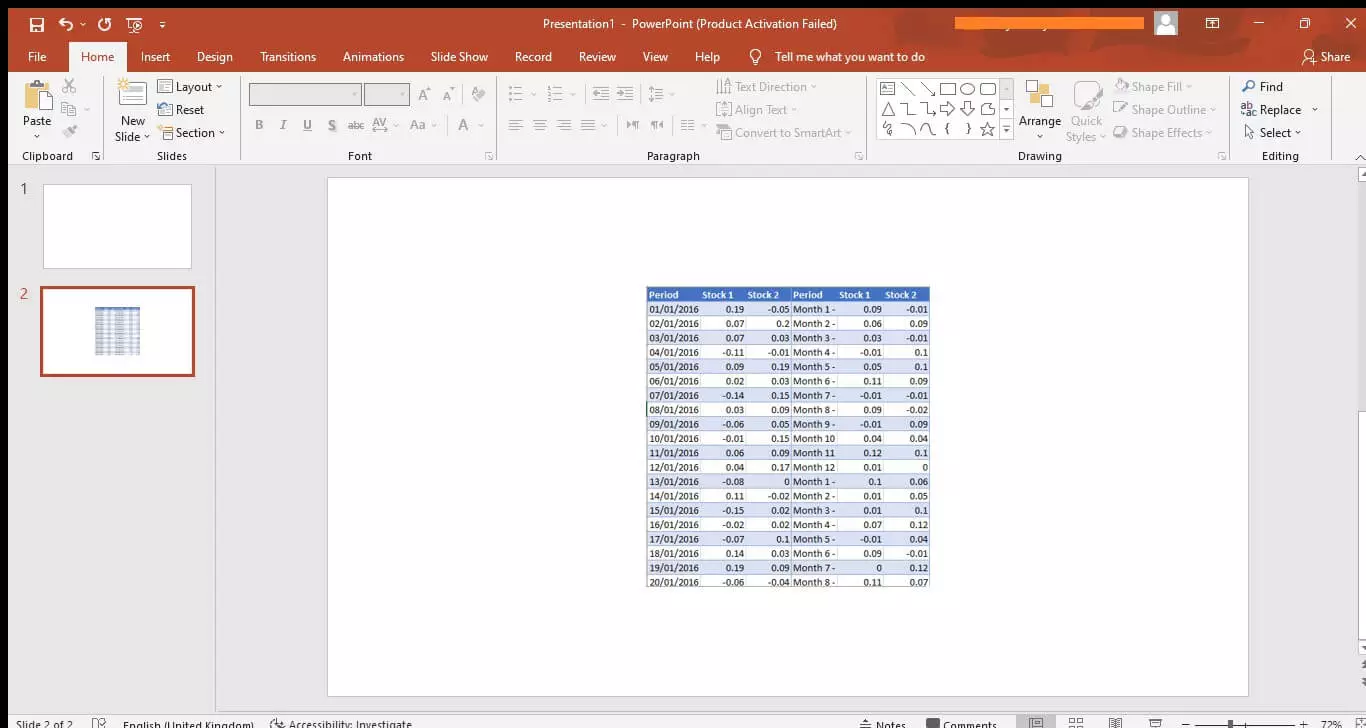
Step 4: After selecting one of the options, a screenshot of your Excel sheet will be taken and loaded into PowerPoint, where you can further adjust and resize it.
Solution 4: Insert Excel into PowerPoint Using Drag & Drop
This solution is a little less known, but it's still quite handy. It's also easier than some of the methods we've looked at so far.
The drag and drop method allows you to insert an Excel spreadsheet into PowerPoint by simply dragging it from your Excel window into your PowerPoint presentation.
Here's are a few easy steps on how to insert excel into ppt using drag and drop:
Step 1: First of all open your PowerPoint presentation and select the slide where you want to insert your Excel data.
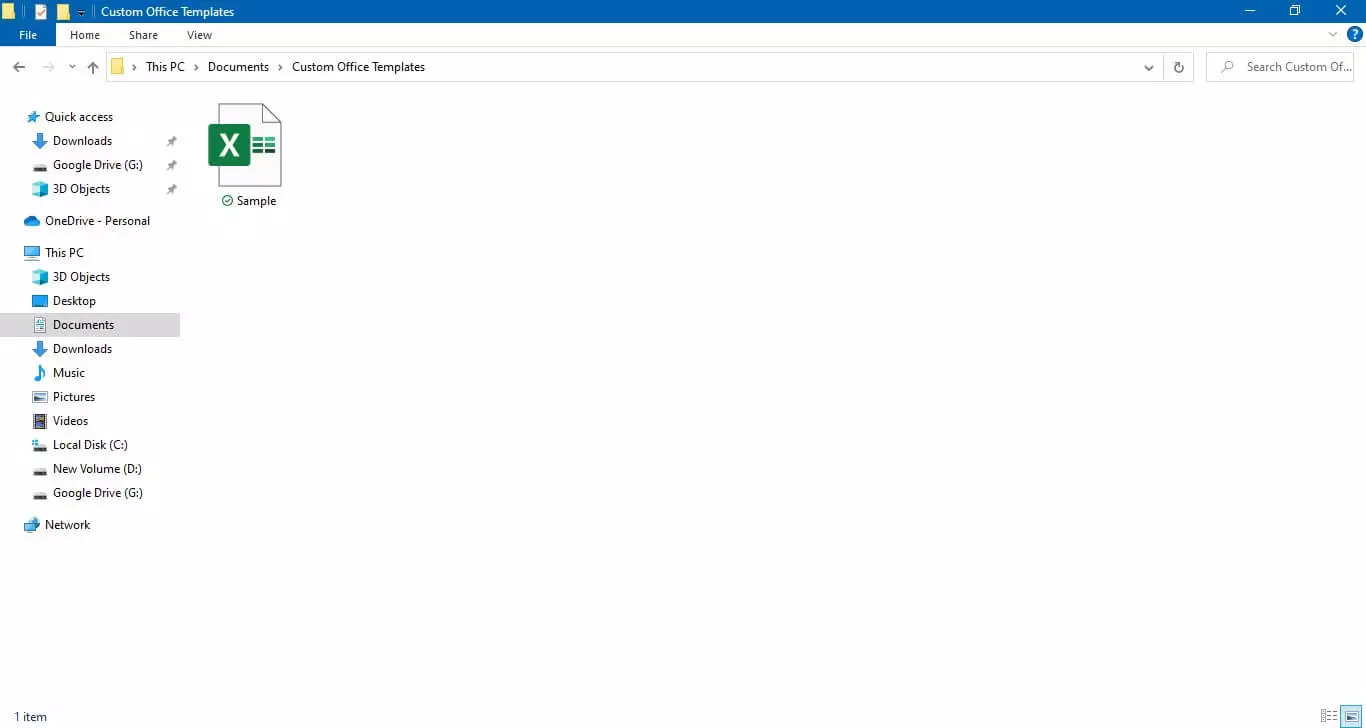
Step 2: Then in your Windows’ file manager, go to the location of your Excel spreadsheet.
Step 3: Now simply click on the Excel file and drag it into your PowerPoint presentation window.
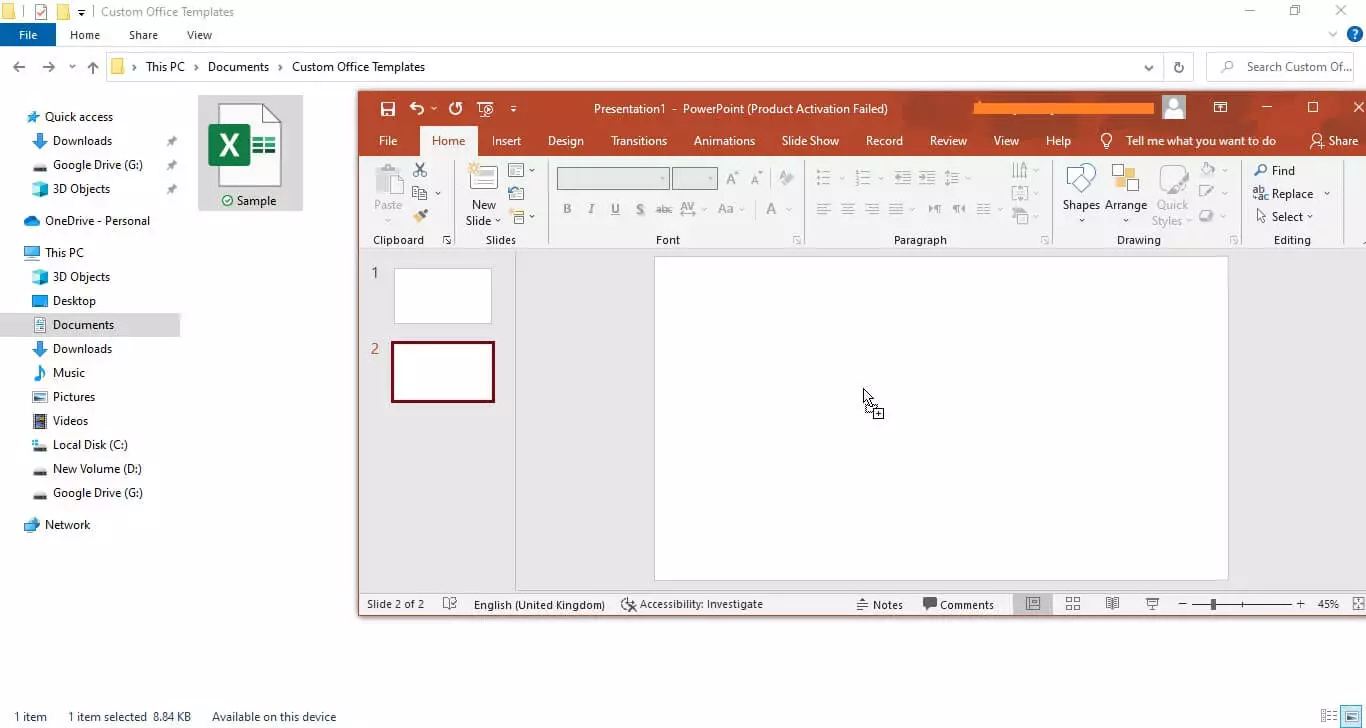
Your Excel file will now be inserted into PowerPoint. You can double-click on it to select a different sheet or edit it directly from the PowerPoint interface without opening the file in Excel.
Part 2: Extra Tips: How To Do If You Lost Your Excel Password
Inserting your Excel spreadsheet into PowerPoint is an easy process, but you may encounter problems if your Excel file is password protected and you can't access it.
If you're also in the same situation and have forgotten your Excel opening password, then using the Passper for Excel is a easy way to remove password protection from your file so that you can open, edit, and insert it into PowerPoint.
It is a powerful Excel password recovery tool that can help you remove all kind of restrictions and unlock the password-protected Excel files regardless of their password length or complexity. It uses advanced AI algorithms to intelligently identify issues in Excel files, allowing for the quick removal of restrictions or cracking passwords.
The following are some of the important features of Passper for Excel:
- Four intelligent password attack modes
- One-click password & restrictions removal
- 10X faster speed with GPU acceleration
- Support all Excel versions & file formats
- High sucess rate for opening password
Here is a step-by-step guide on how to use Passper for Excel to open a password-protected Excel file:
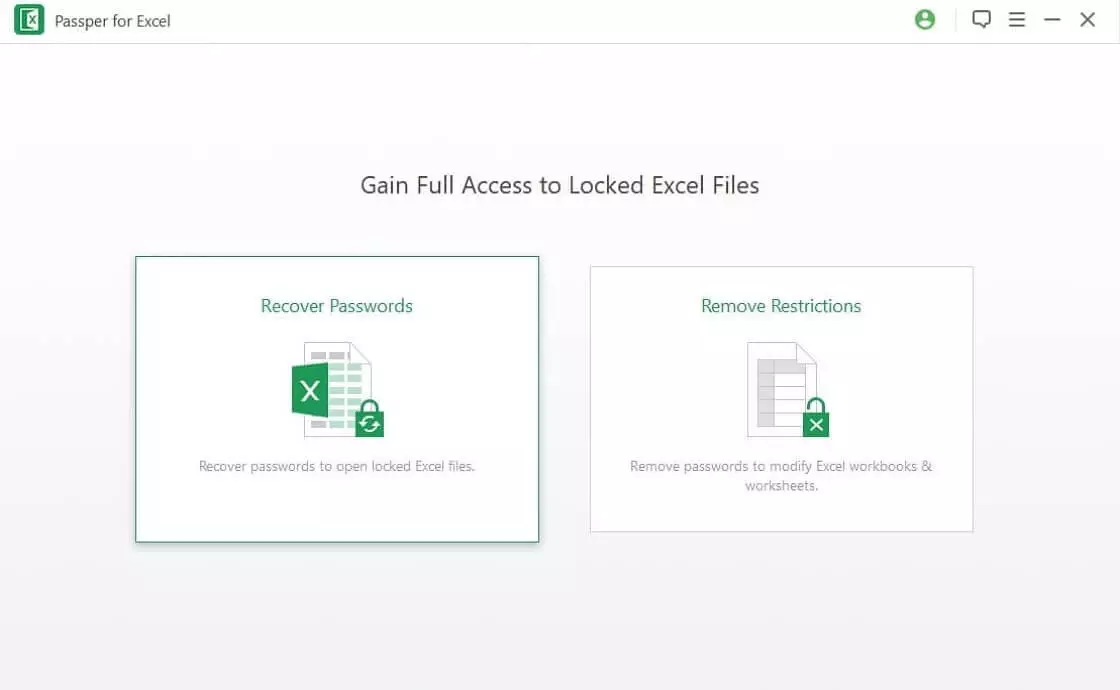
Step 1: Download and install Passper for Excel on your computer. After that, launch the program and select "Recover Passwords" mode.
Step 2: Click on the "Add File" button and select the password-protected Excel file that you want to open.
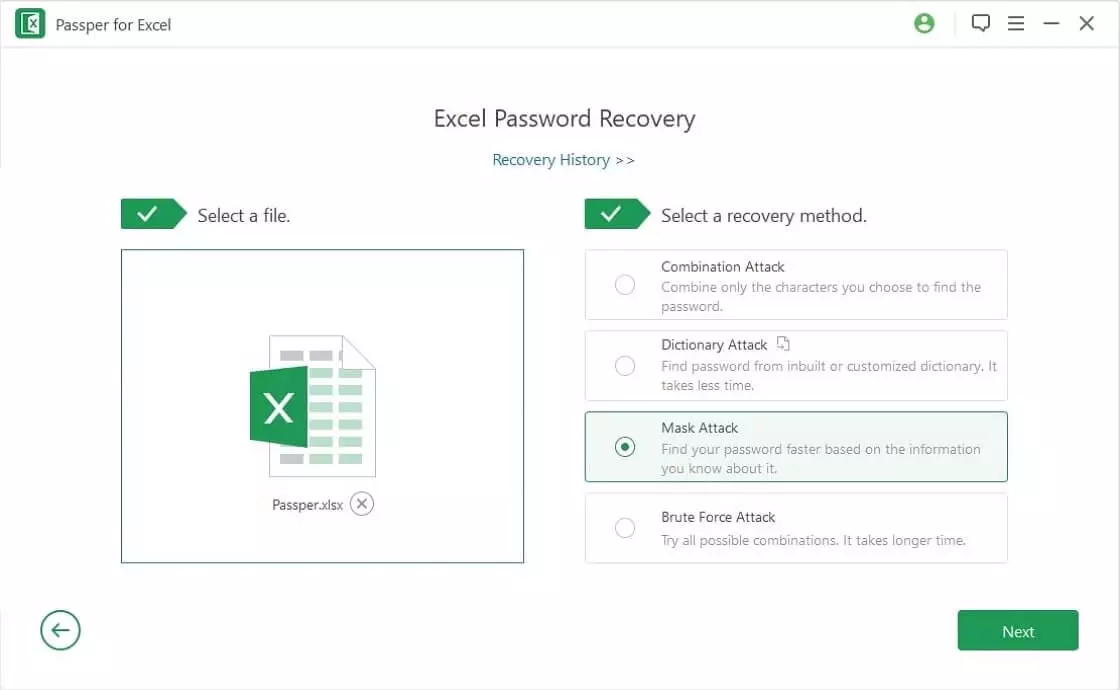
Step 3: Now select an attack mode from the four options provided and click on the "Next" button.
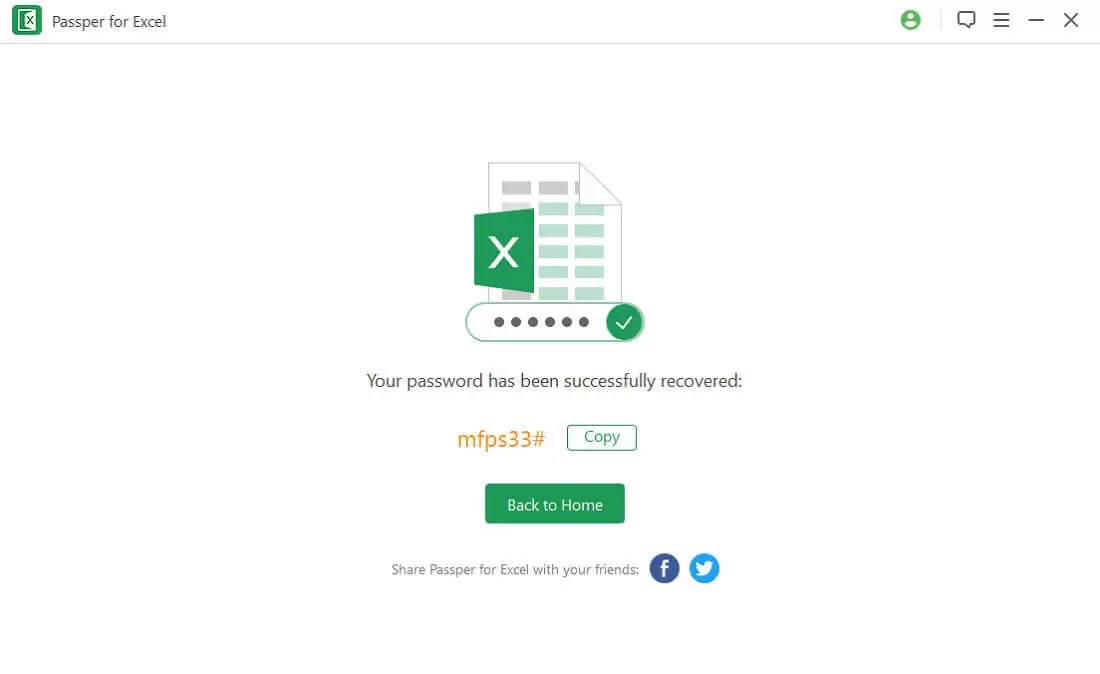
Step 4: Passper for Excel will now start removing the password from your file. Once the process is finished, you will be able to open your Excel file without any password.
Conclusion
Next time you want to insert Excel into PowerPoint presentation, try one of the methods we've looked at in this article.
You can pick any of the solution that best suits your needs, whether it's inserting the entire spreadsheet, linking specific data, taking a screenshot, or using the drag and drop method.
And if for some reason you forget or lose your Excel file password, don't worry! You can simply take the help of Passper for Excel to recover your password in no time. So, go ahead and give it a try!