A quick tour into the Microsoft community highlighted how droves of people are grappling with the problem of how to unlock a selection in Word versions. Well, this may sound a small issue if you are an expert, but plenty of users are still in the dark regarding how to unlock selection in Microsoft Word.
If you are among those looking for a solution, then worry no more because we are here for you. In this article, we shall elaborate on how to unlock selection in the Word 2003-2019.
Part 1: Why Is the Selection Locked?
Part 2: How to Unlock Selection in Word
Part 1: Why Is the Selection Locked?
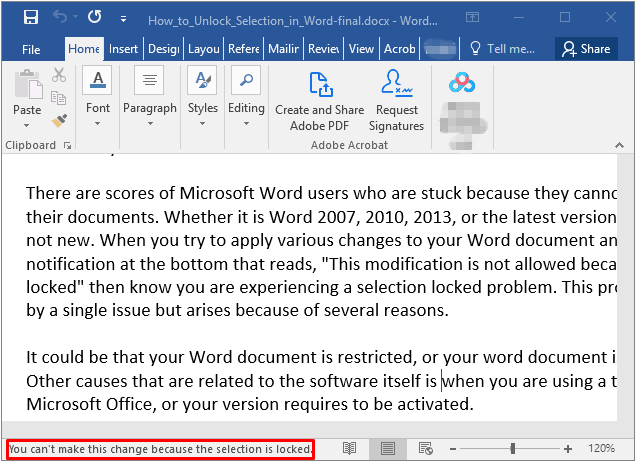
There are scores of Microsoft Word users who are stuck because they cannot apply changes to their documents. Whether it is Word 2007, 2010, 2013, or the latest versions, this problem is not new. When you try to apply various changes to your Word document and instead receive a notification at the bottom that reads, "This modification is not allowed because the selection is locked" then know you are experiencing a selection locked problem. This problem is not caused by a single issue but arises because of several reasons.
It could be that your Word document is restricted, or your word document is marked as final. Other causes that are related to the software itself is when you are using a trial version of Microsoft Office, or your version requires to be activated.
Part 2: How to Unlock Selection in Word
Depending on the causes, you will fix the selection locked problem differently.
2.1 Disable 'Mark as Final'
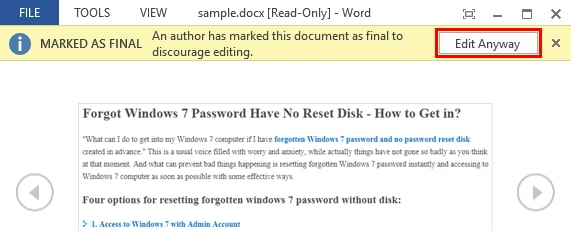
This problem is common with all office versions. When your document is marked as final, you won't be able to type or edit the document. Once you receive a Word document that is marked as final, you'll see a yellow banner at the top of the document. You just need to click on the "Edit Anyway" button, and your file will be unlocked.
2.2 Disable 'Restrict Editing'
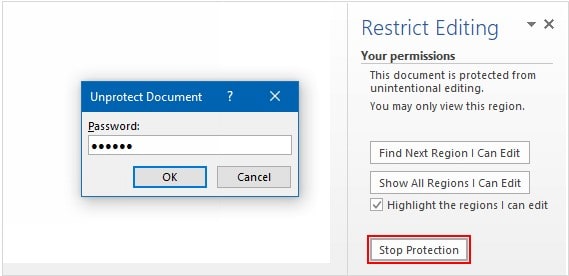
If a Word document is restricted, it means that you can't perform some tasks like editing without being granted permission. This is often used with Word documents that carry vital data that shouldn't be tampered with by unauthorized persons. Several users use passwords as permissions for editing. If you know the password, it is just a matter of inputting the password and start editing.
Here is how to do it:
Step 1: Navigate to Review>Restrict Editing.
Step 2: You'll see a "Stop Protection" button in the lower right corner. Click on it.
Step 3: The "Unprotect Document" dialog will appear. Enter the password and you'll be able to edit the file.
However, if you don't know the password and someone else who has the password is inaccessible, then the best way is to unlock a selection in Word documents via a password unlocker.
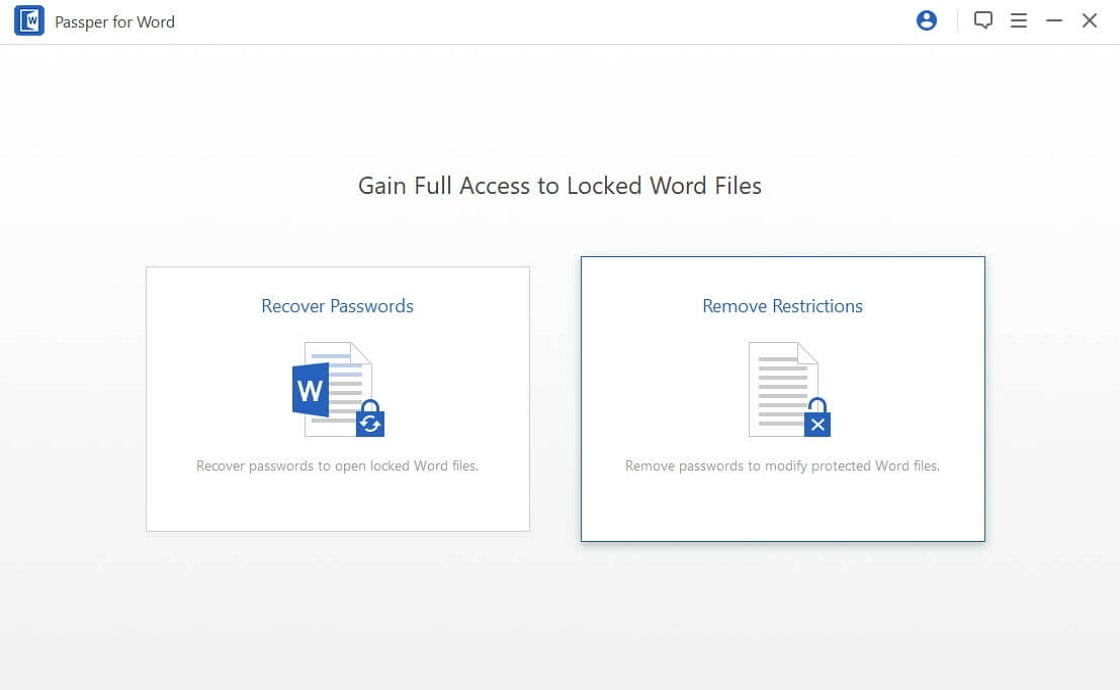
Passper for Word is a popular password unlocker. It guarantees a 100% success rate for all Word versions. The program doesn't require any technical knowledge, and you can unlock the selection in your MS Word documents with one simple click.
I'll show you how to use the program.
Step 1 Launch Passper for Word to display the primary window. Click the "Remove Restrictions" tab on the main window to proceed.
Step 2 Click on the "Select a File" option and upload the locked Word document to the program.
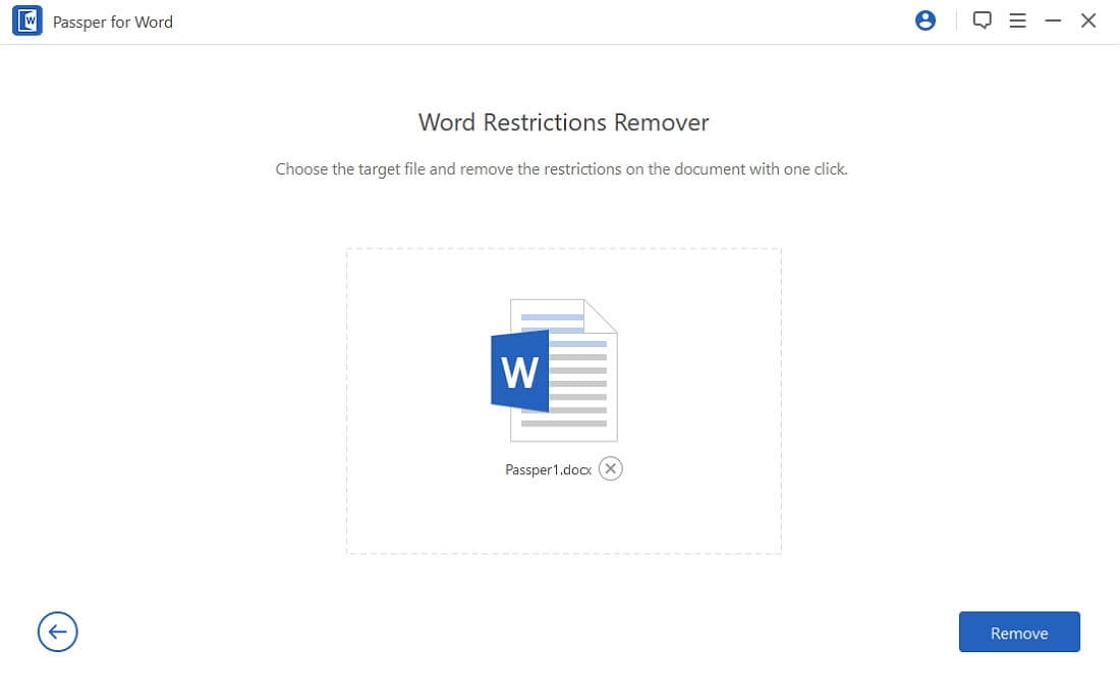
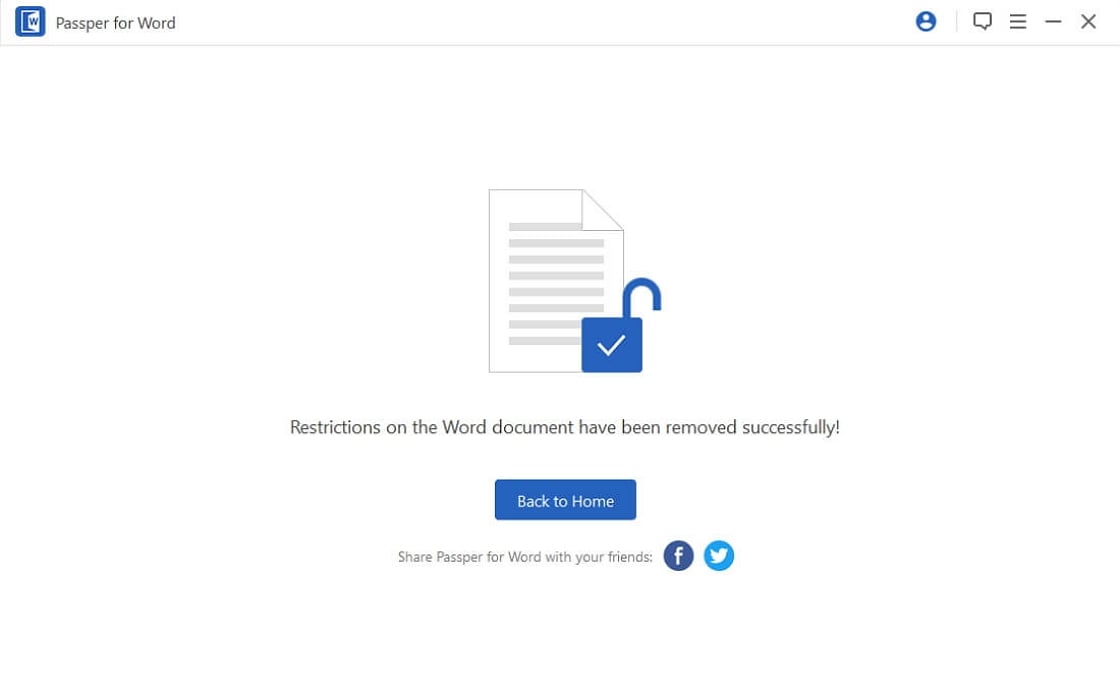
Step 3 When the file is uploaded, click the "Remove" button at the bottom right of the screen. Wait several seconds for the program to unlock the selection on your Word document. When it is done, you should see a notification on the screen that restrictions on your word document have been removed. You are now free to edit your document.
2.3 Update to A New Version
If you are using a trial version and have expired, then this would likely result in the locked selection problem. This is majorly common with Office 2007. Because your trial version has expired, the only plausible option is to upgrade to the full version. If you are using the Office Home and Student 2007 trial versions on your computer, then you can buy the disc version to obtain the product key. This key will allow you to activate the trial version.
2.4 Activate Your Microsoft Office
Microsoft Office often gives a grace period before you enter the valid product key. During this time, some of the features that are not in the package you purchased will be temporarily enabled.
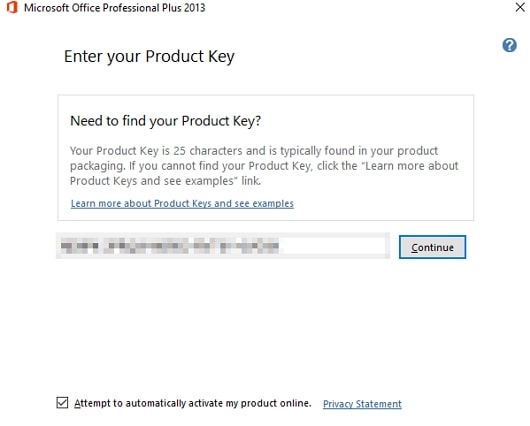
When the grace period expires, and you fail to enter the valid product key, several features on your Office will be disabled. This is what is referred to as a reduced functionality mode, where a locked selection problem also comes in. Since most functionalities are disabled, your Office is barely reduced to a viewer, and you can't modify or create new Word documents. It is important to note that no existing file will be subjected to harm in this mode. The solution is to enter the valid product key and activate your Office Word. When you do this, you will access all the functionalities, and you can modify and create new documents again.
Here, you can find products keys for Microsoft 2013 and Microsoft 2016.
Conclusion
With the wealth of information above, you should be able to turn things around if your Word document is in the locked mode. If you have any questions about the 4 methods or you find any other workable methods, you can leave us a comment below.


