The Excel file can be set to read only mode when the file is marked as final, when it is saved as read only or when the Worksheet or Workbook Structure is locked, etc. Yet, as useful as read-only can be, it can also be a hindrance especially when you don't know how to remove the restriction.
In this article, we are going to be looking at some of the ways to disable read only in Excel 2016 whether you have the password or not.
Part 1. Common Method to Disable Read Only in Excel 2016 without Password
Disabling the Read Only feature in Excel can be difficult even impossible when you don't know the password used to place the restriction. Yet, there are certain tools in the market that can help you remove read only in Excel 2016 easily. One of the best is Passper Excel Password Remover. Passper for Excel uses advanced AI algorithms to intelligently identify issues in Excel files, allowing for the quick removal of read-only restrictions or cracking passwords.
The following are just some of the features Passper for Excel has to offer:
It supports to remove all types of read only mode in Part 2 without password.
Remove opening passwords and remove read only in Excel 2016 worksheet/workbook protection without affecting the data on the document.
Unlock excel documents when forgot the password, can't copy the data on the worksheet or workbook, can't print the worksheet/workbook or you can't edit the content on the document.
It is also very easy to use, allowing you to remove the read only in a single click.
Supports all versions of Excel documents, including Excel 96-Excel 2021.
Here's how to use Passper Excel Password Remover to remove read only on any Excel document:
Step 1: Download and install Passper Excel Password Remover on to your computer and then launch the program.
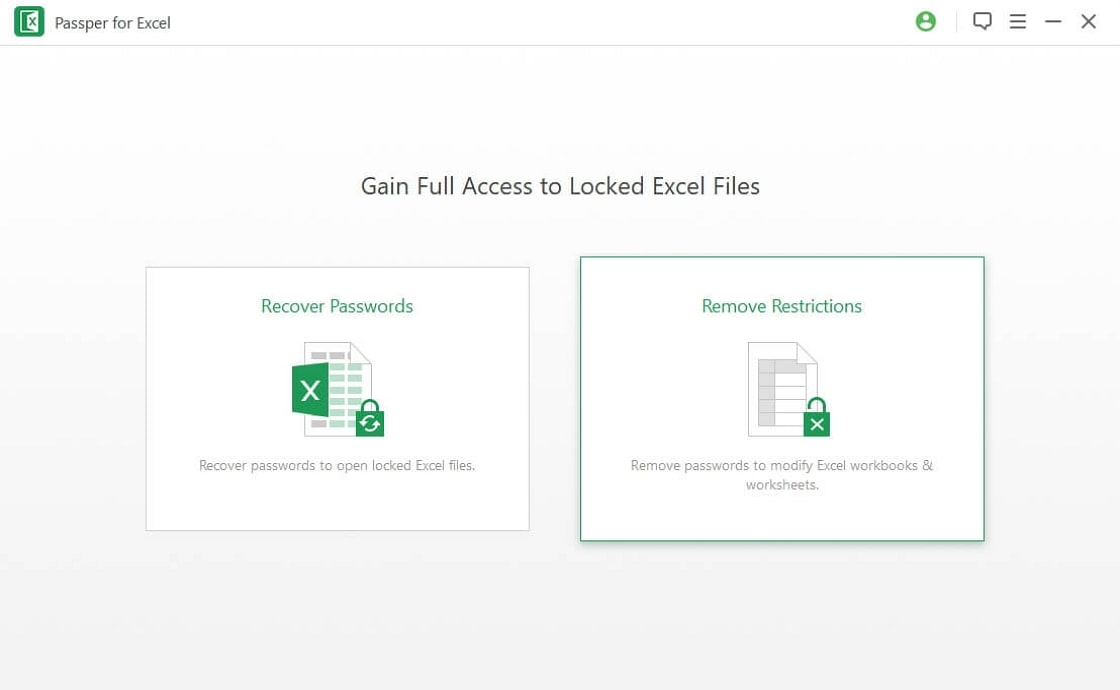
Step 2: Click on "Remove Restrictions" and then click "Add" to browse for the restricted Excel document into the program.

Step 3: When the file has been added to the program, click "Remove" and Passper will begin immediately removing the restrictions from the file. In a few seconds, you will be able to access the Excel 2016 document without any restrictions.

Part 2. 5 Different Cases to Disable Read Only in Excel 2016
There are mainly 5 different cases when your Excel 2016 is marked as read only and its corresponding solution to disable the read only feature.
Case 1: When the Document is Made Read-only During Saving
Case 2: When Document is Marked As Final
Case 3: When Worksheet or Workbook Structure is Locked
Case 1: When the Document is Made Read-only During Saving
You can use the "Save As" feature as outlined below to disable read only in Excel 2016:
Step 1: Begin by opening the Excel Workbook and then enter the password if you are required to. Click on "File > Save As" and then choose a suitable location on your computer to save the file.
Step 2: Click on the drop-down arrow next to the "Tools" button and then select "General Options".

Step 3: Delete the password that appears in the "Password to Modify" box and click "OK" to lift the read-only restriction. Click "OK".

Step 4: Finally, click "Save" to complete the process.
Case 2: When Document is Marked As Final
Marking your Excel 2016 document as "Final" can place a read-only restriction on the document. Here's how to disable this restriction in a document that has been marked as final.
Step 1: Open the restricted Excel 2016 document on your computer.
Step 2: At the top of the document, you should see the "Edit Anyway" button. Click on it and the read-only restriction will be lifted, allowing you to edit the document.

Case 3: When Worksheet or Workbook Structure is Locked
Read-only restrictions can also occur when the Excel 2016 document's author has locked the worksheet or workbook structure, preventing you from being able to edit the worksheet. In this case, you can resolve the issue in the following simple steps:
Step 1: Open the Excel document with the read-only restriction and then click on "Review > Unprotect Sheet".

Step 2: Enter the password in the box provided and then click "OK" to lift the restriction.
Case 4: When the Document has a Read-Only Status
You can disable read only in excel 2016 using the File properties option in Windows File Explorer. Here's how to do it:
Step 1: In File Explorer, navigate to the restricted Excel file. Right-click on the document and then select "Properties" from the options presented.
Step 2: Uncheck "Read Only" under the "Attributes' section and click "OK" to disable the read only restrictions.

Case 5: When the Excel 2016 Document Needs a Password
When you need to enter a password to access and edit the Excel 2016 document, you can follow these simple steps to lift this restriction:
Step 1: Begin by opening the Excel 2016 document you want to disable the read only feature.
Step 2: When the password box appears, click on "Read only" instead and the document will open in Read-Only mode.

Step 3: Now click on "File> Save As" and enter a different filename. Click "Save" to save a new copy of the original file.

The new file created will replace the read-only document and will not have any of the restrictions on the original.
The above solutions make it easy for you to disable read only in excel 2016 whether you have the password or not. Choose the method that best suits your needs and particular situation. Let us know if you are able to lift the read-only restriction in the comments section below.
