When you receive a Word document with sensitive business-related content, it is very likely that it will be encrypted in one way or another. One of the most popular ways businesses choose to secure data on Word documents is to restrict editing. This allows users to only open the document but they won't be able to edit the content in any way.
If you have a restricted Word 2013 document and you don't have the password, read on to find out how to remove restrict editing in word 2013 without password.
What is Restrict Editing Protection in Word 2013?
Document protection in Microsoft Word 2013 can be done in one of two ways: you can use a file open password to prevent unauthorized persons from opening the file or you can use restrict editing protection feature to prevent someone from editing the document.
Of the two forms of protection, restrict editing is the most commonly used since it allows other users to read the file while preventing them from altering the content in any way. It is also a very customizable feature, allowing users to set specific parameters for various types of editing.
How to Remove Restrict Editing in Word 2013 without Password
As useful as it can be, restrict editing can lock you out of the Word 2013 document and prevent you from making necessary changes to it. If you would like to remove restrict editing from word 2013 without password, the following are the most effective ways to do it:
Tip 1. The Best Choice - Passper for Word
The best way to remove editing restrictions on Word 2013 document is Passper for Word. This is a third-party Word password remover that can be very effective in helping remove opening passwords for Word documents and remove editing restrictions. The following are just some of the features that make Passper for Word the best choice:
-
Remove editing restrictions on Word document in only 3 seconds with 100% success rate.
-
All the data on the Word document will be kept intact after removing the editing restrictions.
-
It is simpler to use compared with other common-used solutions, only requiring 3 steps.
-
The tool is able to remove restrict editing from Word 2000/2003/2010/2013/2016/2019/2021 without password.
Here's how to remove editing restriction on Word 2013 without password using Passper:
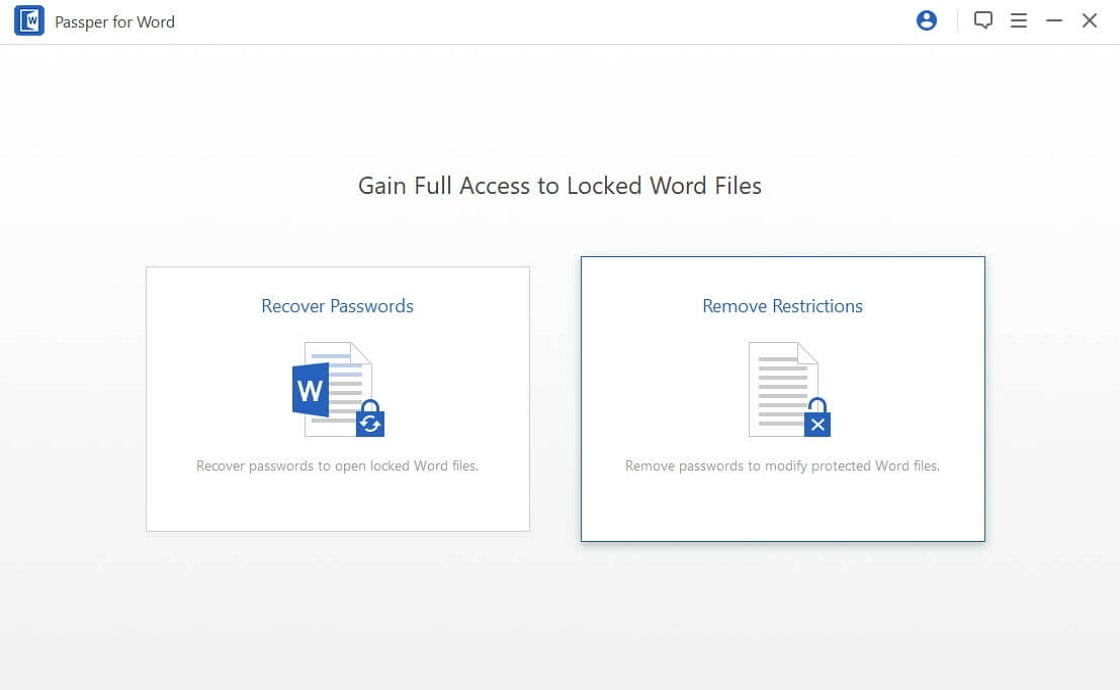
Step 1: Install Passper on your computer and then open it. Select "Remove Restrictions" in the main window and then click "Add" to import the document into the program.
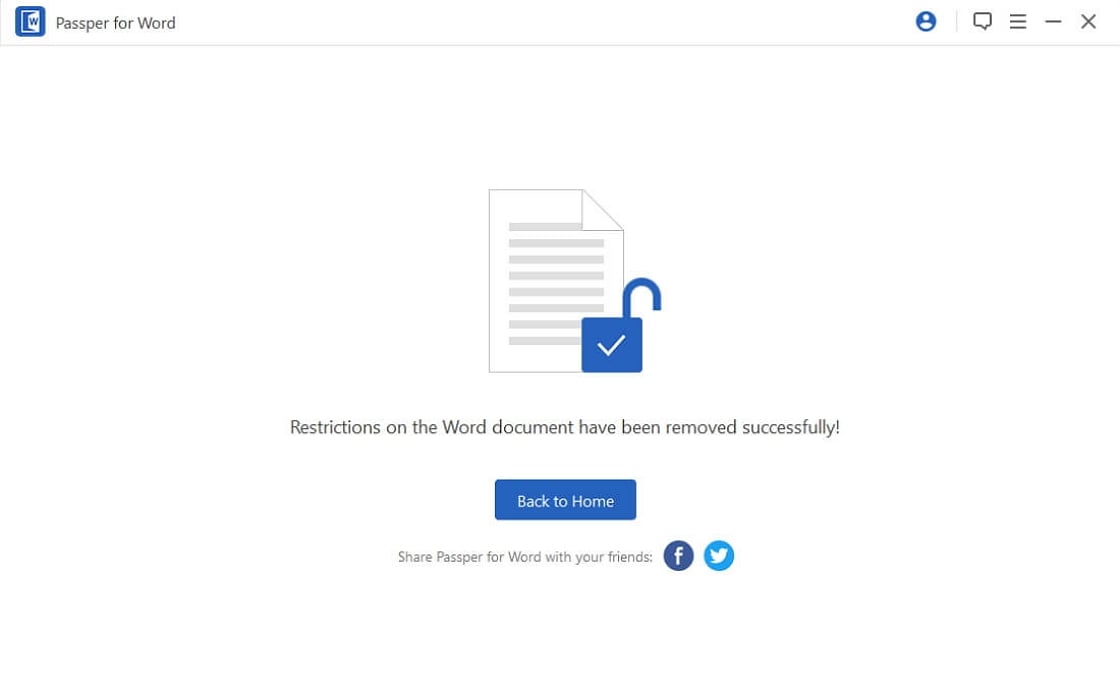
Step 2: Now simply click "Remove" and in a few seconds Passper for Word will remove any restrictions on the document, allowing you to edit it anyway you want.

Passper for Word is also equipped with 4 customized attack modes, which can unlock opening password for Word 2013 effectively. Here's how to do that:
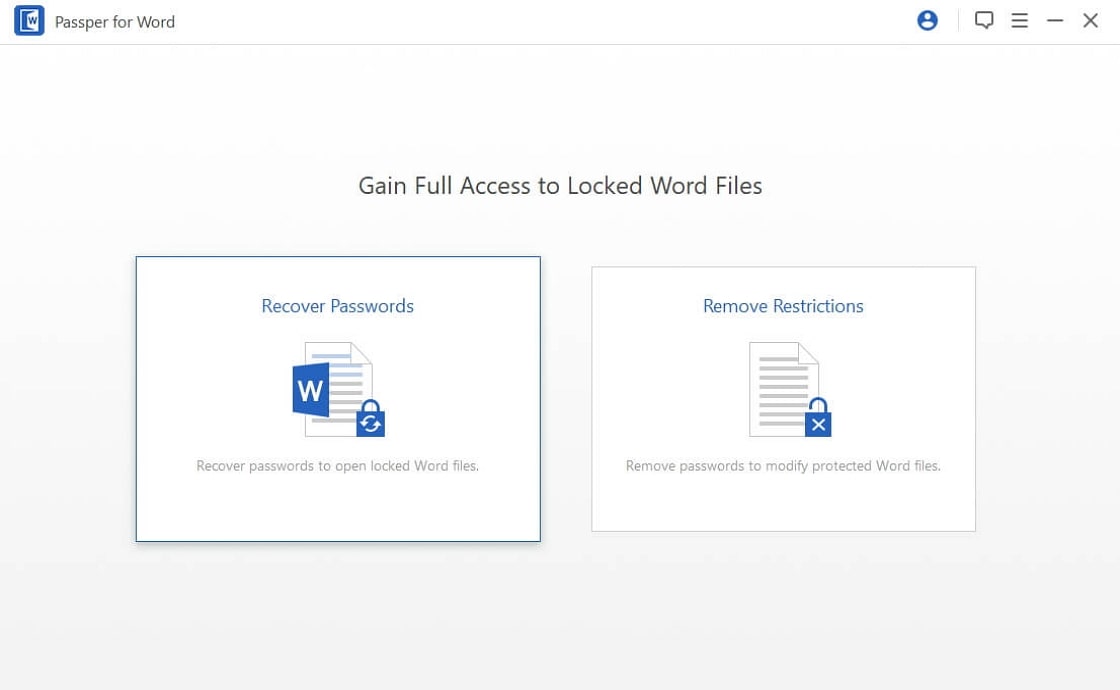
Step 1: Open Passper for Word on your computer and then click on "Recover Passwords". Click on "Add" to import the password protected document into the program.
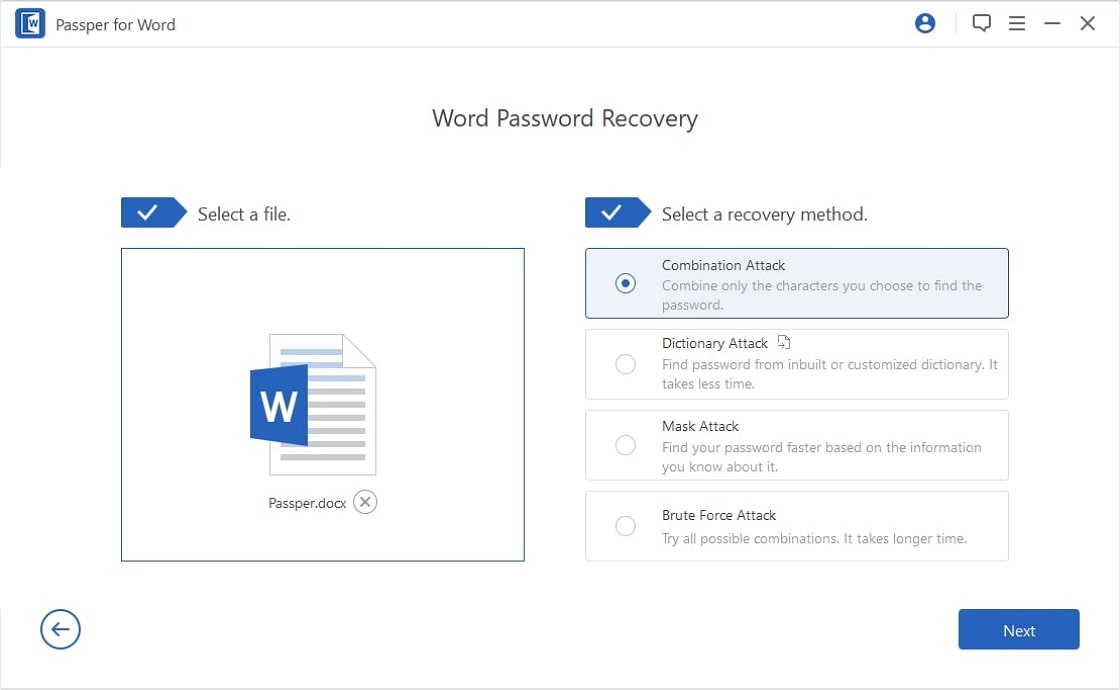
Step 2: Select your preferred attack mode from the 4 listed on the next page. Keep in mind that the attack mode you choose will depend on the complexity of the password and how much information you have about the password.
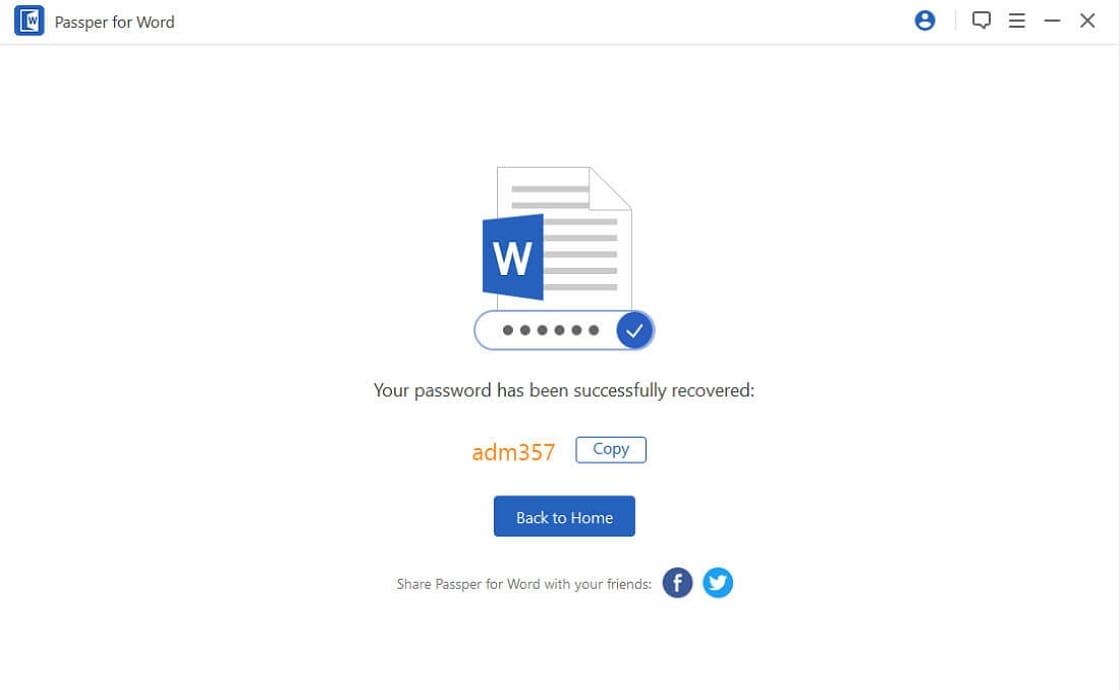
Step 3: The program will immediately begin recovering the password once you press the "Recover" button. When the process is complete, the password will be displayed on the window and you can use it to open the document.
Tip 2. By Changing File Extension
You can easily remove editing restrictions from the Word 2013 by changing the file extension. But this method will only work for files with a .docx extension. If you have a document with the old .doc extension, change it to .docx and then follow these steps to remove editing restrictions.
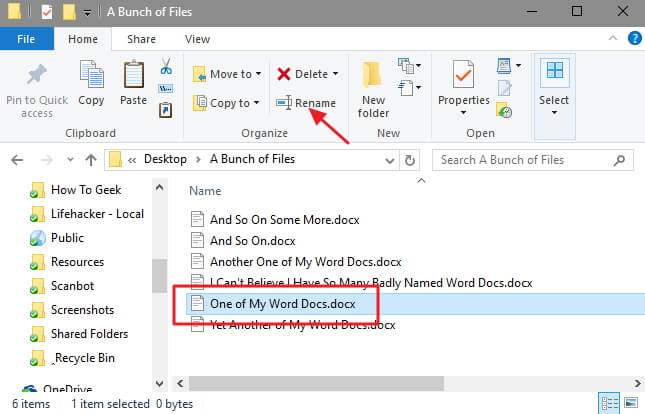
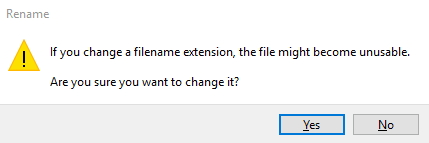
Step 1: Begin by making a copy of the original file. Now rename the copy from .docx to .zip. If you get a warning, click "Yes" to continue.
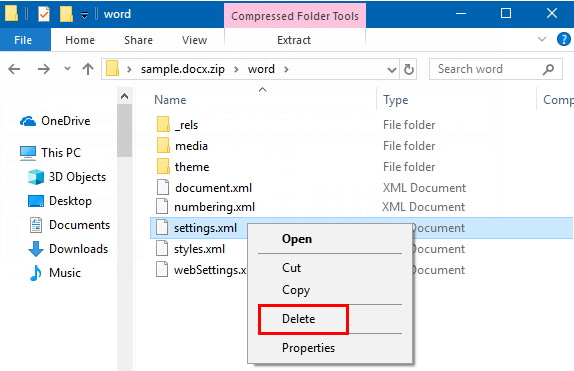
Sep 2: Open the .zip file you've just created and in the "Word" folder find "settings.xml" and delete it.
Step 3: Close the file and change the extension back to .docx. You should now be able to easily edit the document without any restrictions.
Tip 3. By Saving as RTF Text
If you are working with Microsoft Office Professional Plus 2013, you can easily remove restrict editing from Word 2013 without password by saving your original file as a RTF text. Check following steps to do that:
Step 1: Open your restricted Word document 2013. Click on "File >Save as". In the new "Save as" window, choose *.rtf as the file type.
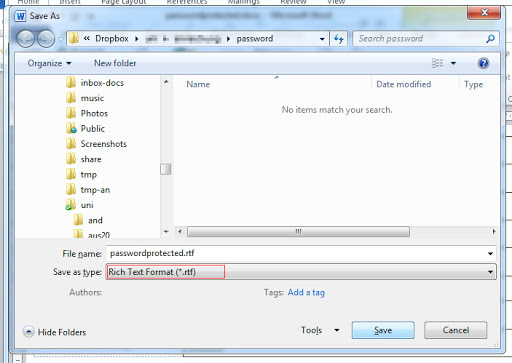
Step 2: Close your original Word document 2013 and the new *.rtf file. Then, open the RTF file with Notepad.
Step 3: Press Ctrl+F at the same time. Find "passwordhash" in the text and replace it with "nopassword".
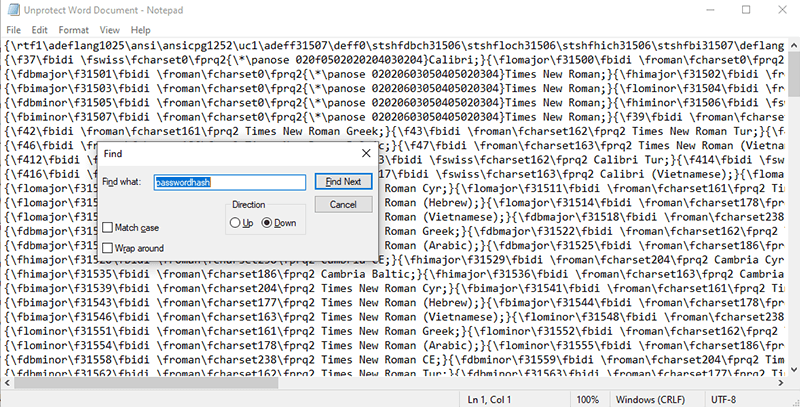
Step 3: Save your operation and close the Notepad. Open the RTF file again with your Word program.
Step 4: Go to "Review >Restrict Editing >Stop protection". Uncheck all the boxes on the right panel.
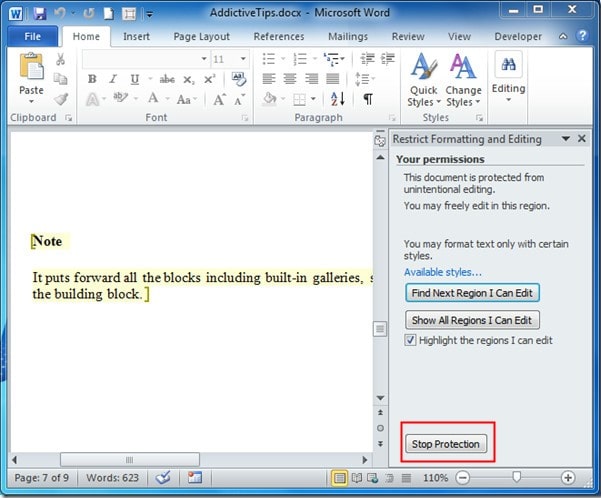
Step 5: Done! The editing restrictions on your Word 2013 has been removed successfully now.
With one of the methods above, you can easily remove editing restriction from Word 2013 without password. Let us know if you were able to remove the restrictions. Post your comments or questions in the comments section below.


