Like most other Microsoft Office tools, Excel is a practical and useful solution for document creation and one of its most useful features is data protection. Excel has a few very useful features to help restrict opening and modifying the content on the document. But like you may already know, forgetting or losing the password used to protect the document can present a unique set of challenges. In fact, Microsoft's official position is that it is impossible to recover the password.
But there are ways and this article will share with you some of the best ways to unpassword protect Excel document whether you know the password or not.
1. Unpassword Protect Excel without Password
One of the best ways to unpassword protect Excel document especially if you have lost or forgotten the password is to use Passper for Excel. This is a third-party professional password recovery tool for Excel that can also be used to lift any opening and modification restrictions placed on the document. It is 100% successful as a password recovery tool which means you are guaranteed to unlock the document.
It uses advanced AI algorithms to intelligently identify issues in Excel files, allowing for the quick removal of read-only restrictions or cracking passwords.
It can be used to Unpassword Protect Excel passwords without affecting the data on the document in any way.
-
It has a very high success rate to lift modification restrictions. And it utilizes 4 different attack modes to aid in the openning password recovery. This makes it the best tool to recover the password regardless of the complexity of the password.
And it can do all these tasks without much input from you, making it one of the easiest password recovery tools to use.
To use Passper for Excel to unpassword protect Excel without password, download and install the program on to your computer and then follow these simple steps;
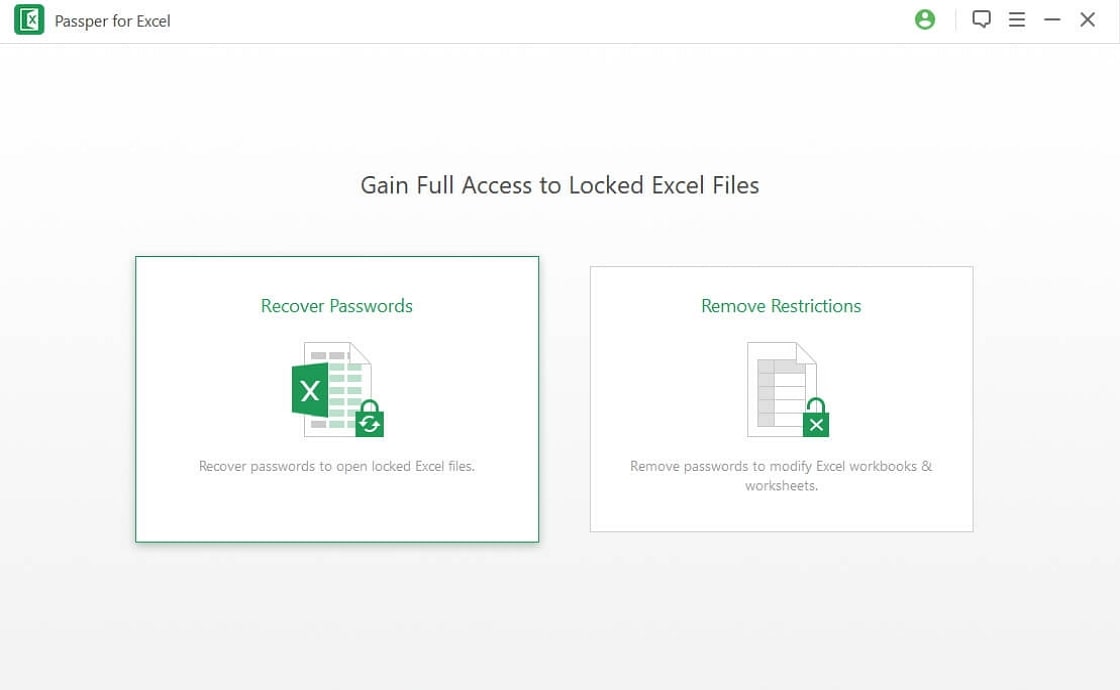
Step 1: Open Passper on your computer and select "Recover Passwords" in the main window.
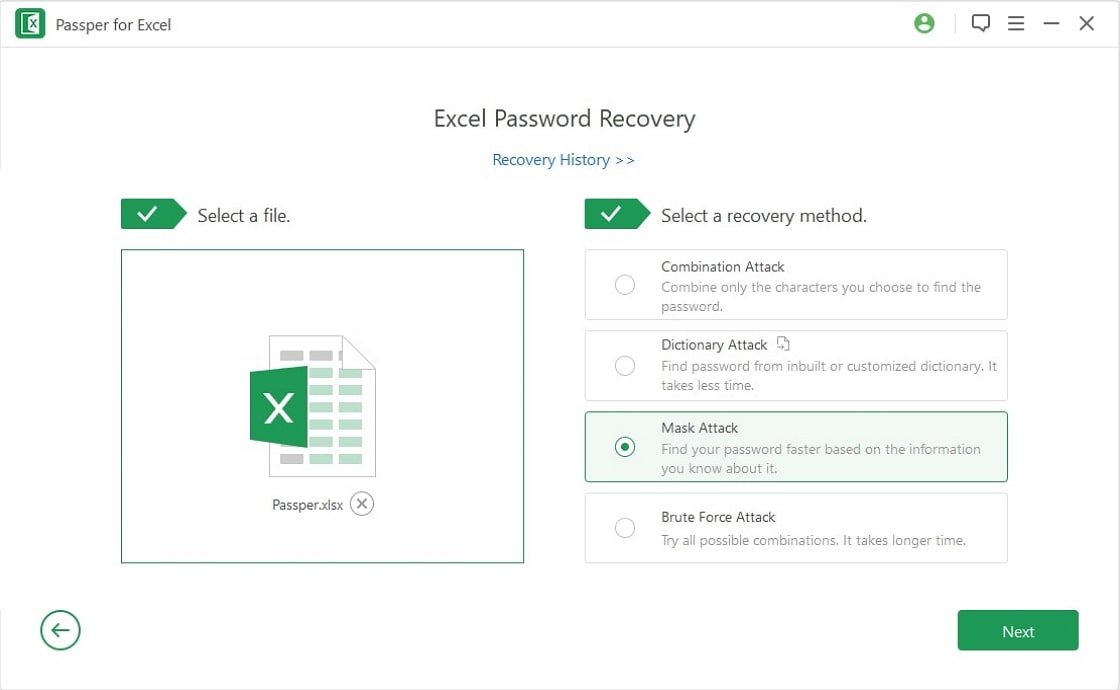
Step 2: Click on "Add" to import the protected file into the program. Once the file is open, select the most appropriate attack mode to help you find the password.
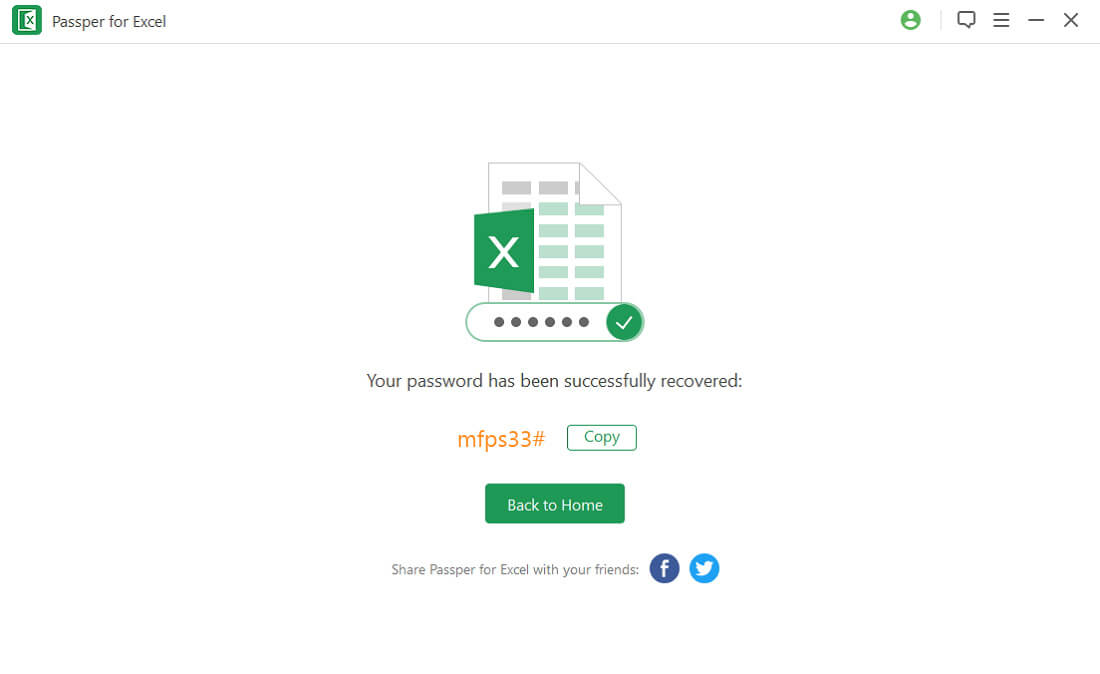
Step 3: Passper will begin recovering the password. When the process is complete, the password will be displayed on the screen. You can use it to unlock the document.
To remove any modification restrictions that may have been placed on the document, follow these simple steps;
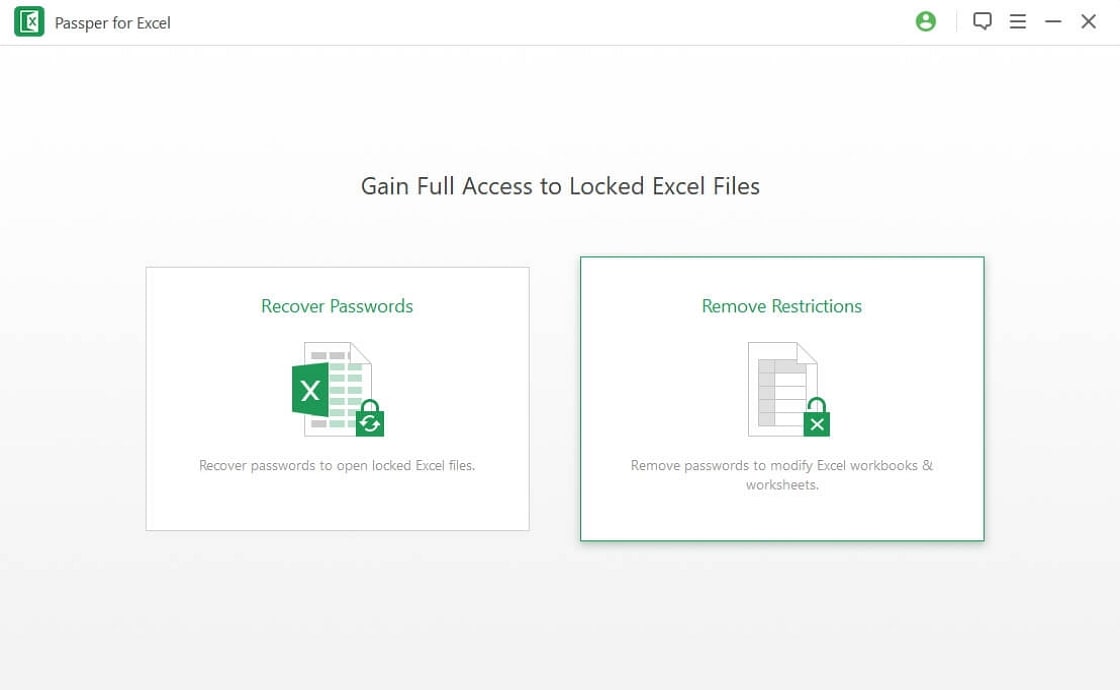
Step 1: In the program's main window, click on "Remove Restrictions".
Step 2: Click "Add" to import the protected Excel document into Passper for Excel.
Step 3: Now simply click on "Remove" to eliminate any restrictions on the document.
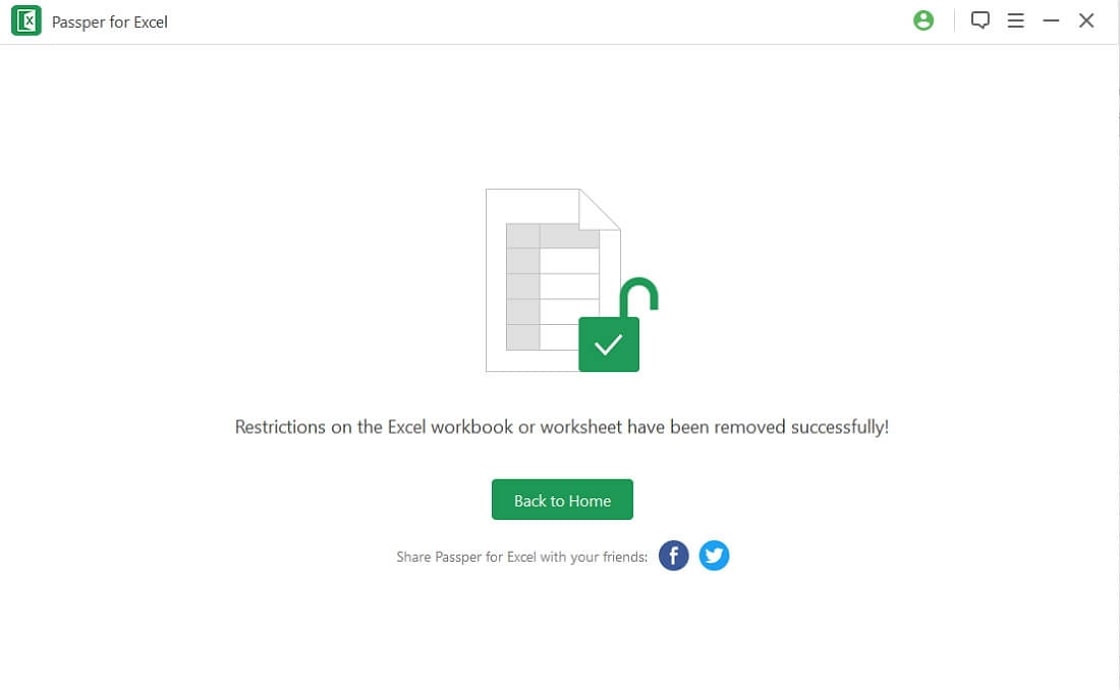
Download the program today to gain access to all these features and better manage your Excel documents.
2. Unpassword Protect Excel with Password
If you already have the password for the protected Excel document, the following solutions will help you remove the password restriction on the document.
For Excel 2010 or Later
To remove the password on an Excel 2010 file or Office 365 version, follow these simple steps;
Step 1: Open the file and enter the password when prompted.
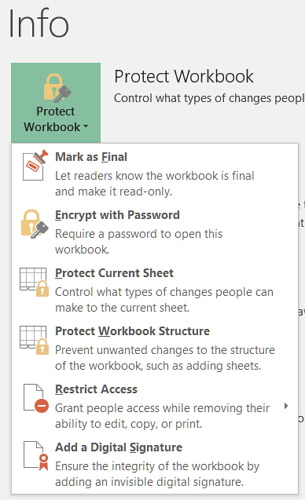
Step 2: Click on File > Info > Protect Document and then select "Encrypt with Password".
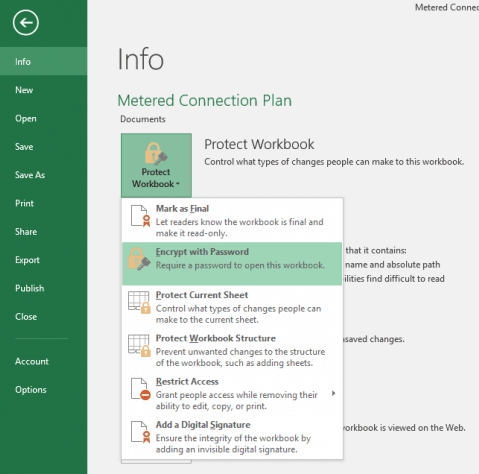
Step 3: In the box that appears, delete the characters in the password field and click "OK" to remove the password.
To remove restrictions on particular sheets, go to File > Info > Protect Current Sheet" and enter the password to remove restrictions.
For Excel 2007
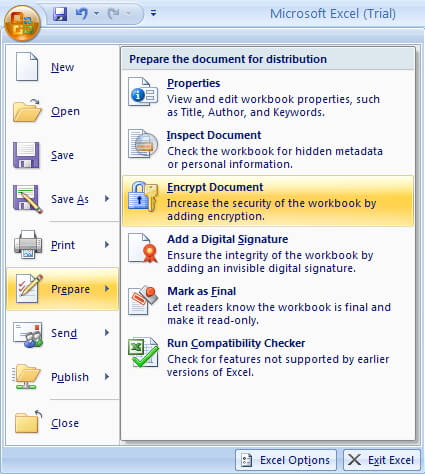
To unpassword protect an Excel 2007 document, follow these simple steps;
Step 1: Open the file and enter the password.
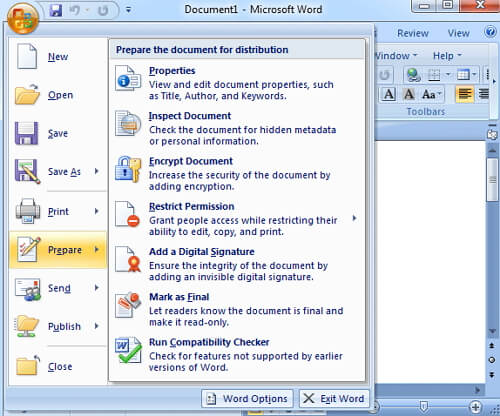
Step 2: Click on the "Windows" icon and then hover over the "Prepare" to bring up the submenu.
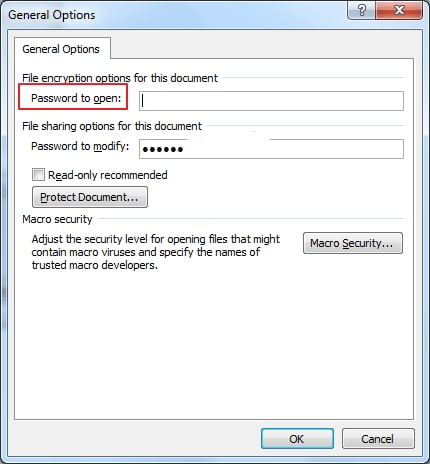
Step 3: Select "Encrypt Document" and click "OK" in the dialogue box that appears to complete the process.
To remove modification restrictions, click on Review > Changes > Unprotect Sheet and then enter the password. Click "OK" to complete the process.
Excel 2003 and Earlier
To remove the password on an Excel 2003 file or earlier versions, follow these simple steps;
Step 1: Open the document and enter the password when asked.
Step 2: Click on "Tools" from the main menu and then click "Options".
Step 3: In the "Security" tab, delete the password in the "Password to Open" section and click "OK" to complete the process.
The solutions described above are ideal for unpassword protecting Excel document whether you have the password or not. Select a solution depending on your particular circumstances and let us know if you were able to remove the password. You can alos share your thoughts, comments and questions on this topic or any other Excel document related issue in the comments section below and we'll do our best to help.


