Microsoft Office Word is the most widely used word processor. It includes a variety of simple document production tools as well as a comprehensive collection of capabilities for building complicated documents. If your work involves saving sensitive information on Word Documents then password protection is the right way to go. Adding password to word document is useful if you suspect someone is looking through your personal documents. This article will explain in detail how you can encrypt your Word Documents on Windows and Mac computers.
Part1. How to add a password to a word document on Windows
Part2. How to remove password from word document on Windows
Part3. How to add a password to a word document on Mac
Part4. How to remove password from word document on Mac
Part5. How to Remove Password of Word if You Forgot the Password
Part1. How to add a password to a word document on Windows
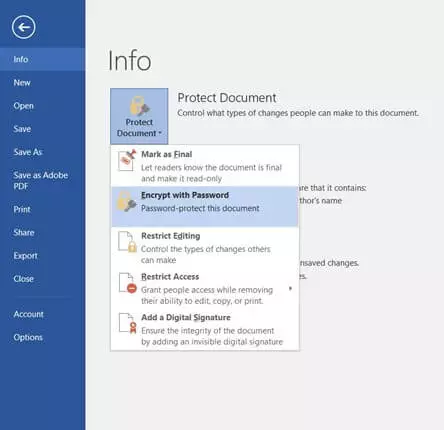
Step 1. First, open the Office document you would like to protect. Click the File menu, select the Info tab, and then select the Protect Document button. Click Encrypt with Password.
Step 2. Enter your password then click OK.

Step 3. Enter the password again to confirm it and click OK.

Microsoft Word will now indicate the document is protected. Each time you open the document, you will be prompted to enter your password to access its contents.

Part2. How to remove password from word document on Windows
You have now learned adding a password to a Word document. If you know the password for your Word file, you can remove the password from the Word document with ease, let us check out how!
Step 1. Navigate to the Word File whose password you want to remove.
Step 2. Reset the Password.
There are different versions of MS-Office, the password setup process could be a little different with every version.
MS-Word 2010/2013/2016
To remove or change a password on a Word file in Ms. Word 2010/2013/2016, follow these steps:
Step 1. Open document for which you want to change/remove a password.

Step 2. Click File. Now from the page, click Info-> Protect Document.


Step 3. You will get a drop-down list, choose Encrypt with Password.

Step 4. You will get a dialog box headline – Encrypt Document.

Step 5. Remove password from password box and click OK.
Part3. How to add a password to a word document on Mac
This section explains how to set password for Word document on Mac.
Caution: If you lose or forget the password, it cannot be recovered. Encrypted data cannot be recovered without your password.
Word 2011 and 2008
Step 1. Open the document you want to protect.
Step 2. On the Word menu, click Preferences.

Step 3. Click Security.

Step 4. In the Password to open box, type a password, then click OK. (Note: Password to modify, does not encrypt the document)

Step 5. In the Confirm Password dialog box, type the password again, then click OK.

Step 6. Click Save.
Part4. How to remove password from word document on Mac
If you are a Mac user then you can also remove password from Word document in case you no longer need one.
Step 1. Open the Word Document that you want to remove password from and click on Review tab

Step 2. Next click on Protect Document.

Step 3. On the next screen clear out the password in the password box and click on OK to save changes

Part5. How to Remove Password of Word if You Forgot the Password
Word allows you to secure sensitive and private information, ensuring that it remains private and secret. This is simply accomplished by adding a password to the document. If you've used Word for a time, you're probably aware of how to add a password to a Word document.
But what about taking the password out of the Word document? What if you have a password-protected Word document that you need to open or update but don't remember the password? Perhaps you misplaced the password and have forgotten what it is. Or, perhaps you know the proper password but find it inconvenient to input it every time you want to open or modify a document. If you ever need to erase a password from a Word document, this section will come in handy.
What Passper for Word Can Do?
Passper is a sub-brand of the hi-tech corporation iMyFone. Supported by the strong technical team of iMyFone, Passper has stood out in password recovery and removal, and helped more and more people over the world bypass password protection when they forget the password.
So, you can easily:
1. unprotect word document online
2. perform online file repair free for password
Passper for Word can help you do two essential things.
1. You can recover the password to open a password-protected Word document with the highest success rate with Passper.
2. You can instantly remove the password from a Word document to enable editing.
User Guide for Passper for Word
Passper for Word allows you to recover any opening password or remove editing and formatting restrictions from Word 2003-2021 documents with just a few clicks so that you can access or edit the locked Word document. Below are the simple steps about how you can use Passper to unlock password locked Word documents.
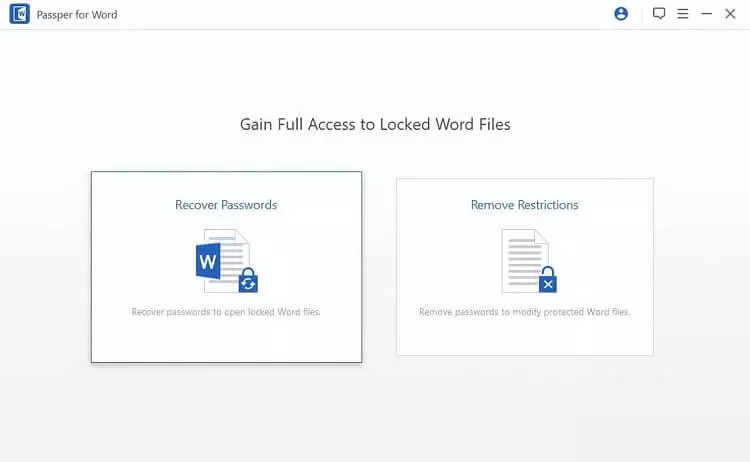
Step 1. Choose 'Recover Passwords'
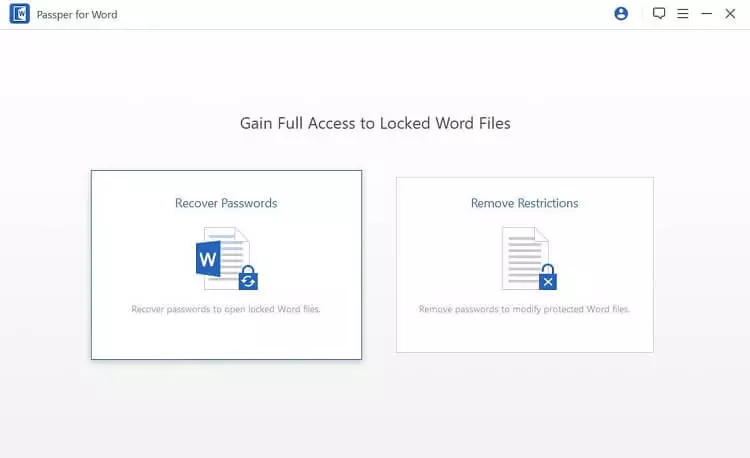
Select the option of 'Recover Passwords’ on the homepage.
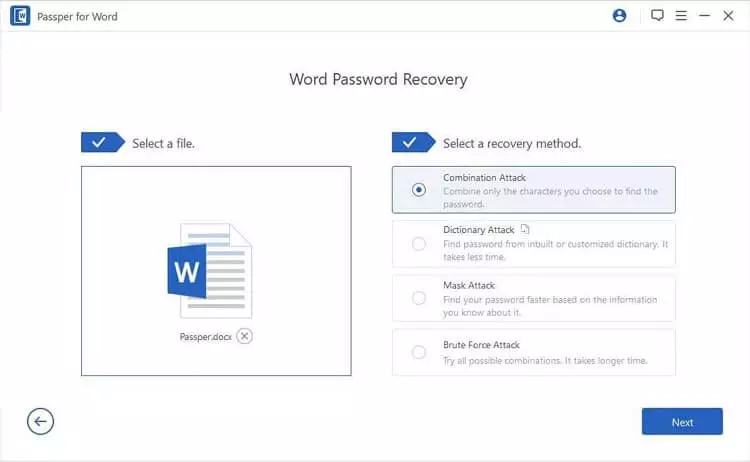
Step 2. Select a File & a Recovery Method
Step 3. Recover the Password
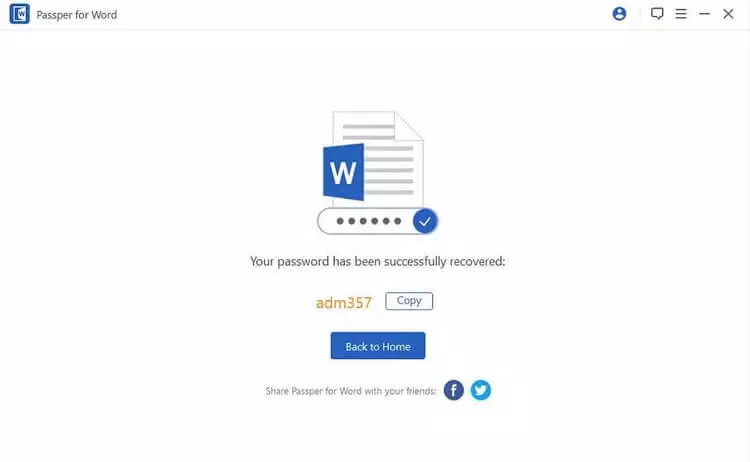
Click 'Recover' and wait for the password to appear on the screen.
How to Recover Opening Passwords for Word
Below are the detailed steps on how to use Passper for Word and get the password. For a complete and detailed guide click here.
Step 1. Choose a Mode
Download, install and run Passper for Word on a Windows or Mac computer. Then select the 'Recover Passwords' option on the homepage.
Step 2. Select a Method of Attack
Click the 'Add' button to select and import the password protected Word document into the program. Once done, select a method of attack according to your situation.
Step 3. Recover Word Password
After you've selected the method of attack and finished configuring the settings, click 'Recover'. The password will be shown on the screen once completed, and you can copy the password to open the locked Word document

How to Remove Restrictions from a Word Document
Passper for Word also helps to remove editing and formatting restrictions from a Word document. Here is how to do it.
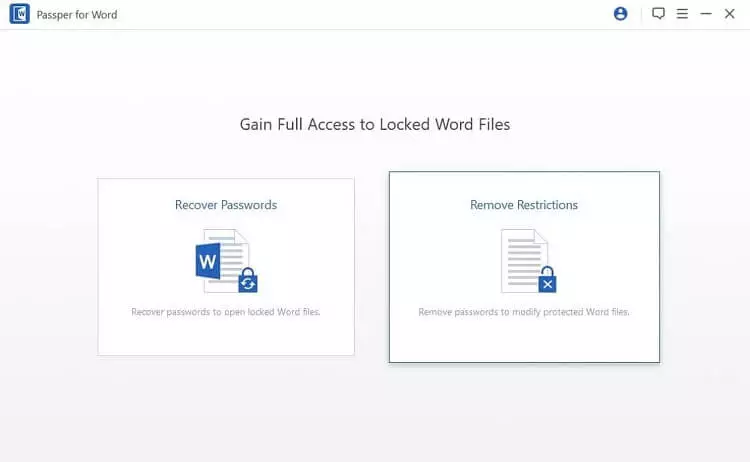
Step 1. Run the program and select the 'Remove Restrictions' option.
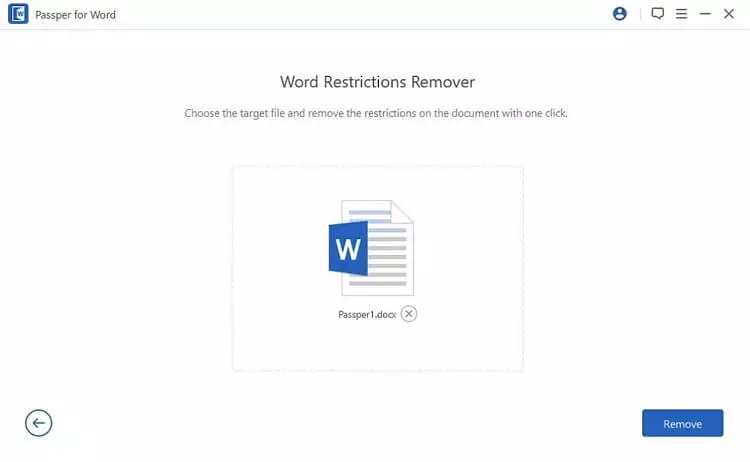
Step 2. Add the password protected Word document using the 'Select a File' option. Once the file is added to the program, just hit the 'Remove' button.
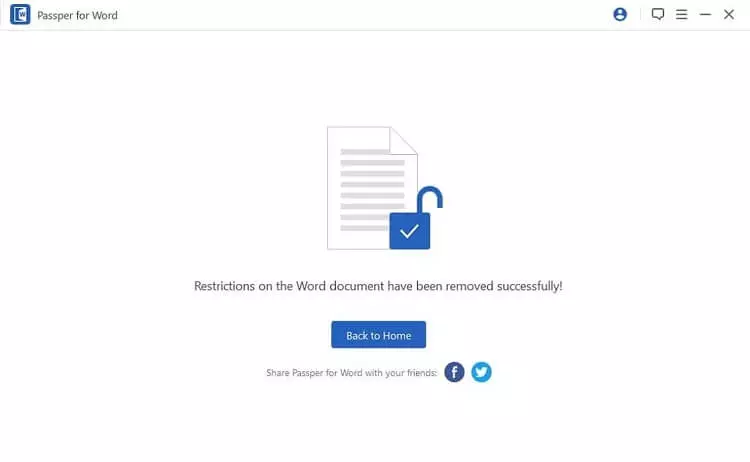
Step 3. All restrictions will soon be removed. You can edit the Word document now.
Conclusion
The password-protection feature in Microsoft Word is intended to prevent changes and updates to templates and other essential documents. However, if you need to modify or alter a document and don't have or have forgotten the password, it may be a big nuisance. We have provided a detailed guide on how to password protect Word and remove password and encryption for any Word document. So, we hope this article helps you in applying and removing encryption and password as you seem fit for your Word Documents.