Microsoft released Windows 10 in 2015 as an advanced operating system that caters for the growing use of the internet. Windows 10, therefore, has a number of advanced features that all the previous versions of Windows OS lack. As a user of Windows 8.1, just like users of Windows 7 and Windows 8 you had until July 29th, 2016 to upgrade to Windows 10 for free. However, if you did not take advantage of this grace period to upgrade your Windows OS for one reason or the other to Windows 10, all is not lost you may still have a chance to upgrade your 8.1 to Windows 10 for free. In this article, we provide a step by step guide on how to do just that.
Part 1: Why Do People want to Upgrade to Windows 10?
Part 2: What You Should Prepare Before Windows 8.1 Update?
Part 1: Why Do People Want to Upgrade to Windows 10?
If you haven't upgraded to Windows 10 yet, chances are that your Windows 8.1 works just fine and you don't have the motivation to upgrade to Windows 10. However, there are a lot you may be missing by stick with your Windows 8.1. To start with Windows 10 has lots of appealing features that combine the best of Windows 7 and Windows 8 plus many others such as the capability to work across PC's and Smartphone's, and integration of Cortana. In addition, Windows 8.1 has quite a few issues such as experiencing the RunDLL error or the Boot error that may make using it quite frustrating at times. Upgrading to Windows 10, therefore, eliminates all the shortcomings of Windows 8.1 and gives you lots of other great features.
Part 2: What You Should Prepare Before Windows 8.1 Update?
To upgrade Windows 8.1 to 10 there are a number of things you need to do to make sure that your computer is ready for the upgrade. First, you need to make sure that your computing device is compatible with the minimum requirements for Windows 10. These includes :
Processor speeds of at least 1 GHz
RAM of at least 1 GB for 32-bit computers and 2 GB for 64-bit computers
Hard disk space of at least 16 GB for 32-bit computers and at least 20 GB for 64-bit Computers
A Direct X 9 graphics card or the latest version with a WDDM 1.0 driver
A display of size 600x800 or larger
Generally, a computing device that supports Windows 8.1 is likely to be compatible with Windows 10. However, it is important to counter check and makes sure that everything is Ok before you start the process.
You will also need to have a licensed copy of Windows 8.1 otherwise if you are using a pirated version then you may not be able to make the upgrade.
You will also need to have your product key for the Windows 8.1 in order to update your Windows 8.1 to 10 otherwise you may not be able to carry out the process successfully.
Part 3: How to Update Windows 8.1 to Windows 10?
If you are not sure how to upgrade Windows 8.1 to Windows 10 then don't panic as we outline the simple steps you should follow to do the Windows 8.1 update here.
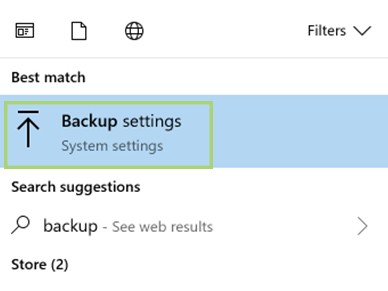
Step 1: Backup All Your Files
The operating system upgrade is usually a long process that involves changing how your computer operates. This means that even though the process is designed not to affect the data on your computing devices; chances are you may lose your data if anything goes wrong before the process is completed. Backing up your files will provide you with an alternative to retrieve all your data should your computer crash during the upgrade or should anything happen to tamper with the process.
Step 2: Visit the Windows Upgrade Site
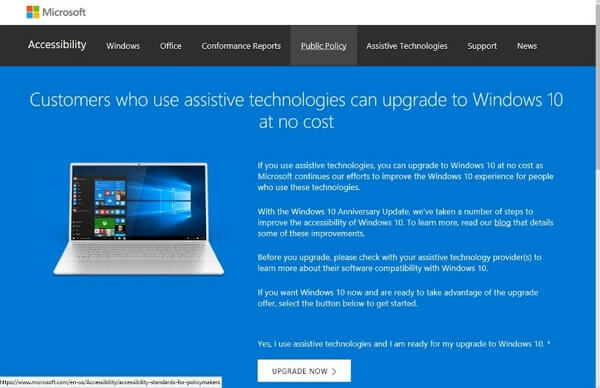
Check that you have a strong internet connection and follow this link: https://www.microsoft.com/en-us/accessibility/
Windows10 upgrade to Microsoft's page that provides a free upgrade to Windows 10 for Windows 8.1 users that uses assistive technologies. The site has lots of information on what you need to upgrade to Windows 10. It also has guidelines on how to upgrade to Windows 10 from Windows 8.1.
Step 3: Download the Executable File for Upgrade
Navigate the Microsoft page and click on the "Upgrade Now" button to start the process. This will start the download process of an executable file to your computer. Once the download is completed find the downloaded file on your computers downloads folder and open the file to start the installation process.
Step 4: Install and Upgrade Your OS
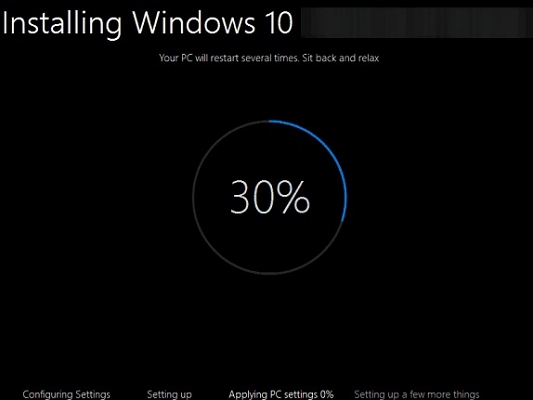
Once you click on the downloaded file an update assistant screen will pop up. Follow the directions provided on the pop-up screens to install Windows 10. This should take several minutes for the upgrade to be completed. Usually, Microsoft will not ask if you use assistive technology. But, almost everyone qualifies to be classified as an assistive technology user. If you use keyboard shortcuts such as CTRL+C you qualify as an assistive technology user.
Also read: How to Update Windows 7 to Windows 10
Part 4: How to Reset Windows Password When You Forgot it?
If you use Windows 10 you may use passwords to protect your computer from unauthorized access and misuses by others. You may also protect your important documents using a password. This offers you a lot of advantages especially if you carry sensitive data on your computer or you have roommates or workmates that like borrowing your computer for their personal use and you want to protect certain documents from their access. The problem with a password is that you may forget your password or a member of your team with the passwords may not be available to provide the passwords for your company computers when you want to retrieve important documents. To solve this problem, there are a number of third-party password remover software that you can use to retrieve or even remove password protection from your Windows computer or Microsoft office documents.
One of the best Windows password recovery tool is Passper WinSenior. This tool is designed to remove Windows admin and user passwords. The tool can also be used to delete and create new user accounts on Windows 10 as well as Windows 8.1, Windows 8 and Windows 7. If you forgot your admin password then to use this tool to remove the password then simply follow these simple steps:
Free Download for Win 10/8.1/8/7/XP
Step 1: Create a Password Reset Disk
Find an accessible computer with an internet connection and then download and install the Passper WinSenior software. Depending on your computer features pick a bootable disk; it can be a USB flash disk, a DVD or a CD. Insert your chosen disc into the computer on which you have the Passper WinSenior software installed and launched. Now on the Passper screen select the "create" button and then follow the instructions to create the bootable disc. This will take a few minutes and once done eject the disk from the computer.

Step 2: Use the Bootable Disc on the Locked Computer
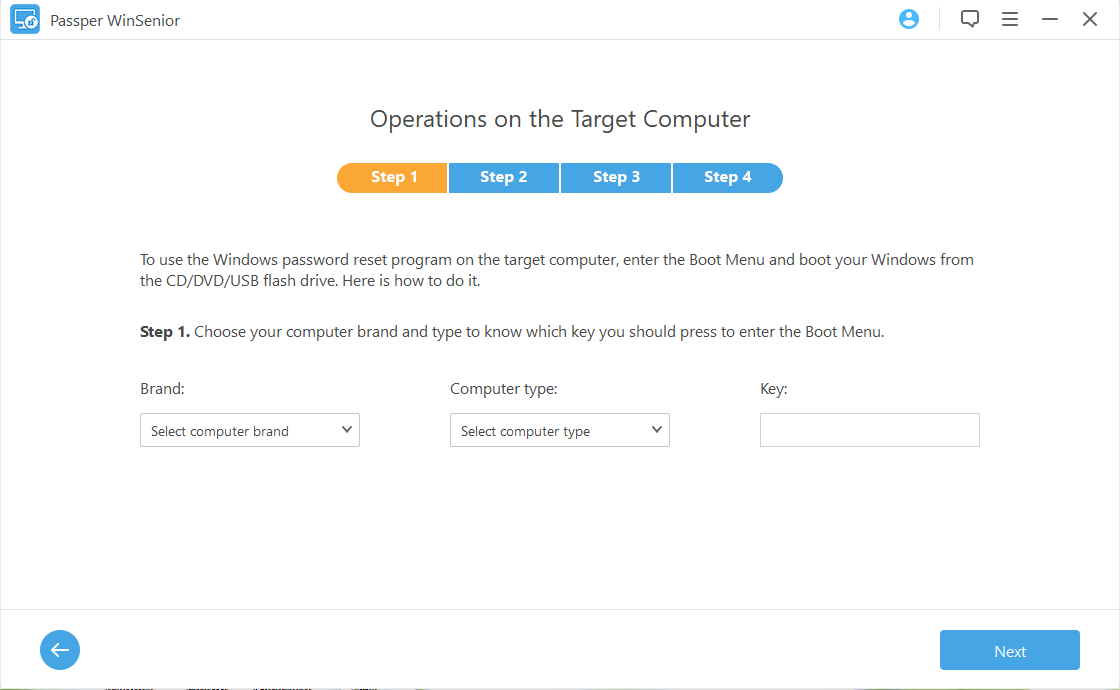
Insert the disk in the port or drive on the computer that you have been locked out. Boot the computer that you are locked out by entering the boot menu. Entering the boot menu may vary from one computer brand to the next so make sure that you know how to do it on your computer before you start the process. On the popup menu select the type of disk you are using to boot from that disk. Select your operating system to access the system and be able to remove the password .
Step 3: Reset the Password
Once you start booting your computer from the Passper disk a Passper screen will appear to guide you on how reset the Windows password.
Select the "Reset Windows Password" button from the list given, then select the account you want to reset the password for and then click Next.
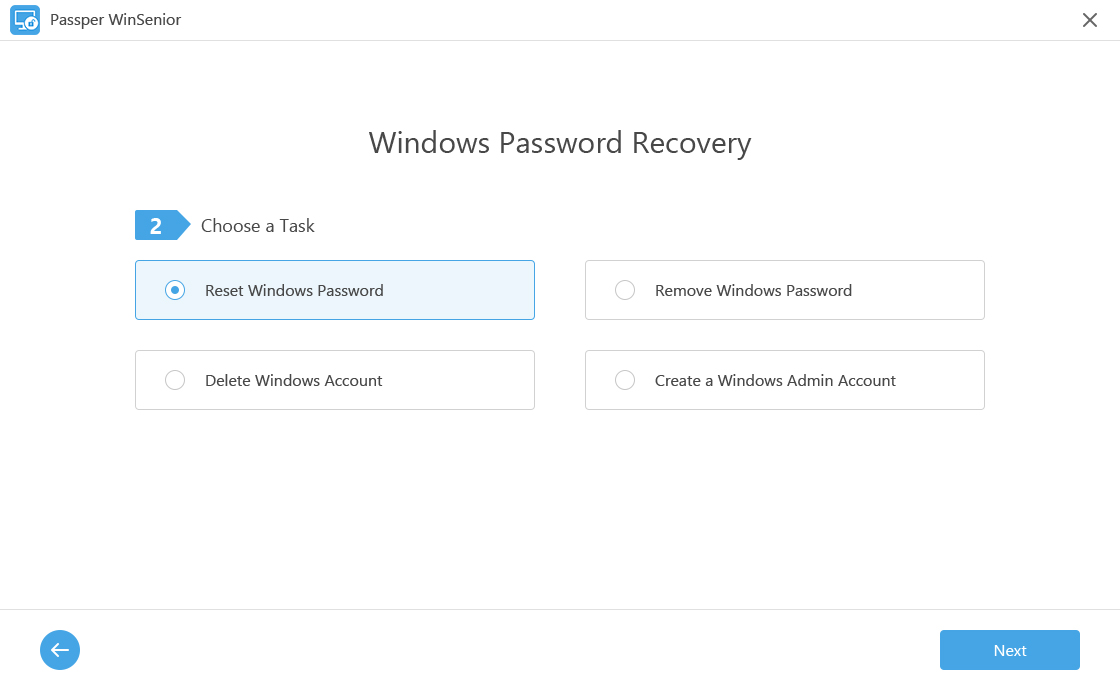
Enter the new password for the account, select in the spaces provided and then click Reset
You will receive a notification that the password was reset successfully. You can now eject the bootable disk and reboot your computer. You can now access it using your new password.
Conclusion:
Upgrading your Windows 8.1 to Windows 10 using the methods described in this article is still free and quite easy. All you need is a compatible computer and strong internet connectivity to download the software. You then follow the simple steps in the popup menu to complete the process.


