How can you show somebody who is far from you on what you are working on your computer? Definitely, by taking a screenshot on PC and sending them via WhatsApp or Email. You may be guiding a friend on how to use a certain software of you have found an image online that you want them to see and you cannot download it. Therefore, the best way to show them your screen activities is to take a screenshot. Now let us dive into ten ways on how to achieve it.

Way 1: Use the Keyboard Shortcut: PrtScn (Print Screen) or CTRL + PrtScn
Way 2. Use the Keyboard Shortcut: Windows + PrtScn
Way 3. Use the Keyboard Shortcut: Alt + PrtScn
Way 4. Use the Keyboard Shortcut: Windows + Shift + S (Windows 10 only)
Way 6. Use the Snip & Sketch app (Windows 10 only)
Way 7. Take Screenshots on a Surface Tablet or Any Other Windows Tablet
Way 8. Use the Keyboard Shortcut: Windows + Alt + PrtScn
Way 1: Use the Keyboard Shortcut: PrtScn (Print Screen) or CTRL + PrtScn
A quick way to take a screenshot on Windows 10 is by clicking PrtScn (Print Screen) or CTRL + PrtScn. The screenshot is saved on the clipboard. You can now paste the image on an image editor like Paint or Picpick and editor your screenshot and send it.
You can also press on Fn + PrtScn
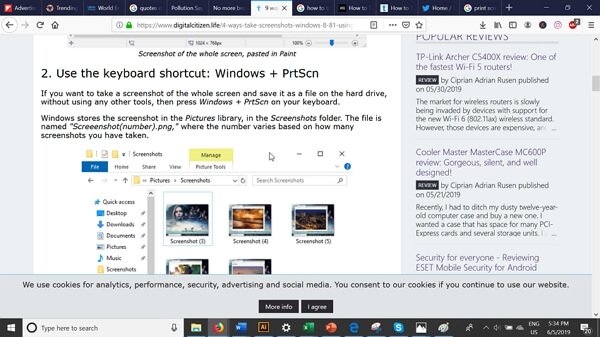
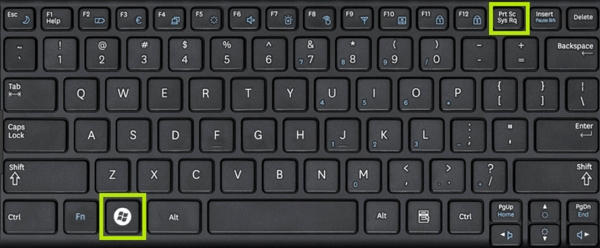
Way 2. Use the keyboard shortcut: Windows + PrtScn
When you press Windows + PrtScn simultaneously, it will allow you to take a screenshot of the entire screen of Windows and save it on your computer directly. From there, you can rename the file, save it and send it.
Remember, this action can also autosave the screenshot under “Pictures” folder on your local drive.
You can also use Fn + Windows + PrtScn
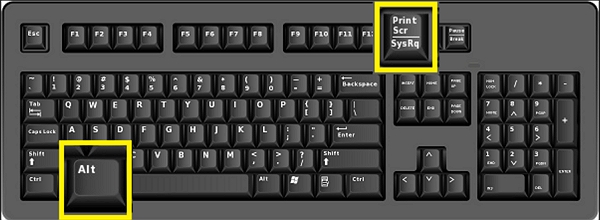
Way 3. Use the Keyboard Shortcut: Alt + PrtScn
You can also press Alt + PrtScn and make a screenshot of your entire active Window. The screenshot is saved on the clipboard, and you can use paint to paste the screenshot and save it on your computer. For some keyboards, this shortcut can be achieved by clicking on Fn + Alt + PrtScn.
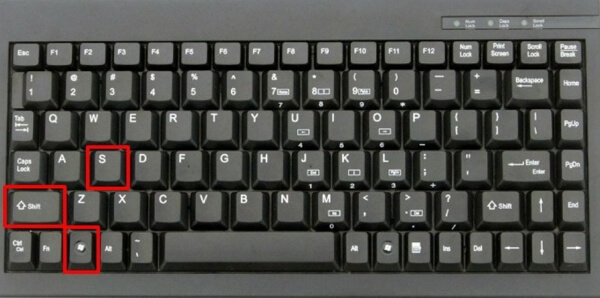
Way 4. Use the keyboard shortcut: Windows + Shift + S (Windows 10 only)
The next way will talk about is only applicable for Windows 10. If you are using Windows 10, click on Windows + Shift + S and you will see the screen go dim. You can now select the area that you want to screenshot. From there open Paint and paste the screenshot and then save it.
Way 5. Use the Snipping Tool
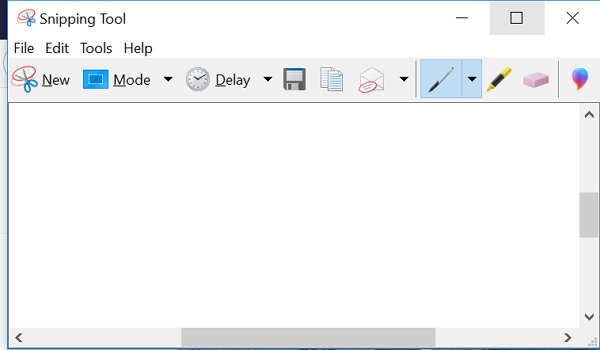
Besides using the Windows Keyboard shortcuts, you can also use an inbuilt application like Sniping Tool to get screenshots of the whole screen or selected sections of your computer.
Step 1. On your Windows search button, search for “Snipping Tool” and the open it.
Step 2. Click on “New” on the snipping tool and select the area that you want to screenshot. The screenshot is saved on the clipboard, and you can paste it on anywhere or click on “Save” on snipping tool to save it.
Way 6. Use the Snip & Sketch app (Windows 10 only)
Snip & Sketch app is another option available on Windows 10 only that allows you to take screenshots on Windows platform. This Snip & Sketch is a replacement for the Snipping tool app. Therefore, on Windows 10 search for Snip and Sketch app and open it. To take a screenshot of Windows 10, click on “New” and save the image.
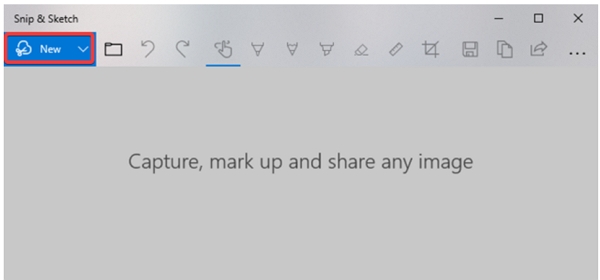
Name: Snip & Sketch app
Way 7. Take Screenshots on a Surface Tablet or Any Other Windows Tablet
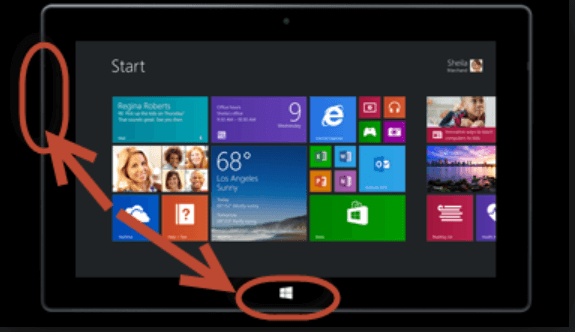
What if you using Window Tablet and it has no external keyboard, and you want to take a screenshot? Well, it simple. Just press the Windows logo and Volume Down button, and you will see the screen get dim. By doing so, the screenshot will be saved under “Pictures” folder under Screenshots.
With Windows tablets, you can also use Snip and Sketch app.
Way 8. Use the keyboard shortcut: Windows + Alt + PrtScn
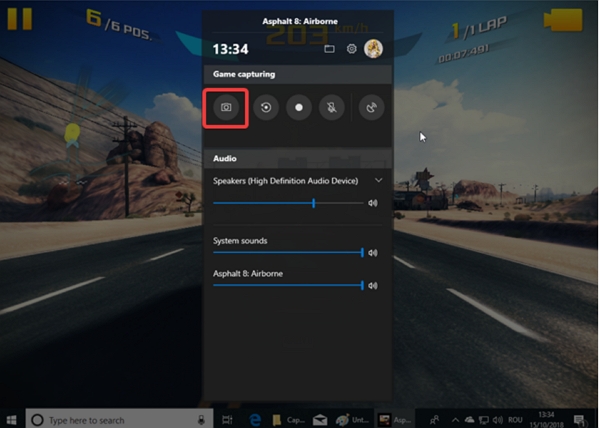
Now, if you are a gamer, the Windows 10 has you sorted. While gaming you have to take a screenshot by clicking on Windows + Alt + PrtScn and the screenshot is saved on your computer. However, this option is available for Windows 10 Creators Update only.
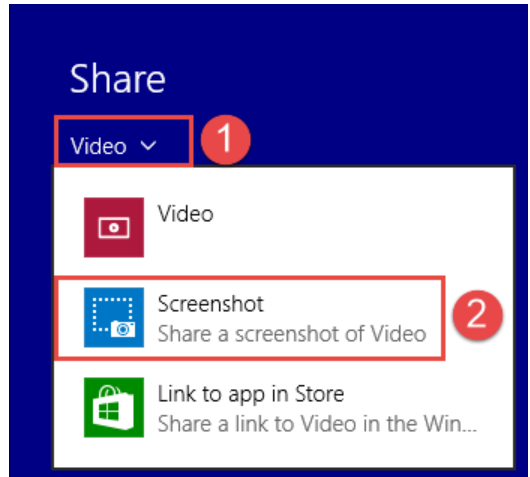
Way 9. Using Share charm (Windows 8.1 only)
For Windows 8.1 users, you can bring up the Charms bar on your computer. Once you locate what you need to screenshot, then search for Charm bar and click on it. From the menu that appears click on “Screenshot” and the screenshot is saved.
Way 10. Take screenshots on Laptop
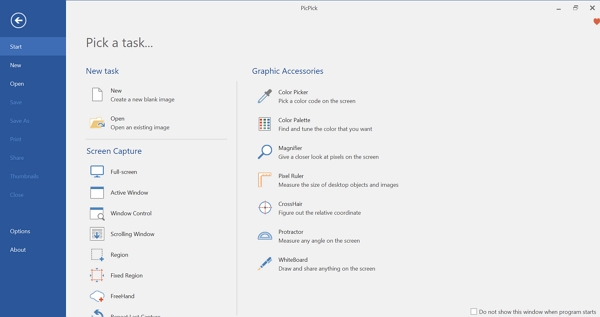
The last method that you can use is by using PicPick app. You can install it on your laptop. Once you locate the screen, you want to screenshot, click on new and you can take a full Window screenshot or select the kind of screen capture that you want to make. The screenshot will be saved on the PicPick app, and you can modify it and save it the way you want.
Conclusion
Today, to take a screenshot on Windows has been simplified with several shortcuts that allow you to take screenshots at ago. Moreover, you also have ways to take screenshots using apps, which gives you more experience in selecting regions that you want to take screenshots.
Assuming you have saved these screenshots on a Windows computer and next time you open your laptop you forget your password because you have just changed the password of your computer. Well, you can use Passper WinSenior to reset the Windows password or remove the Windows password. This software is easy to use, and it also allows you to delete Windows Account and Create Windows account if you do not have one.
With all these tips, you can now enjoy taking screenshots on your computer.


