If you are MAC user, you must be familiar with the fact that installing applications on your PC is a very easy task. On the other hand, uninstalling the applications is not so simple and straight forward. Although, it may sound little unlikely, but it is not. Since trying to uninstall application in Mac may seem to be easy but sometimes it not the case.
1. Why Do You Need to Uninstall Microsoft Office on Mac
If you are using you MAC computer for academic activities or business purposes, you would tend to install Office file because such applications are essential for your writing assignments, making presentation or saving data as an excel sheet. As these applications are updated on regular basis, you may want to delete or uninstall the previous version and install updated versions as soon as they are available. Besides, some users simply do not want to use the Microsoft Office anymore, as they may not like that there are not enough shortcut keys or the formulas in MS Excel make their system slow.
Since the MS Office is primarily designed to be installed and used on Windows PC, Mac users may not always be happy with MS office. The most probable issue is when you run MS office on MAC, you would not have all the shortcut keys that are available for any user of Windows running the same software. As another example, you cannot select the whole line pressing CTRL key whenever you enter an equation in Excel. It becomes slow as it is not specifically designed for MAC. Having such issues, many people would like to completely uninstall MS office from their systems. If you are one of those users who want to uninstall the MS office 2011/2016 from your MAC, you will find the answers in this guide.
2. How to Uninstall Microsoft Office on Mac
2.1 Uninstall MS Office for Mac Applications
If you follow these simple steps, you can remove MS office from your MAC with ease.
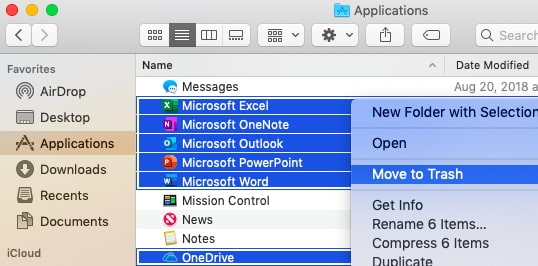
Step 1. Find "Applications"on your MAC PC in the Finder option.
Step 2. Press Command + click to select all the applications that are related to MS Office.
Step 3. While pressing the CTRL, now you need to right click on all the selected MS office applications that you need to remove from your system.
Step 4. Click on "Move to Trash"and the selected files will be deleted from your system.
2.2 Remove Office from Dock
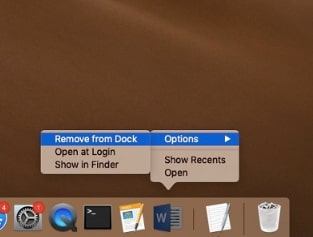
It is possible that you put some of the applications of MS office in your dock. If this is the case, go to each MS office application, press CTRL and click. Go the "Option" and click on "Remove from Dock".
Restart your system in order for the changes to take effect.
2.3 Remove Files from Your User Library Folder
First, you need to set the Finder view option if you want to remove files from "Library Folder". Follow these steps to remove Office files from user library folder.
Step 1. Press Command, Shift and h key in the Finder.
Step 2. Click on View and select as List, in the top on the Finder Menu. Then click on View > Show View Options.
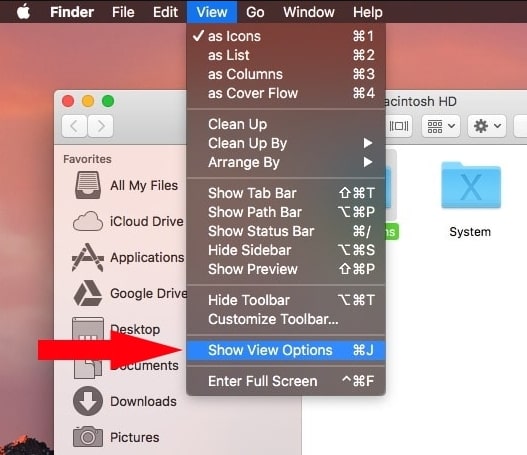
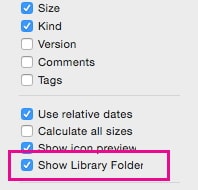
Step 3. Select "Show Library Folder" in View Options, and click on Save.
Step 4. Now, go back to the Finder and open Library > Containers.
Step 5. Press CTRL and click all these listed folders and select the option of "Move to Trash".
(Note: if you want to save or keep your data, you need to make a back up of those folders before deleting them)
com.microsoft.errorreporting
com.microsoft.Excel
com.microsoft.Outlook
com.microsoft.Powerpoint
com.microsoft.RMS-XPCService
com.microsoft.Word
com.microsoft.netlib.shipassertprocess
com.microsoft.Office365ServiceV2
com.microsoft.onenote.mac
Step 6. Open the Group Container by clicking the back arrow to go back to the Library Folder.
Step 7. Press the CTRL key and click each of the listed folders (if present), then click on "Move to Trash".
UBF8T346G9.OfficeOsfWebHost
UBF8T346G9.ms
UBF8T346G9.Office
3. How to Install Microsoft Office on MAC
After the uninstallation, you may still need to install the Microsoft office 2016 or other versions on your Mac in the future. If so, you can follow the steps below.
First, you need to sign in to your account to download your MS office file. Go to www.office.com and select the option "Sign in".
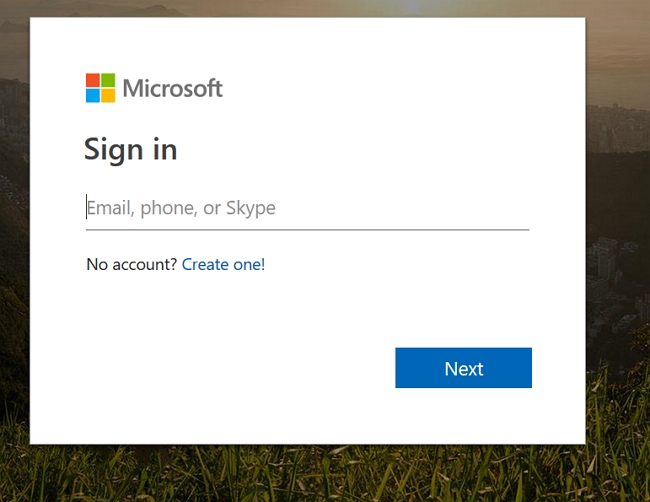
Sign in with the user account that is associated with the Office version. It could be a Microsoft account or a work or school account. After signing into your associated account, you need to follow the steps that match your account type and then download your files.
Step 1. Once the downloading is finished, opening Finder and go to Downloads to double click the file named as "Microsoft Office installer.pkg" (the name may slightly vary).
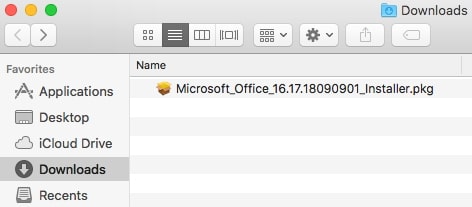
Step 2. When the first screen of the installer appears, select Continue to begin the process of installation.
Step 3. Next, review the license agreement of MS office and click on "Continue" and then select the option "Agree".
Step 4. Then you need to select the option of how you want to install MS office, click Continue.
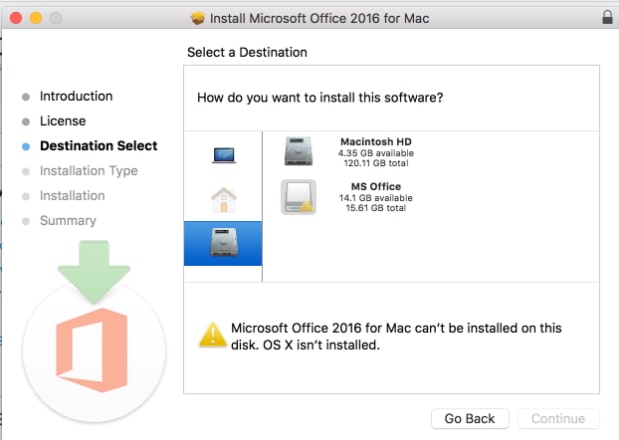
Step 5. The next screen will display the disk requirements. You may also change the installation location, next click on "Install".
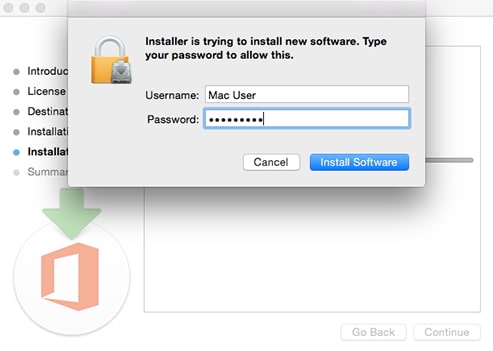
Step 6. Next, if prompted, you need to enter your login password of your MAC system and click "Install Software". It will start installing the software.
When the installation is finished, click on "Close".
Step 1. To launch newly installed MS office app and start the activation process, click the "Launchpad' in the dock to display your installed apps.
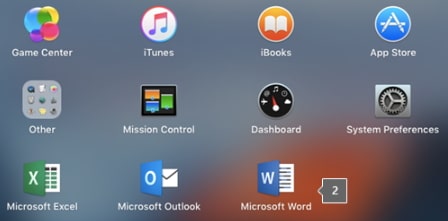
Step 2. Click the icon of "Microsoft Word", it will open "What's New" window automatically when you first launch the application.
Step 3. Click on "Get Started" to start the activation process.
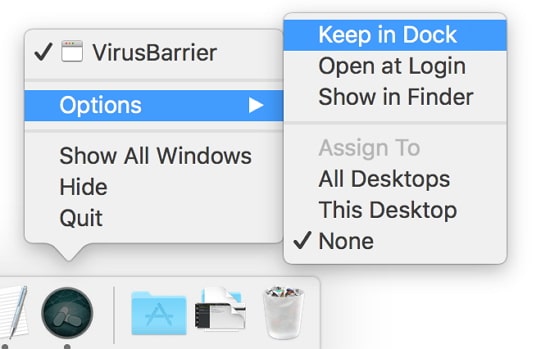
Step 4. To pin the office app icons to the dock, go to the Finder > Applications and open any office app that you want to dock. In the dock, press CTRL and click, or right click the app icon, then choose "Options" and then click on "Keep in Dock".
While using MS office apps, if you protected your files using a password and you somehow forgot your password. You can use "Passper: Password Recovery Expert"tool. That gives you complete solution to recover or remove the password of your locked files and Windows. Passper can open your password protected files, including Word, Excel, PDF, PowerPoints files as well as ZIP and RAR files.


