MS Excel is a powerful took to create and store valuable information and databases. Entering large amount of data is a difficult job that takes a lot of time and effort. You work hard on your Excel data and now want to make sure that the information you stored is protected. On the other hand, if you need to share this information with someone, you also need to make sure that anyone you share it with cannot inadvertently change the cells. MS Excel provides you the facility to lock cells so that they cannot be modified and remain protected. You can apply this protection to all the cells or a specific range of cells. This article guides you on how to use this feature to protect Excel workbook.
In MS Excel, under the "REVIEW" tab, there is an option of "Protect Workbook". There are two types of workbook protection that are for workbook structure and workbook windows. So, let's start with the difference between them.
1. Differences between Workbook Structure and Workbook Windows
2. How to Protect Excel Workbook
3. How to Tell if a Workbook is Protected
1. Differences between Workbook Structure and Workbook Windows
In protection of workbook for structures, users cannot add, move, delete, rename, hide and display hidden sheets in Excel workbook.
On the other hand, in protection for workbook for windows, users cannot change the size or position of the window that is already set up to display the workbook and they cannot split the worksheet windows either.
2. How to Protect Excel Workbook
2.1 Protect Excel Workbook Structure on Windows
To protect the worksheet structure on Windows, follows these steps.
Step 1. In Excel workbook, click the "REVIEW" tab and select the option of "Protect Workbook". If your Excel version is 2016, you can open the "File" tab to bring up the backstage view.
Step 2. Click on "Info", then go to the "Protect Workbook" and click on "Protect Workbook Structure".
Step 3. When the dialog box for "Protect Structure and Windows" appears, you can check the "Windows" and "Structure" option, then press "OK".

Password protection is optional and if you do not set a password, any user can unprotect the workbook by clicking the button of "Protect Workbook". If you have set the password and want the users to insert a password to unprotect the workbook, you can set the password in the field of "Password (optional)". Click "OK" again to confirm the password and press "OK".
Step 4. To save the Excel workbook and apply changes, press CTRL+S.
2.2 Protect Excel Workbook on Mac
The process to protect the workbook on Mac is exactly the same as on windows. You need to follow these steps to protect the Excel workbook.
Step 1. In Excel workbook, go to the "REVIEW" tab and select the option of "Protect Workbook".

Step 2. Insert a password in the "Password" box.
Step 3. Click on "OK", then retype the password to confirm the password and press "OK".
3. Lock and Protect Excel Workbook Online
If an online Excel workbook is protected using a password, it cannot be edited or opened. On the other hand, you cannot add, remove, change or recover the password from the Excel Online.
For example, if you try to open a workbook that is password protected, you will see a dialog box stating that "We are sorry, we cannot open the workbook in the browser because of unsupported features: Workbook Protection". It also gives you the option of "Open in Excel". Using this option, you can open the workbook on the desktop excel application. So, if you have Excel desktop app and you want to add, remove or change the password, click the option of "Open in Excel" to open the workbook and apply password protection.

3. How to Tell if a Workbook is Protected
To get to know if the Excel workbook is protected, follow these simple steps.
Step 1. Go to "REVIEW" tab, see the option of "Protect Workbook". The workbook is protected, if it is already highlighted.
Step 2. To confirm that, click on the Excel sheet on the bottom and you can notice that the options (such as insert, rename, move, copy, delete, etc.) to change the workbook structure are unavailable.

Another way to check if a workbook is protected is to see the "Info" menu and the "Protect Workbook" option indicating that the structure of the workbook is protected. To view this option, just click "File > Info > Protect Workbook".

4. Protection and Security in Excel
If you want to prevent your excel data from inadvertently deletion, or to prevent someone from opening an Excel without using a password, or grant "Read-Only" access to users; this is all possible in MS Excel. There are various ways for the protection and distribution of your Excel file. But you need to be careful enough to make use of these functions as you may lose or forget the password.
On the other hand, even though MS Excel provides you with a strong layer of protection and security, you should not assume that your files are now secure. You still need to take care while distributing your files that contain sensitive information such as your credit card details, bank details and address or locations. Microsoft clearly states that Excel workbook protection is not intended to a security feature, it only prevents users from editing the cells.
5. What If You Forgot Your Workbook Password
Excel worksheet protection is an amazing feature giving you the flexibility to lock or unlock certain cells using a password. But if you somehow lose or forget the password, it can be really troublesome to retrieve your important data. You can use ZIP archives to unlock the Excel worksheets but even if this method does not work you can use the Passper for Excel that is an amazing tool to recover the passwords.
Passper for Excel is one of the most popular and powerful tools to recover the password and remove restrictions for MS Excel as it guarantees that no data will be deleted from the sheets or the workbooks. It uses advanced AI algorithms to intelligently identify issues in Excel files, allowing for the quick removal of restrictions or cracking passwords. Following are some of the features of Passper for Excel software:
It has 4 intelligent methods to launch a password attack to recover the password while protecting your data, including: Dictionary attack, Combination attack, Mass attack and Brute-Force Attack.
It supports all versions of MS Excel including: Excel 2021, 2019, 2016, 2013, 2010, 2007, 2003, 2000 and 97.
It can be used to unprotect the sheets and remove edit or print restrictions with 100% unprotecting rate.
As the sub-brand of iMyFone that is highly recognized authorized by Macworld, Makeuseof, etc, you can feel relieved to use Passper software.
Just simply follow these steps to remove restrictions from Excel workbook/worksheet.
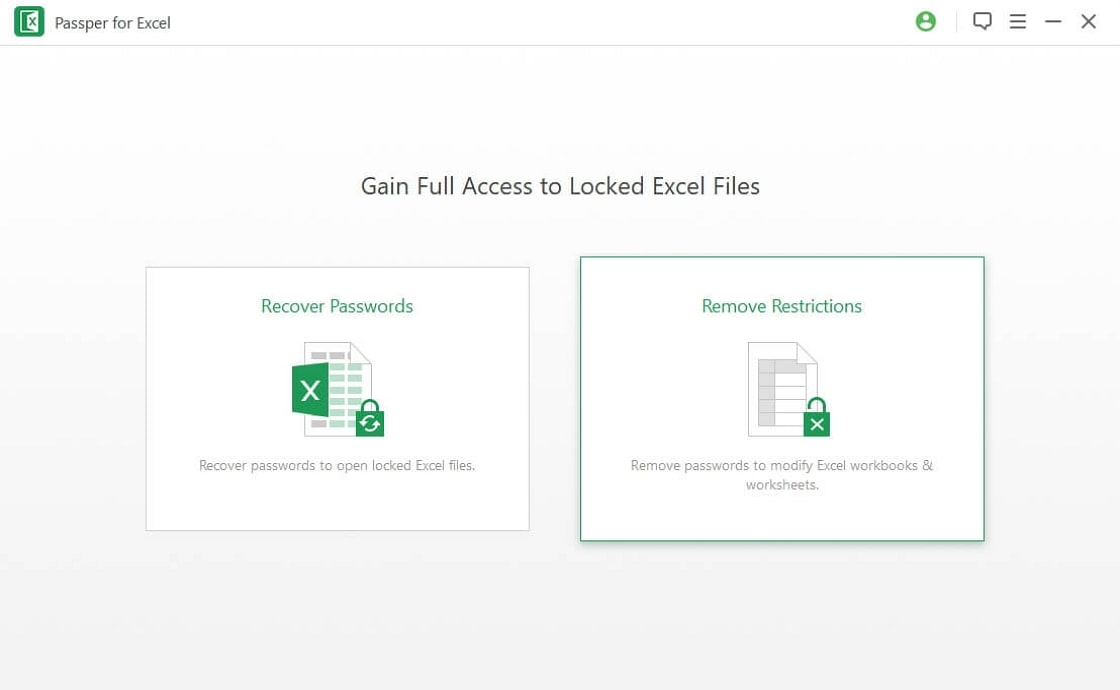
Step 1. Open the program and select the option of "Remove Restrictions" and click on "Add" to Excel sheet which is password protected.
Step 2. When the file is imported in the program, click on the 'Remove' option to remove the password protection.

Step 3. The password will be successfully removed from the file within 2 seconds.

